Embed Size (px)
Citation preview

CITYOFRICHLANDINFINITY.LINK
Infinity.Link Rev. 1.02
INSTRUCTIONMANUAL

INFINITY.LINK
1
TableofContentsFrequently asked questions – Infinity.Link ................................................................................................... 2
How to Register – Infinity.Link ...................................................................................................................... 3
Errors Received While Registering: ............................................................................................................... 5
Infinity.Link Menu Options: .......................................................................................................................... 6
MAIN MENU: ............................................................................................................................................. 6
ACCOUNT OPTIONS:.................................................................................................................................. 6
ONLINE SERVICES: ..................................................................................................................................... 7
ONLINE FORMS: ........................................................................................................................................ 7
Logging Out ................................................................................................................................................... 7
Common Icons .............................................................................................................................................. 8
Disabling Your Pop‐Up Blocker ‐ Instructions ............................................................................................... 9

INFINITY.LINK
2
Frequentlyaskedquestions–Infinity.LinkDo I need to know my new customer account number to make a payment online? > Yes, please have your new bill available while making your online payment. Your utility bill will have your customer account number listed on the top of the form and throughout your utility bill. Your customer number is the first eight digits; your account number is the following eight digits.
When I’m using the Quick Pay option, I am able to enter my customer number and account number, but my computer just comes back to the original screen and never sends me to the site for payment processing; what is wrong? > Please ensure that you have turned off the pop‐up blocker on your web browser. For assistance see the instructions listed in this document for disabling your pop‐up blocker. What is required to make an online payment? If you are not registered with Infinity.Link, the system will only ask for your unique customer and account number. You can then pay by eCheck, debit or credit card online. You will not have access to your complete account, only payments. Please complete all fields to ensure your payment processes. You will receive a confirmation of your payment transaction. Please keep a copy of this for your records. What are a routing number and an account number that my eCheck option asks for? > Your bank Routing Number and Checking Account Number are on the bottom of your checks (do not use your deposit slips, only checks). See example below:
Where can I find the Credit Card Security Code or the code on my card when I am paying by Visa or MasterCard? > Visa and MasterCard cards have a three‐digit code printed on the signature panel on the bank of the card, immediately following the card account number. The back panel of most Visa/MasterCard cards contains the full 16‐digit account number, followed by the security code. Some bank cards, however, only show the last four digits of the account number followed by the security code. See example below:

INFINITY.LINK
3
HowtoRegister–Infinity.Link
All areas noted with a red arrow
must be completed. Enter a unique User Name for each account.
Enter your customer number and account number. This is listed on your utility bill. The customer number is the 8 digits before the dash, the account number is the 8 digits after the dash.
Enter “Security Code” – EXACTLY as it appears.
After you completed all items –select “Register”. You will receive an email with your User Name, password and the verification code. A link in the email is provided to complete your registration. The link will automatically include your verification code.
A minimum of 7 characters required for password.

INFINITY.LINK
4
1. If you registration is successful, the following screen will display:
2. You will then receive an email from City of Richland Infinity.Link. This will display your Username, Password and your Verification Code that you need to register. The email will provide you a link that will automatically include your Username and verification code. Select the link to proceed:
3. After you select the link, you will enter your password to complete your registration and select Register.
Congratulations! You should now have access to Infinity.Link and to your utility billing information.

INFINITY.LINK
5
ErrorsReceivedWhileRegistering:1. If you enter the incorrect customer/account number your registration process will give
you an error (see below). You will need to re‐register with a NEW User Name and the correct customer/account number.
2. If you did not receive an email confirmation with your verification number. Please check
your email spam filtering system. The email may have been directed to automatically go to your Junk Mail.
3. If you have any issues with your registration process, please contact the Utility Billing office Monday‐Friday 8:30 a.m. to 5:00 p.m. at (509) 942‐1104 option 1 or email [email protected] .
INFINITY.LINK
6
Infinity.LinkMenuOptions:After your registration is successful:
MAINMENU:
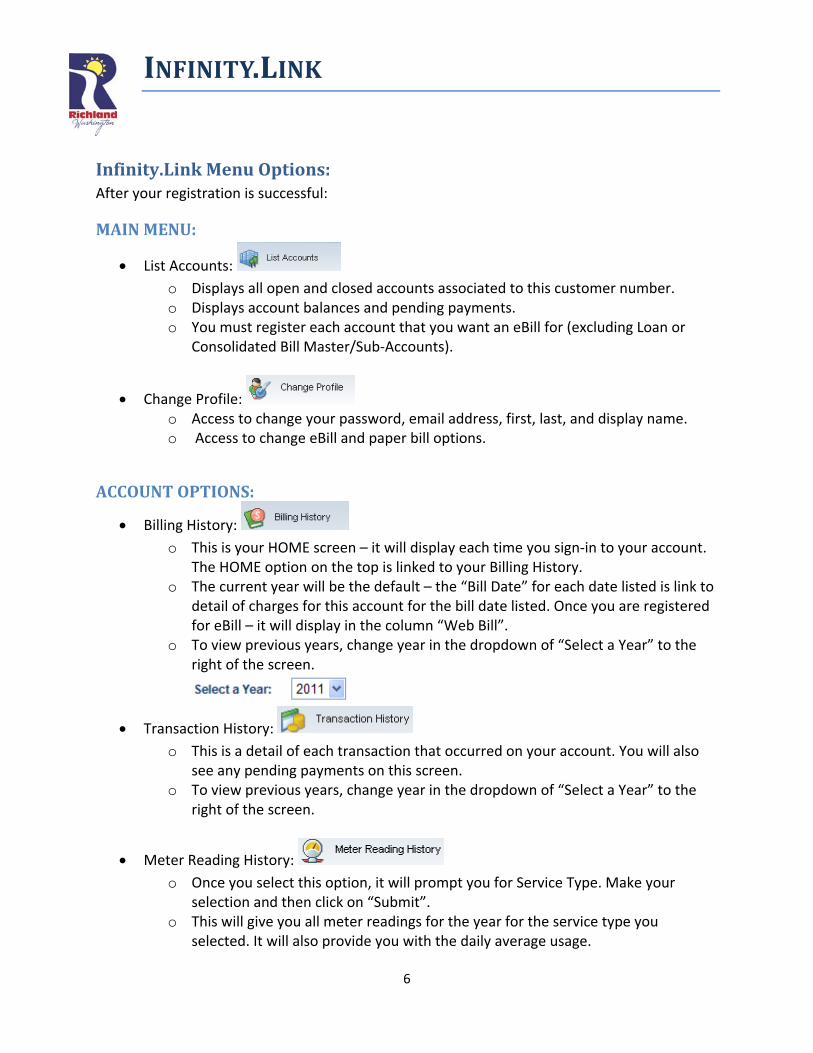
List Accounts:
o Displays all open and closed accounts associated to this customer number. o Displays account balances and pending payments. o You must register each account that you want an eBill for (excluding Loan or
Consolidated Bill Master/Sub‐Accounts).
Change Profile: o Access to change your password, email address, first, last, and display name. o Access to change eBill and paper bill options.
ACCOUNTOPTIONS:
Billing History:
o This is your HOME screen – it will display each time you sign‐in to your account. The HOME option on the top is linked to your Billing History.
o The current year will be the default – the “Bill Date” for each date listed is link to detail of charges for this account for the bill date listed. Once you are registered for eBill – it will display in the column “Web Bill”.
o To view previous years, change year in the dropdown of “Select a Year” to the right of the screen.
Transaction History:
o This is a detail of each transaction that occurred on your account. You will also see any pending payments on this screen.
o To view previous years, change year in the dropdown of “Select a Year” to the right of the screen.
Meter Reading History:
o Once you select this option, it will prompt you for Service Type. Make your selection and then click on “Submit”.
o This will give you all meter readings for the year for the service type you selected. It will also provide you with the daily average usage.

INFINITY.LINK
7
o To view previous years, change year in the dropdown of “Select a Year” to the
right of the screen.
Usage History: o Option to select by Service and Year. o View your usage history as well as comparisons based on street, region (your
billing area), and city. o IMPORTANT: The consumption comparison includes all rate classes (e.g.,
commercial, residential, and multi‐family).
ONLINESERVICES:
Make a Payment:
o You have the option to make a payment directly to your account. We accept eCheck, Visa and Mastercard.
Report a Problem:
o This is linked to our city‐wide Request Tracker Login. o You may sign up with a user name or just submit your issue as an anonymous
user. You will be notified that your issue/request has been submitted.
Report a Power Outage:
o Link is provided with phone number information to report the power outage.
ONLINEFORMS:
The available online forms or links under this section are:
o AutoPay Service, Budget Payment Plan, Helping Hands, Low Income Services, Suspend or Disconnect Meters, Terminate Utility Services, and View Utility Billing Inserts.
LoggingOuto Logoff/signoff by selecting this option on the very bottom right side of our
screen while in Infinity.Link.

INFINITY.LINK
8
CommonIcons Help – question mark in blue circle
Click on the icon to provide basic information regarding the field or record it is associated to
Required Field – arrow in red circle Indicates the user must make a valid entry. It follows a text box or other data entry field
Expand – Down arrow in blue box Found on the left of each main menu item to display sub‐menu
Collapse – Up arrow in blue box Found on the left of each main menu item to hide sub‐menu (e.g., Online Services, Main, Account Options) will expand/collapse the main menu listing
Back ‐ Green arrow This is used on the Billing Detail webpage to return the user back to the Billing History summary page for the ‘Selected Year’. It is visible on the far right of the Billing Detail webpage. If the user clicks on the Home tab or the Billing History menu item it will default to the ‘current’ year.

INFINITY.LINK
9
DisablingYourPop‐UpBlocker‐Instructions INTERNET EXPLORER Using Pop‐up Blocker Pop‐up Blocker is turned on in Internet Explorer and set to the medium setting, which means it will block most automatic pop‐ups. The default settings for the pop‐up blocker allow you to see pop‐ups that are opened when you click a link or button on a Web site. Pop‐up Blocker will also play a sound and show the Information Bar when a pop‐up is blocked. You can adjust these settings so that Pop‐up Blocker works the way you want it to appear. To change Pop‐up Blocker settings 1. Open Internet Explorer 2. On the Tools menu, point to Pop‐up Blocker, and then click Pop‐up Blocker Settings
Internet Explorer Tools menu If you want to see pop‐up windows from a specific Web site, type the address (or URL) of the site in the Address of Web site to allow box, and then click
Add. Pop‐up Blocker Settings window Tip: To temporarily allow a site to display pop‐ups, click the Information Bar when it notifies you that a pop‐up has been blocked. Then click temporarily Allow Pop‐ups.
INFINITY.LINK
10
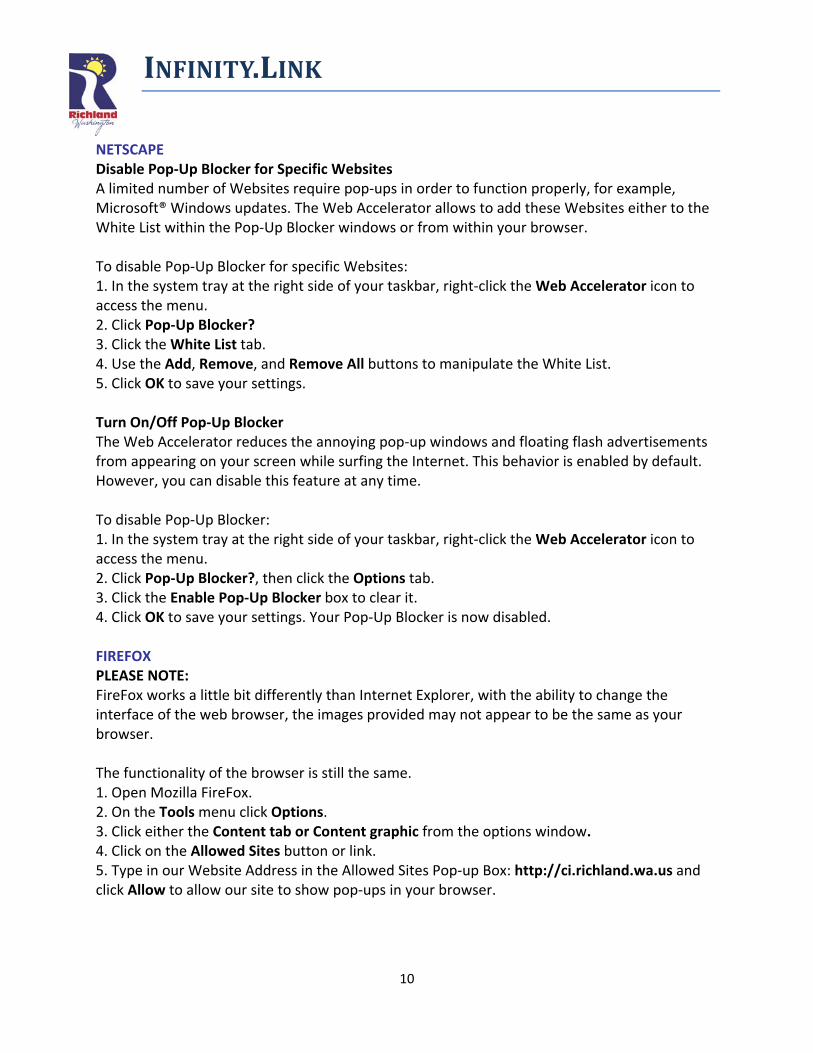
NETSCAPE Disable Pop‐Up Blocker for Specific Websites A limited number of Websites require pop‐ups in order to function properly, for example, Microsoft® Windows updates. The Web Accelerator allows to add these Websites either to the White List within the Pop‐Up Blocker windows or from within your browser. To disable Pop‐Up Blocker for specific Websites: 1. In the system tray at the right side of your taskbar, right‐click the Web Accelerator icon to access the menu. 2. Click Pop‐Up Blocker? 3. Click the White List tab. 4. Use the Add, Remove, and Remove All buttons to manipulate the White List. 5. Click OK to save your settings. Turn On/Off Pop‐Up Blocker The Web Accelerator reduces the annoying pop‐up windows and floating flash advertisements from appearing on your screen while surfing the Internet. This behavior is enabled by default. However, you can disable this feature at any time. To disable Pop‐Up Blocker: 1. In the system tray at the right side of your taskbar, right‐click the Web Accelerator icon to access the menu. 2. Click Pop‐Up Blocker?, then click the Options tab. 3. Click the Enable Pop‐Up Blocker box to clear it. 4. Click OK to save your settings. Your Pop‐Up Blocker is now disabled. FIREFOX PLEASE NOTE: FireFox works a little bit differently than Internet Explorer, with the ability to change the interface of the web browser, the images provided may not appear to be the same as your browser. The functionality of the browser is still the same. 1. Open Mozilla FireFox. 2. On the Tools menu click Options. 3. Click either the Content tab or Content graphic from the options window. 4. Click on the Allowed Sites button or link. 5. Type in our Website Address in the Allowed Sites Pop‐up Box: http://ci.richland.wa.us and click Allow to allow our site to show pop‐ups in your browser.

INFINITY.LINK
11
GOOGLE CHROME Disable Pop‐Up Blocker for Specific Websites Google Chrome prevents pop‐ups from automatically appearing and cluttering your screen.
Whenever the browser blocks pop‐ups for a site, the icon appears in the address bar. Click
the icon to see the pop‐ups that have been blocked or to manage pop‐up settings for the site.
To see blocked pop‐ups for a site, follow the steps listed below:
1. If pop‐ups have been blocked, you'll see the icon in the address bar. Click the icon to see a list of the blocked pop‐ups.
2. Click the link for the pop‐up window that you'd like to see. 3. To always see pop‐ups for the site, select "Always show pop‐ups from [site]." The site
will be added to the exceptions list, which you can manage in the Content Settings dialog.
To manually allow pop‐ups from a site, follow the steps below:
1. Click the wrench icon on the browser toolbar. 2. Select Settings. 3. Click Show advanced settings. 4. in the "Privacy" section, click the Content settings button. 5. In the "Pop‐ups" section, click Manage exceptions.
Allow all pop‐ups: You can allow all pop‐ups by disabling the pop‐up blocker. Follow these steps:
1. Click the wrench icon on the browser toolbar. 2. Select Settings. 3. Click Show advanced settings. 4. In the "Privacy" section, click the Content settings button. 5. In the "Pop‐ups" section, select "Allow all sites to show pop‐ups." Customize
permissions for specific websites by clicking Manage exceptions.