Embed Size (px)
Citation preview
Ready-to-Use Nonfiction Graphic Organizers with Before-During-After Activities – Grades 2 -5 © 2010 readingwarmupsandmore.com
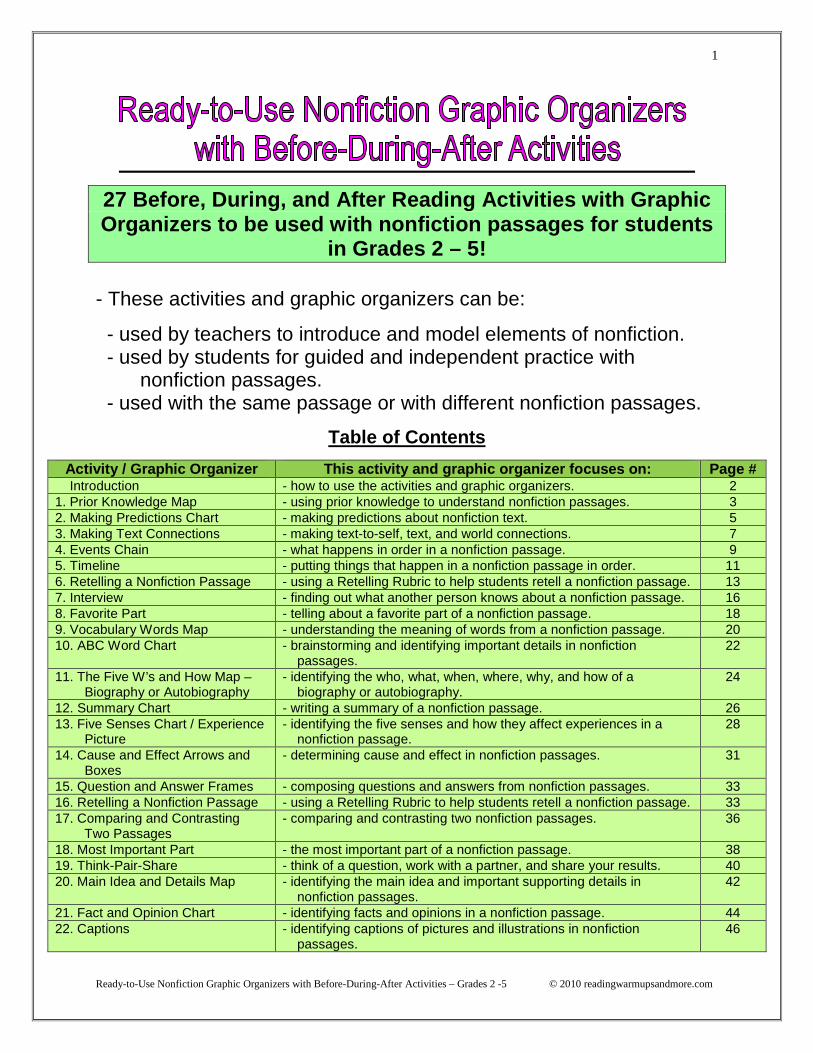
1
27 Before, During, and After Reading Activities with GraphicOrganizers to be used with nonfiction passages for students
in Grades 2 – 5!
- These activities and graphic organizers can be:
- used by teachers to introduce and model elements of nonfiction.- used by students for guided and independent practice with
nonfiction passages.- used with the same passage or with different nonfiction passages.
Table of Contents
Activity / Graphic Organizer This activity and graphic organizer focuses on: Page #Introduction - how to use the activities and graphic organizers. 2
1. Prior Knowledge Map - using prior knowledge to understand nonfiction passages. 32. Making Predictions Chart - making predictions about nonfiction text. 53. Making Text Connections - making text-to-self, text, and world connections. 74. Events Chain - what happens in order in a nonfiction passage. 95. Timeline - putting things that happen in a nonfiction passage in order. 116. Retelling a Nonfiction Passage - using a Retelling Rubric to help students retell a nonfiction passage. 137. Interview - finding out what another person knows about a nonfiction passage. 168. Favorite Part - telling about a favorite part of a nonfiction passage. 189. Vocabulary Words Map - understanding the meaning of words from a nonfiction passage. 2010. ABC Word Chart - brainstorming and identifying important details in nonfiction
passages.22
11. The Five W’s and How Map –Biography or Autobiography
- identifying the who, what, when, where, why, and how of abiography or autobiography.
24
12. Summary Chart - writing a summary of a nonfiction passage. 2613. Five Senses Chart / Experience
Picture- identifying the five senses and how they affect experiences in a
nonfiction passage.28
14. Cause and Effect Arrows andBoxes
- determining cause and effect in nonfiction passages. 31
15. Question and Answer Frames - composing questions and answers from nonfiction passages. 3316. Retelling a Nonfiction Passage - using a Retelling Rubric to help students retell a nonfiction passage. 3317. Comparing and Contrasting
Two Passages- comparing and contrasting two nonfiction passages. 36
18. Most Important Part - the most important part of a nonfiction passage. 3819. Think-Pair-Share - think of a question, work with a partner, and share your results. 4020. Main Idea and Details Map - identifying the main idea and important supporting details in
nonfiction passages.42
21. Fact and Opinion Chart - identifying facts and opinions in a nonfiction passage. 4422. Captions - identifying captions of pictures and illustrations in nonfiction
passages.46
Ready-to-Use Nonfiction Graphic Organizers with Before-During-After Activities – Grades 2 -5 © 2010 readingwarmupsandmore.com
2
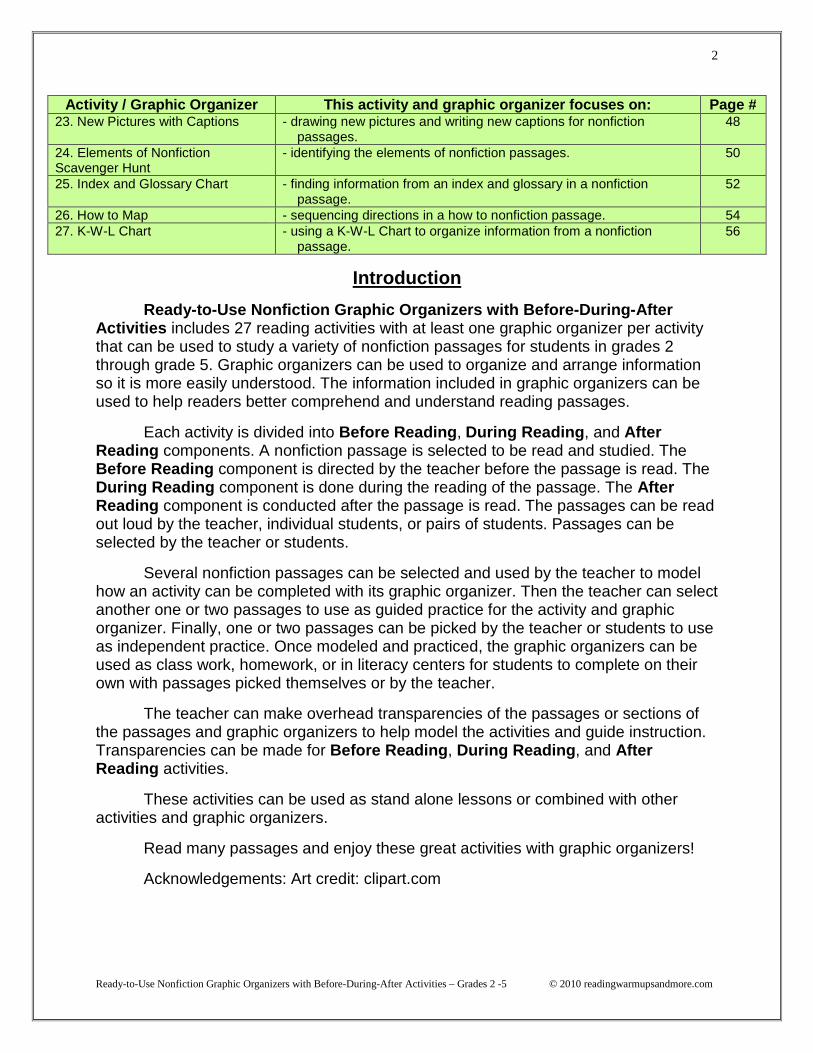
Activity / Graphic Organizer This activity and graphic organizer focuses on: Page #23. New Pictures with Captions - drawing new pictures and writing new captions for nonfiction
passages.48
24. Elements of NonfictionScavenger Hunt
- identifying the elements of nonfiction passages. 50
25. Index and Glossary Chart - finding information from an index and glossary in a nonfictionpassage.
52
26. How to Map - sequencing directions in a how to nonfiction passage. 5427. K-W-L Chart - using a K-W-L Chart to organize information from a nonfiction
passage.56
Introduction
Ready-to-Use Nonfiction Graphic Organizers with Before-During-AfterActivities includes 27 reading activities with at least one graphic organizer per activitythat can be used to study a variety of nonfiction passages for students in grades 2through grade 5. Graphic organizers can be used to organize and arrange informationso it is more easily understood. The information included in graphic organizers can beused to help readers better comprehend and understand reading passages.
Each activity is divided into Before Reading, During Reading, and AfterReading components. A nonfiction passage is selected to be read and studied. TheBefore Reading component is directed by the teacher before the passage is read. TheDuring Reading component is done during the reading of the passage. The AfterReading component is conducted after the passage is read. The passages can be readout loud by the teacher, individual students, or pairs of students. Passages can beselected by the teacher or students.
Several nonfiction passages can be selected and used by the teacher to modelhow an activity can be completed with its graphic organizer. Then the teacher can selectanother one or two passages to use as guided practice for the activity and graphicorganizer. Finally, one or two passages can be picked by the teacher or students to useas independent practice. Once modeled and practiced, the graphic organizers can beused as class work, homework, or in literacy centers for students to complete on theirown with passages picked themselves or by the teacher.
The teacher can make overhead transparencies of the passages or sections ofthe passages and graphic organizers to help model the activities and guide instruction.Transparencies can be made for Before Reading, During Reading, and AfterReading activities.
These activities can be used as stand alone lessons or combined with otheractivities and graphic organizers.
Read many passages and enjoy these great activities with graphic organizers!
Acknowledgements: Art credit: clipart.com
Ready-to-Use Nonfiction Graphic Organizers with Before-During-After Activities – Grades 2 -5 © 2010 readingwarmupsandmore.com
3
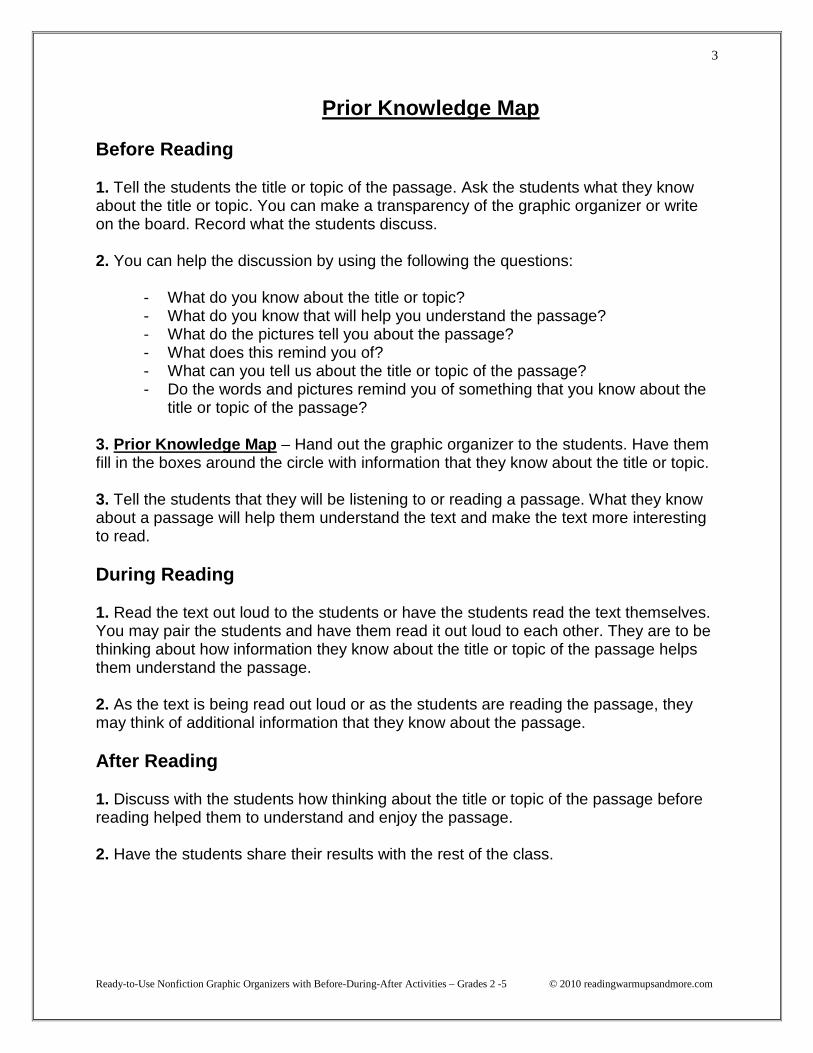
Prior Knowledge Map
Before Reading
1. Tell the students the title or topic of the passage. Ask the students what they knowabout the title or topic. You can make a transparency of the graphic organizer or writeon the board. Record what the students discuss.
2. You can help the discussion by using the following the questions:
- What do you know about the title or topic?- What do you know that will help you understand the passage?- What do the pictures tell you about the passage?- What does this remind you of?- What can you tell us about the title or topic of the passage?- Do the words and pictures remind you of something that you know about the
title or topic of the passage?
3. Prior Knowledge Map – Hand out the graphic organizer to the students. Have themfill in the boxes around the circle with information that they know about the title or topic.
3. Tell the students that they will be listening to or reading a passage. What they knowabout a passage will help them understand the text and make the text more interestingto read.
During Reading
1. Read the text out loud to the students or have the students read the text themselves.You may pair the students and have them read it out loud to each other. They are to bethinking about how information they know about the title or topic of the passage helpsthem understand the passage.
2. As the text is being read out loud or as the students are reading the passage, theymay think of additional information that they know about the passage.
After Reading
1. Discuss with the students how thinking about the title or topic of the passage beforereading helped them to understand and enjoy the passage.
2. Have the students share their results with the rest of the class.
Ready-to-Use Nonfiction Graphic Organizers with Before-During-After Activities – Grades 2 -5 © 2010 readingwarmupsandmore.com
4
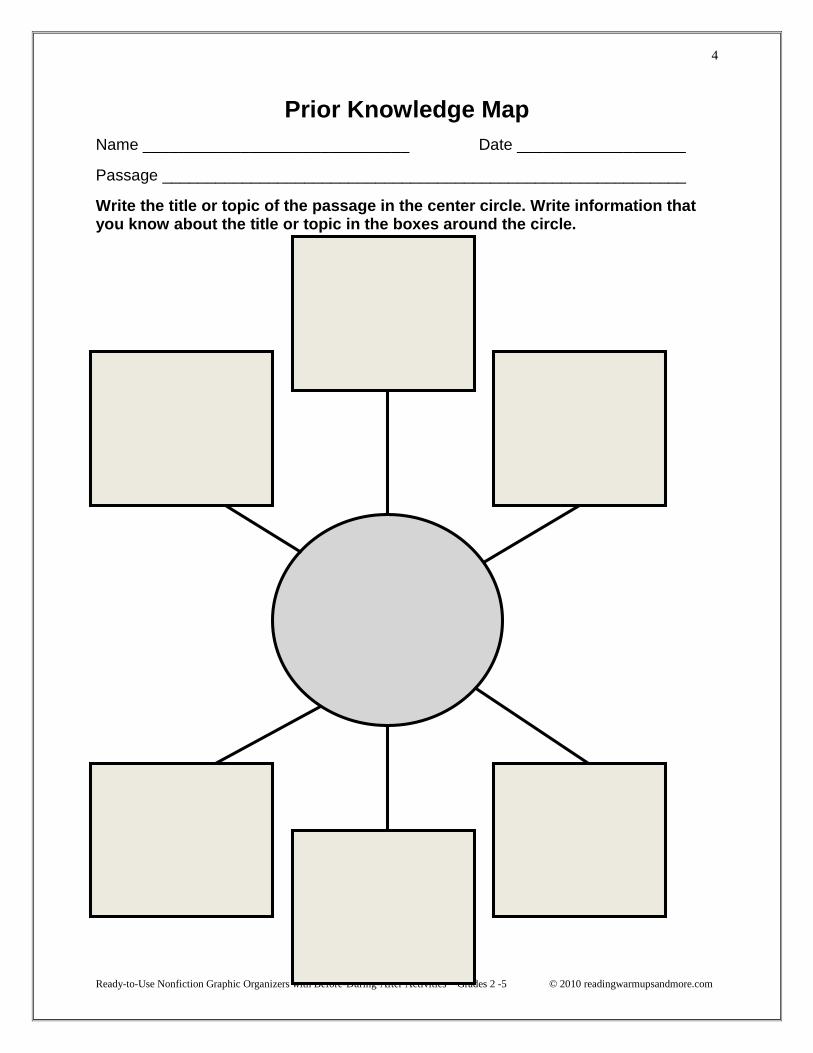
Prior Knowledge Map
Name ______________________________ Date ___________________
Passage ___________________________________________________________
Write the title or topic of the passage in the center circle. Write information thatyou know about the title or topic in the boxes around the circle.
Ready-to-Use Nonfiction Graphic Organizers with Before-During-After Activities – Grades 2 -5 © 2010 readingwarmupsandmore.com
5
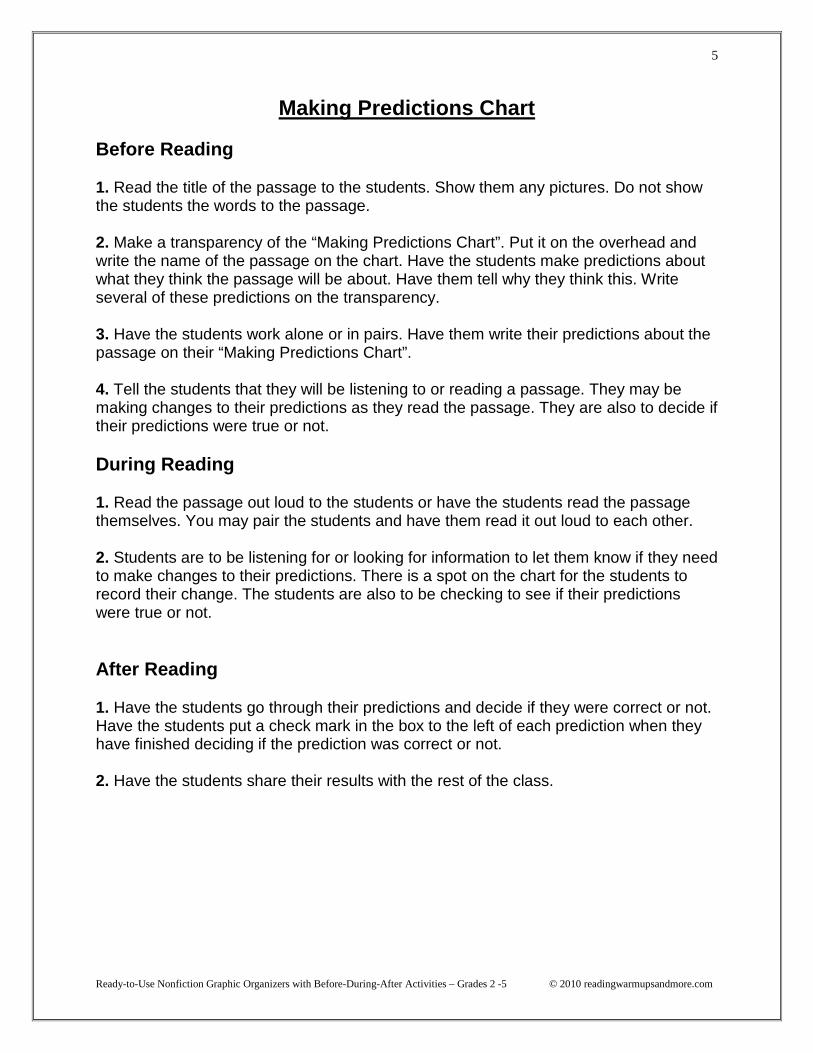
Making Predictions Chart
Before Reading
1. Read the title of the passage to the students. Show them any pictures. Do not showthe students the words to the passage.
2. Make a transparency of the “Making Predictions Chart”. Put it on the overhead andwrite the name of the passage on the chart. Have the students make predictions aboutwhat they think the passage will be about. Have them tell why they think this. Writeseveral of these predictions on the transparency.
3. Have the students work alone or in pairs. Have them write their predictions about thepassage on their “Making Predictions Chart”.
4. Tell the students that they will be listening to or reading a passage. They may bemaking changes to their predictions as they read the passage. They are also to decide iftheir predictions were true or not.
During Reading
1. Read the passage out loud to the students or have the students read the passagethemselves. You may pair the students and have them read it out loud to each other.
2. Students are to be listening for or looking for information to let them know if they needto make changes to their predictions. There is a spot on the chart for the students torecord their change. The students are also to be checking to see if their predictionswere true or not.
After Reading
1. Have the students go through their predictions and decide if they were correct or not.Have the students put a check mark in the box to the left of each prediction when theyhave finished deciding if the prediction was correct or not.
2. Have the students share their results with the rest of the class.
Ready-to-Use Nonfiction Graphic Organizers with Before-During-After Activities – Grades 2 -5 © 2010 readingwarmupsandmore.com
6
Making Predictions Chart
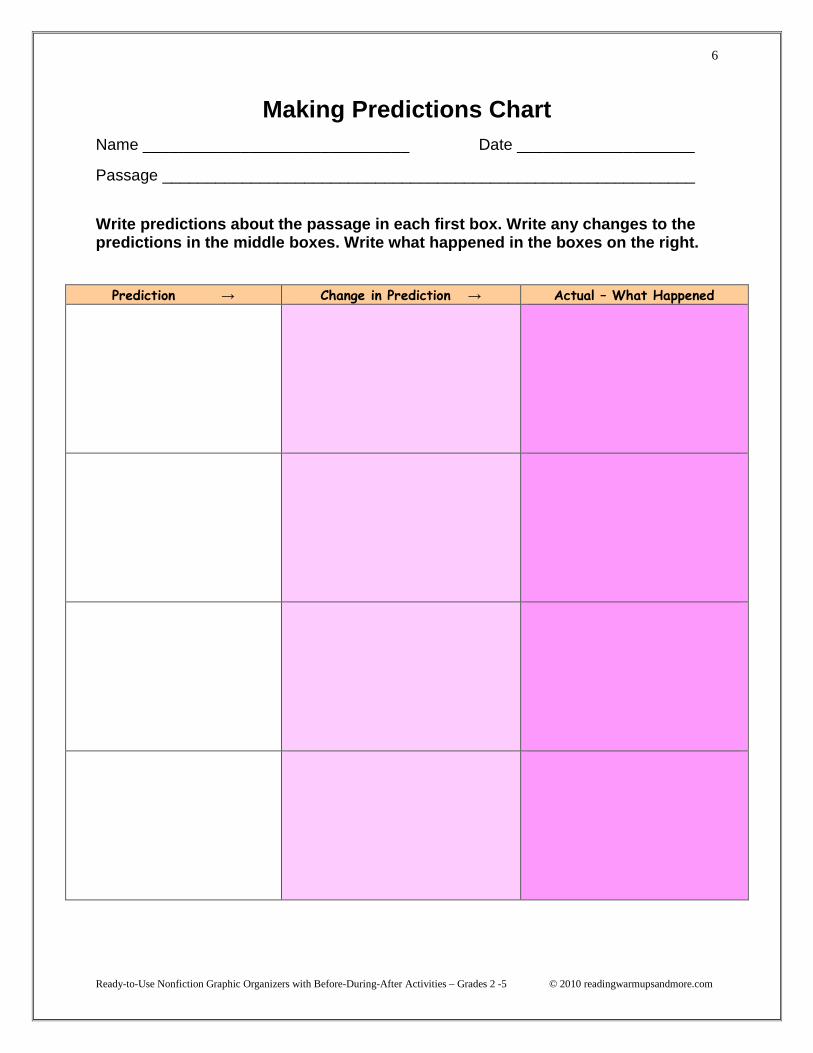
Name ______________________________ Date ____________________
Passage ____________________________________________________________
Write predictions about the passage in each first box. Write any changes to thepredictions in the middle boxes. Write what happened in the boxes on the right.
Prediction → Change in Prediction → Actual – What Happened
Ready-to-Use Nonfiction Graphic Organizers with Before-During-After Activities – Grades 2 -5 © 2010 readingwarmupsandmore.com
7
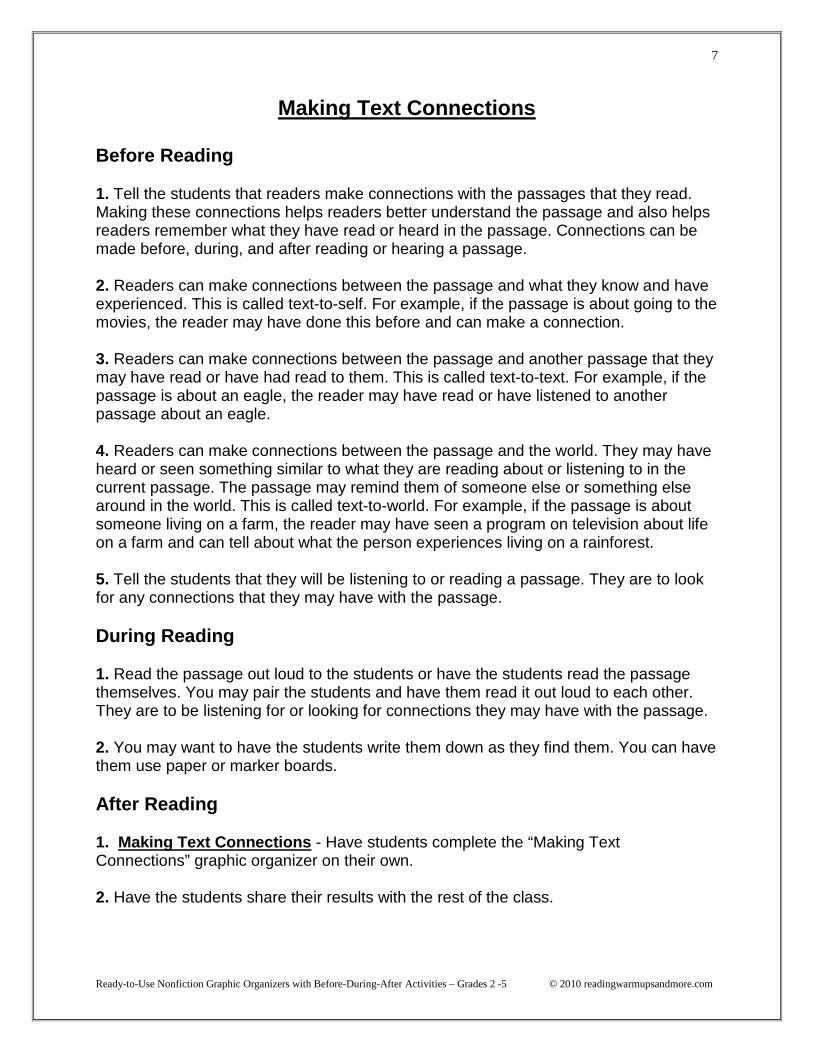
Making Text Connections
Before Reading
1. Tell the students that readers make connections with the passages that they read.Making these connections helps readers better understand the passage and also helpsreaders remember what they have read or heard in the passage. Connections can bemade before, during, and after reading or hearing a passage.
2. Readers can make connections between the passage and what they know and haveexperienced. This is called text-to-self. For example, if the passage is about going to themovies, the reader may have done this before and can make a connection.
3. Readers can make connections between the passage and another passage that theymay have read or have had read to them. This is called text-to-text. For example, if thepassage is about an eagle, the reader may have read or have listened to anotherpassage about an eagle.
4. Readers can make connections between the passage and the world. They may haveheard or seen something similar to what they are reading about or listening to in thecurrent passage. The passage may remind them of someone else or something elsearound in the world. This is called text-to-world. For example, if the passage is aboutsomeone living on a farm, the reader may have seen a program on television about lifeon a farm and can tell about what the person experiences living on a rainforest.
5. Tell the students that they will be listening to or reading a passage. They are to lookfor any connections that they may have with the passage.
During Reading
1. Read the passage out loud to the students or have the students read the passagethemselves. You may pair the students and have them read it out loud to each other.They are to be listening for or looking for connections they may have with the passage.
2. You may want to have the students write them down as they find them. You can havethem use paper or marker boards.
After Reading
1. Making Text Connections - Have students complete the “Making TextConnections” graphic organizer on their own.
2. Have the students share their results with the rest of the class.
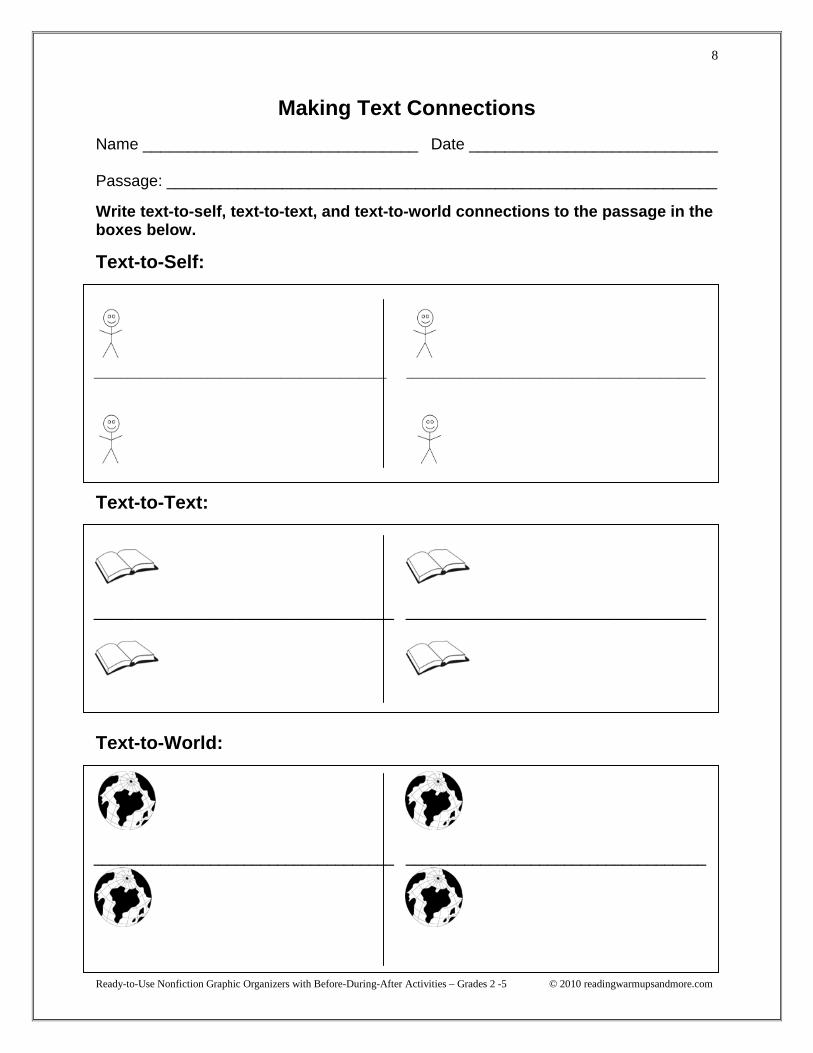
8
Making Text Connections
Name _______________________________ Date ____________________________
Passage: ______________________________________________________________
Write text-to-self, text-to-text, and text-to-world connections to the passage in theboxes below.
Text-to-Self:
____________________________________________ _____________________________________________
Ready-to-Use Nonfiction Graphic Organizers with Before-During-After Activities – Grades 2 -5 © 2010 readingwarmupsandmore.com
Text-to-Text:
Text-to-World:
____________________________________ ____________________________________
____________________________________ ____________________________________
Ready-to-Use Nonfiction Graphic Organizers with Before-During-After Activities – Grades 2 -5 © 2010 readingwarmupsandmore.com
9
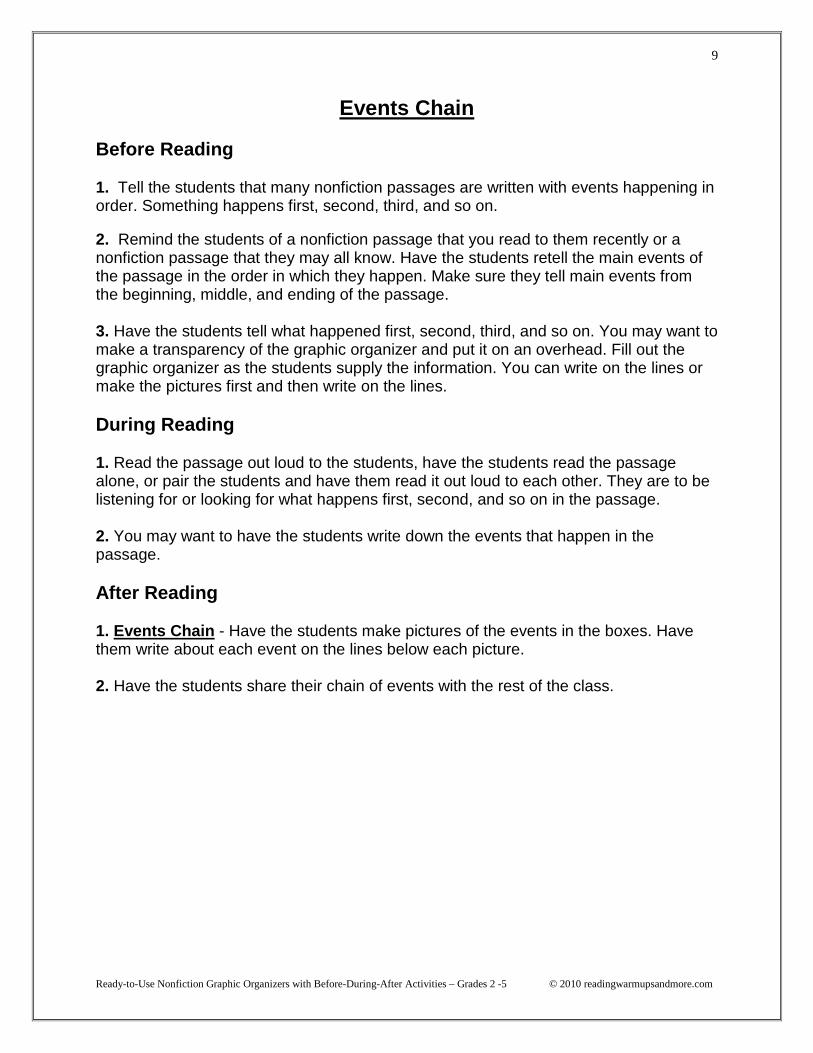
Events Chain
Before Reading
1. Tell the students that many nonfiction passages are written with events happening inorder. Something happens first, second, third, and so on.
2. Remind the students of a nonfiction passage that you read to them recently or anonfiction passage that they may all know. Have the students retell the main events ofthe passage in the order in which they happen. Make sure they tell main events fromthe beginning, middle, and ending of the passage.
3. Have the students tell what happened first, second, third, and so on. You may want tomake a transparency of the graphic organizer and put it on an overhead. Fill out thegraphic organizer as the students supply the information. You can write on the lines ormake the pictures first and then write on the lines.
During Reading
1. Read the passage out loud to the students, have the students read the passagealone, or pair the students and have them read it out loud to each other. They are to belistening for or looking for what happens first, second, and so on in the passage.
2. You may want to have the students write down the events that happen in thepassage.
After Reading
1. Events Chain - Have the students make pictures of the events in the boxes. Havethem write about each event on the lines below each picture.
2. Have the students share their chain of events with the rest of the class.
Ready-to-Use Nonfiction Graphic Organizers with Before-During-After Activities – Grades 2 -5 © 2010 readingwarmupsandmore.com
10
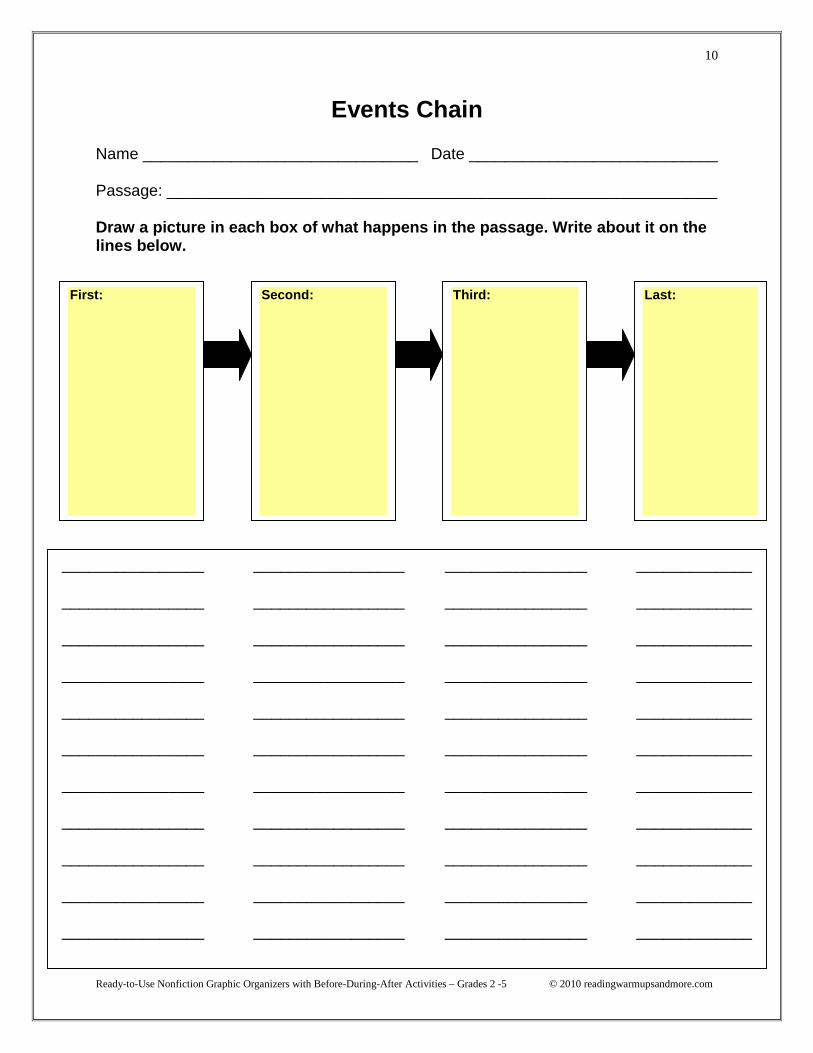
Events Chain
Name _______________________________ Date ____________________________
Passage: ______________________________________________________________
Draw a picture in each box of what happens in the passage. Write about it on thelines below.
First: Second: Third: Last:
________________ _________________ ________________ _____________
________________ _________________ ________________ _____________
________________ _________________ ________________ _____________
________________ _________________ ________________ _____________
________________ _________________ ________________ _____________
________________ _________________ ________________ _____________
________________ _________________ ________________ _____________
________________ _________________ ________________ _____________
________________ _________________ ________________ _____________
________________ _________________ ________________ _____________
________________ _________________ ________________ _____________
Ready-to-Use Nonfiction Graphic Organizers with Before-During-After Activities – Grades 2 -5 © 2010 readingwarmupsandmore.com
11
Timeline
Before Reading
1. Tell the students that many nonfiction passages tell of events that happen in acertain order. Something happens first, second, third, and so on. There is a beginning, amiddle, and an ending.
2. Remind the students of a passage that you read to them recently or a passage thatthey may all know. Have the students retell the main events of the passage in the orderin which they happen. Make sure they tell main events from the beginning, middle, andending of the passage.
3. Have the students tell what happened first, second, third, and so on. You may want tomake a transparency of the graphic organizer and put it on an overhead. Fill out thegraphic organizer as the students supply the information. Fill in the boxes in the orderthat the events happen in the passage.
During Reading
1. Read the passage out loud to the students, have the students read the passagealone, or pair the students and have them read it out loud to each other. They are to belistening for or looking for what happens first, second, and so on in the passage.
2. You may want to have the students write down the events that happen in thepassage.
After Reading
1. Timeline - Have the students make pictures or write sentences telling of the eventsof the passage in the boxes.
2. Have the students share their timelines with the rest of the class.
Ready-to-Use Nonfiction Graphic Organizers with Before-During-After Activities – Grades 2 -5 © 2010 readingwarmupsandmore.com
12
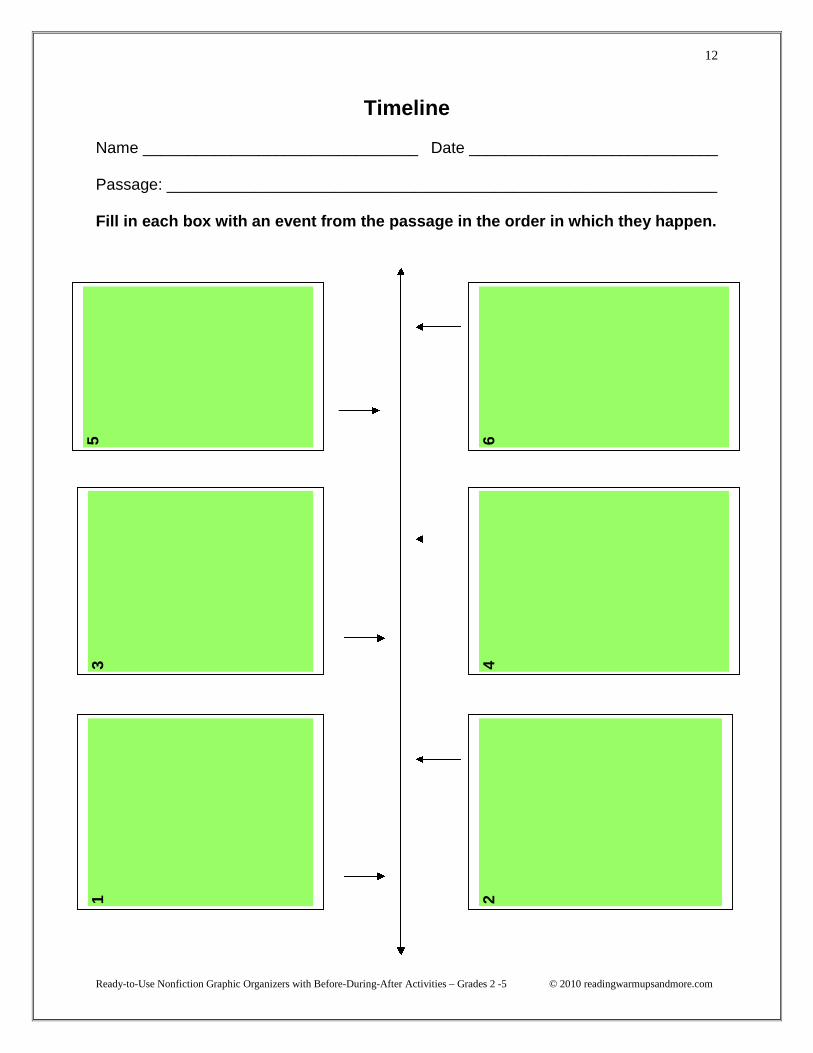
Timeline
Name _______________________________ Date ____________________________
Passage: ______________________________________________________________
Fill in each box with an event from the passage in the order in which they happen.
5 64
213
Ready-to-Use Nonfiction Graphic Organizers with Before-During-After Activities – Grades 2 -5 © 2010 readingwarmupsandmore.com
13
Retelling a Nonfiction Passage
Before Reading
1. Tell the students that retelling a passage shows understanding of the passage. Agood retelling of a passage shows that the reader or listener understands what thepassage is about. A poor retelling of a passage can uncover comprehension difficultiesthat may need to be corrected.
2. You can model a good retelling of a passage for your students. Tell the students thatthe goal of a good retell is that someone listening has a good understanding of thepassage when the retell is over. The retelling of a nonfiction passage needs to includethe topic, main idea, and details. Retell the passage following the “4” elements of anonfiction retell based on the nonfiction retell rubric chart.
3. There is a retelling rubric sheet for nonfiction passages. These rubric sheets will helpwith the assessment of the students’ retelling abilities.
4. Students will be practicing their retelling with a partner while you meet with eachstudent to assess their nonfiction passage retelling using the rubric.
During Reading
1. Read the passage out loud to the students, have the students read the passagealone, or pair the students and have them read it out loud to each other. They are to belistening for or looking for what happens so they may be able to retell the passage.
2. You may want to have the students write down the events that happen in thepassage.
After Reading
1. Retelling a Nonfiction Passage - Have the students fill in the boxes to help themwith their retell of a nonfiction passage.
2. Have the students meet with you or have them retell the passage in front of the classwhile you assess using the nonfiction retell rubric
Ready-to-Use Nonfiction Graphic Organizers with Before-During-After Activities – Grades 2 -5 © 2010 readingwarmupsandmore.com
14
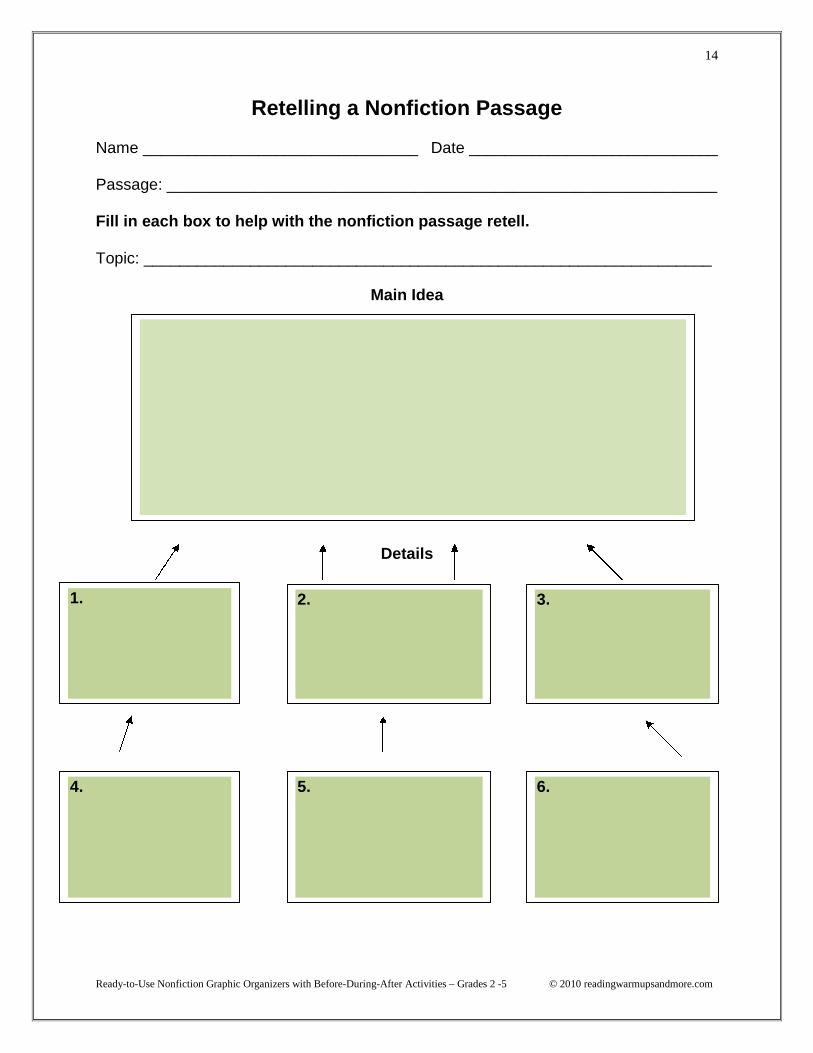
Retelling a Nonfiction Passage
Name _______________________________ Date ____________________________
Passage: ______________________________________________________________
Fill in each box to help with the nonfiction passage retell.
Topic: ________________________________________________________________
Main Idea
Details
1. 2. 3.
4. 5. 6.
Ready-to-Use Nonfiction Graphic Organizers with Before-During-After Activities – Grades 2 -5 © 2010 readingwarmupsandmore.com
15
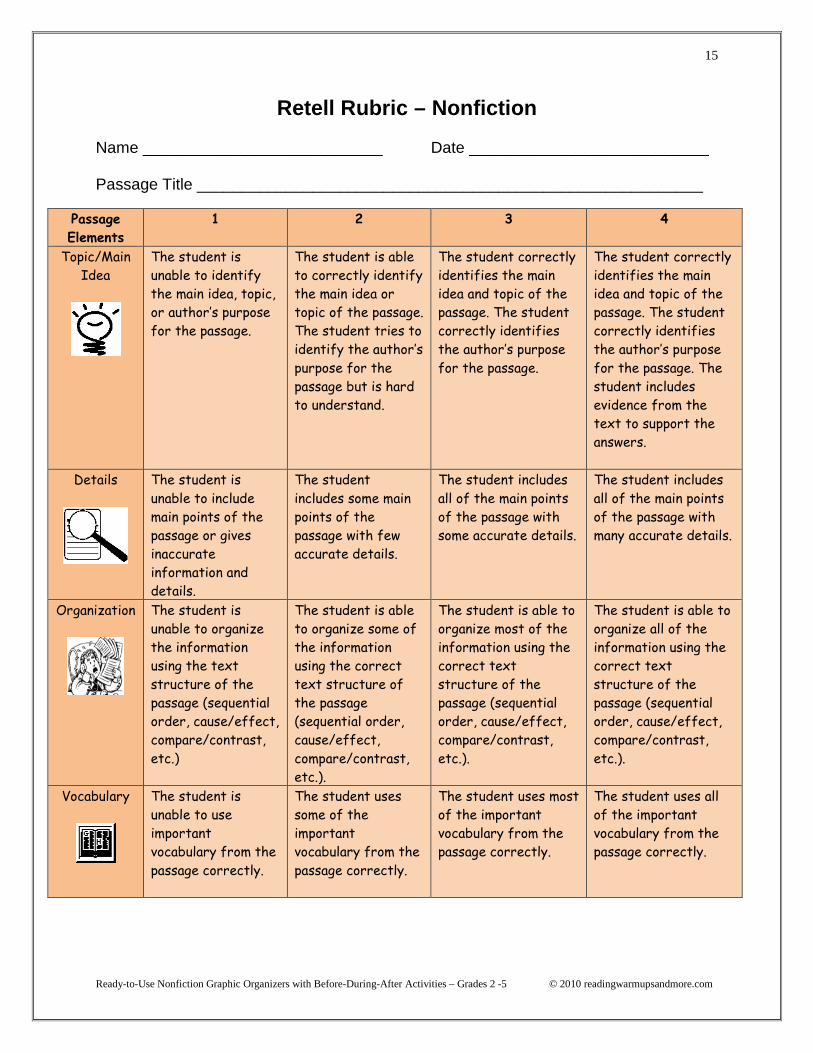
Retell Rubric – Nonfiction
Name ___________________________ Date ___________________________
Passage Title _________________________________________________________
Passage
Elements
1 2 3 4
Topic/Main
Idea
The student is
unable to identify
the main idea, topic,
or author’s purpose
for the passage.
The student is able
to correctly identify
the main idea or
topic of the passage.
The student tries to
identify the author’s
purpose for the
passage but is hard
to understand.
The student correctly
identifies the main
idea and topic of the
passage. The student
correctly identifies
the author’s purpose
for the passage.
The student correctly
identifies the main
idea and topic of the
passage. The student
correctly identifies
the author’s purpose
for the passage. The
student includes
evidence from the
text to support the
answers.
Details The student is
unable to include
main points of the
passage or gives
inaccurate
information and
details.
The student
includes some main
points of the
passage with few
accurate details.
The student includes
all of the main points
of the passage with
some accurate details.
The student includes
all of the main points
of the passage with
many accurate details.
Organization The student is
unable to organize
the information
using the text
structure of the
passage (sequential
order, cause/effect,
compare/contrast,
etc.)
The student is able
to organize some of
the information
using the correct
text structure of
the passage
(sequential order,
cause/effect,
compare/contrast,
etc.).
The student is able to
organize most of the
information using the
correct text
structure of the
passage (sequential
order, cause/effect,
compare/contrast,
etc.).
The student is able to
organize all of the
information using the
correct text
structure of the
passage (sequential
order, cause/effect,
compare/contrast,
etc.).
Vocabulary The student is
unable to use
important
vocabulary from the
passage correctly.
The student uses
some of the
important
vocabulary from the
passage correctly.
The student uses most
of the important
vocabulary from the
passage correctly.
The student uses all
of the important
vocabulary from the
passage correctly.

Ready-to-Use Nonfiction Graphic Organizers with Before-During-After Activities – Grades 2 -5 © 2010 readingwarmupsandmore.com
16
Interview
Before Reading
1. Tell the students that nonfiction passages give information. Nonfiction passagesmay tell about people, places, animals, or other things.
2. Tell the students that many readers like the passages that they read. Readers likesome parts of a passage more than other parts. Readers have favorite parts.
3. Remind the students of a recent passage that they would know. Ask them to tellabout what they liked about the passage and about any favorite parts.
4. Tell the students that they will be reading or listening to a nonfiction passage. Theyare to decide if they like the passage and what their favorite part of the passage is.Someone will be interviewing them to ask them this information.
During Reading
1. Read the passage out loud to the students, have the students read the passagealone, or pair the students and have them read it out loud to each other. They are to belistening for or looking for what they like about the passage and their favorite part.
2. You may want to have the students write down the events that happen in thepassage.
After Reading
1. Interview - Have the students pick another student from the class. They are tointerview that student and find out what the student liked about the passage and thestudent’s favorite part.
2. Have the students draw pictures or write sentences to show what the interviewedstudent liked about the passage and the favorite part.
Ready-to-Use Nonfiction Graphic Organizers with Before-During-After Activities – Grades 2 -5 © 2010 readingwarmupsandmore.com
17
Interview
Name _______________________________ Date ____________________________
Passage: ______________________________________________________________
Name of Student Interviewed ______________________________________________
Make a picture or write sentences of what the student liked about the passage.
Make a picture or write sentences about the student’s favorite part of thepassage.
Reading
Ready-to-Use Nonfiction Graphic Organizers with Before-During-After Activities – Grades 2 -5 © 2010 readingwarmupsandmore.com
18
Favorite Part
Before Reading
1. Tell the students that nonfiction passages give information. Nonfiction passages cantell about people, places, animals, or other things.
2. Tell the students that many readers like the passages that they read. Readers likesome parts of a passage more than other parts. Readers have favorite parts.
3. Remind the students of a recent passage that they would know. Ask them to tellabout what they liked about the passage and about any favorite parts.
4. Tell the students that they will be reading or listening to a nonfiction passage. Theyare to decide if they like the passage and what their favorite part of the passage is.
During Reading
1. Read the passage out loud to the students, have the students read the passagealone, or pair the students and have them read it out loud to each other. They are to belistening for or looking for what they like about the passage and their favorite part.
2. You may want to have the students write down the events that happen in thepassage.
After Reading
1. Favorite Part - Have the students fill out the graphic organizer showing a favoritepart of a fiction passage.
2. Have the students draw pictures or write sentences about their favorite part.
Ready-to-Use Nonfiction Graphic Organizers with Before-During-After Activities – Grades 2 -5 © 2010 readingwarmupsandmore.com
19
Favorite Part
Name _______________________________ Date ____________________________
Passage: ______________________________________________________________
Make a picture or write sentences of your favorite part.
Ready-to-Use Nonfiction Graphic Organizers with Before-During-After Activities – Grades 2 -5 © 2010 readingwarmupsandmore.com
20
Vocabulary Words Map
Before Reading
1. Identify words from the passage to use as vocabulary words to teach to students.Pick words that are important to the passage, words that are used frequentlyin a variety of contexts, and words that the students may have come in contact withbefore but would benefit from instruction on their meanings.
2. Read the vocabulary words out loud.
3. Tell the students that these words may be confusing or hard.
4. Vocabulary words necessary to understand the passage are taught directly. Directteach the meaning of these words to the students. Tell the students what the wordsmean using a definition the students will understand. Use the word in a sentence for thestudents that provides enough context to help the students understand the meaning.
5. For other words in the passage, model how to figure out the meaning of words thatmay be unfamiliar to the students by using the graphic organizer. Begin reading thepassage out loud to the students. Read up to a word that may be unfamiliar to thestudents. Depending on the context, you may need to read further on in the passage tohelp figure the meaning of the word. Make a copy of the “Vocabulary Words Map”graphic organizer. Think out loud as you use the graphic organizer. Write the word inthe first box. Write the sentence where the word is found. Determine and write downany context clues. Decide what you think the word means and write it down in the boxprovided. Draw a picture of what you think the word means. Write the word in your ownsentence.
6. Model this process as many times as you think is necessary.
During Reading
1. Read the passage out loud to the students or have the students read the passagethemselves. You may pair the students and have them read it out loud to each other.They are to be listening for or looking for words that may be unfamiliar to them.
2. You may want to have the students write them down as they find them. You can havethem use paper or marker boards.
After Reading
1. Have the students tell about any unfamiliar words that they found in the passage.
2. Vocabulary Words Map - Have students complete the “Vocabulary Words Map”graphic organizer.
3. Have the students share their results with the rest of the class.
Ready-to-Use Nonfiction Graphic Organizers with Before-During-After Activities – Grades 2 -5 © 2010 readingwarmupsandmore.com
21
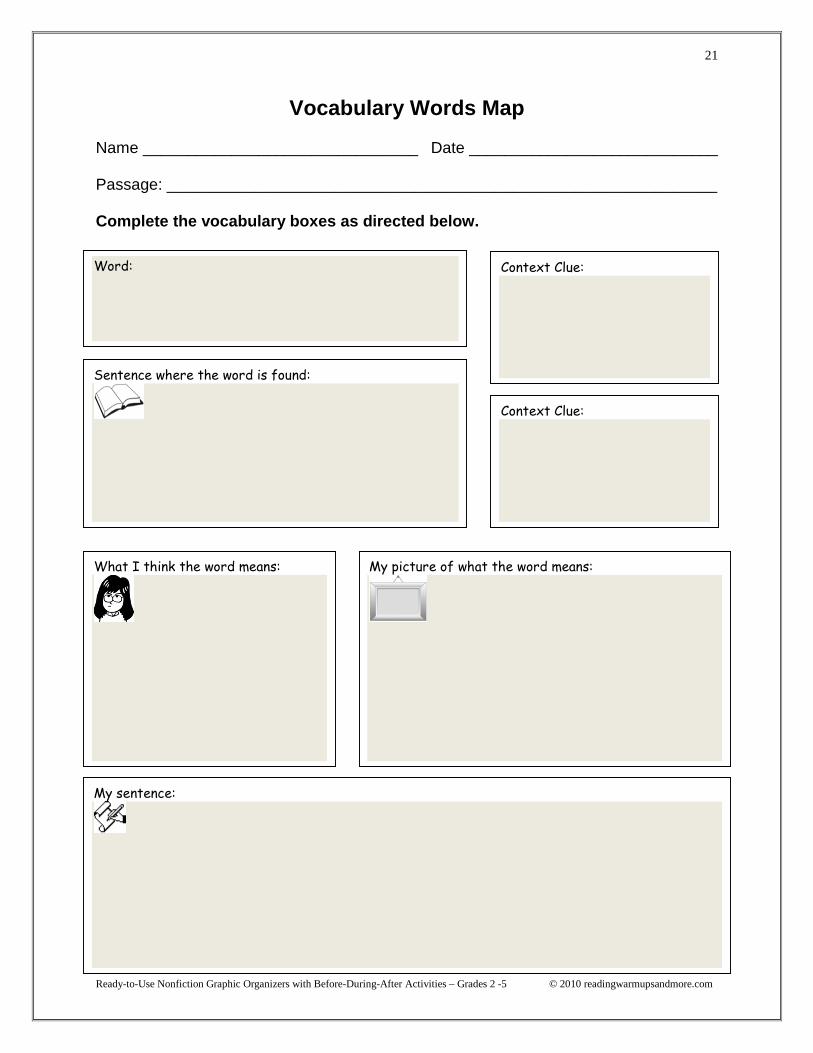
Vocabulary Words Map
Name _______________________________ Date ____________________________
Passage: ______________________________________________________________
Complete the vocabulary boxes as directed below.
Think
Context Clue:
Context Clue:
Sentence where the word is found:
What I think the word means:
My sentence:
My picture of what the word means:
Word:
Ready-to-Use Nonfiction Graphic Organizers with Before-During-After Activities – Grades 2 -5 © 2010 readingwarmupsandmore.com
22
ABC Word Chart
Before Reading
1. Give students a copy of the “ABC Word Chart” graphic organizer. Read the title of apassage out loud. Have the students think by themselves about what they know aboutinformation from the title of the passage. You may also need to show any pictures thatcome with the passage to the students, but do not show the words of the passage tothem. Have the students begin to fill out the graphic organizer. Tell them to write theword “Before” at the top of the graphic organizer. This means that they used this chartto write words before the passage was read. They are to put words that they knowabout the passage in the boxes. Words that start with “a” go in the “A” box. Words thatstart with “b” go in the “B” box and so on.
2. After a few minutes, pair up the students and have them work together to continuefilling in the graphic organizer. They can compare what they each have so far and addto their own charts.
3. Have the students share with the rest of the class.
During Reading
1. Read the passage out loud to the students or have the students read the passagethemselves. You may pair the students and have them read it out loud to each other.They are to be listening for or looking for words that may be put on their chart tellinginformation about the passage.
2. You may want to have the students write them down as they find them. If so, handout another copy of the graphic organizer and have the students write “After” at the top.This means that this was filled out after the passage was read.
After Reading
1. ABC Word Chart - Have students complete the “ABC Word Chart” graphicorganizer.
2. Have the students share their results with the rest of the class.
Ready-to-Use Nonfiction Graphic Organizers with Before-During-After Activities – Grades 2 -5 © 2010 readingwarmupsandmore.com
23
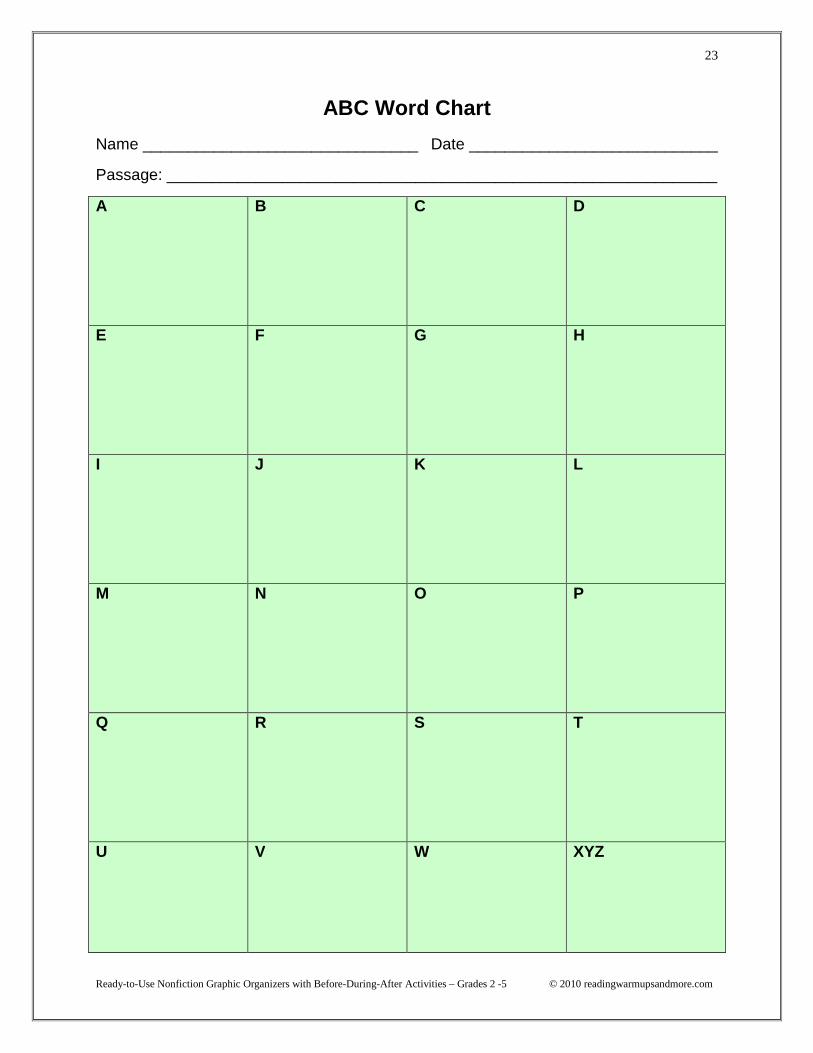
ABC Word Chart
Name _______________________________ Date ____________________________
Passage: ______________________________________________________________
A B C D
E F G H
I J K L
M N O P
Q R S T
U V W XYZ
Ready-to-Use Nonfiction Graphic Organizers with Before-During-After Activities – Grades 2 -5 © 2010 readingwarmupsandmore.com
24
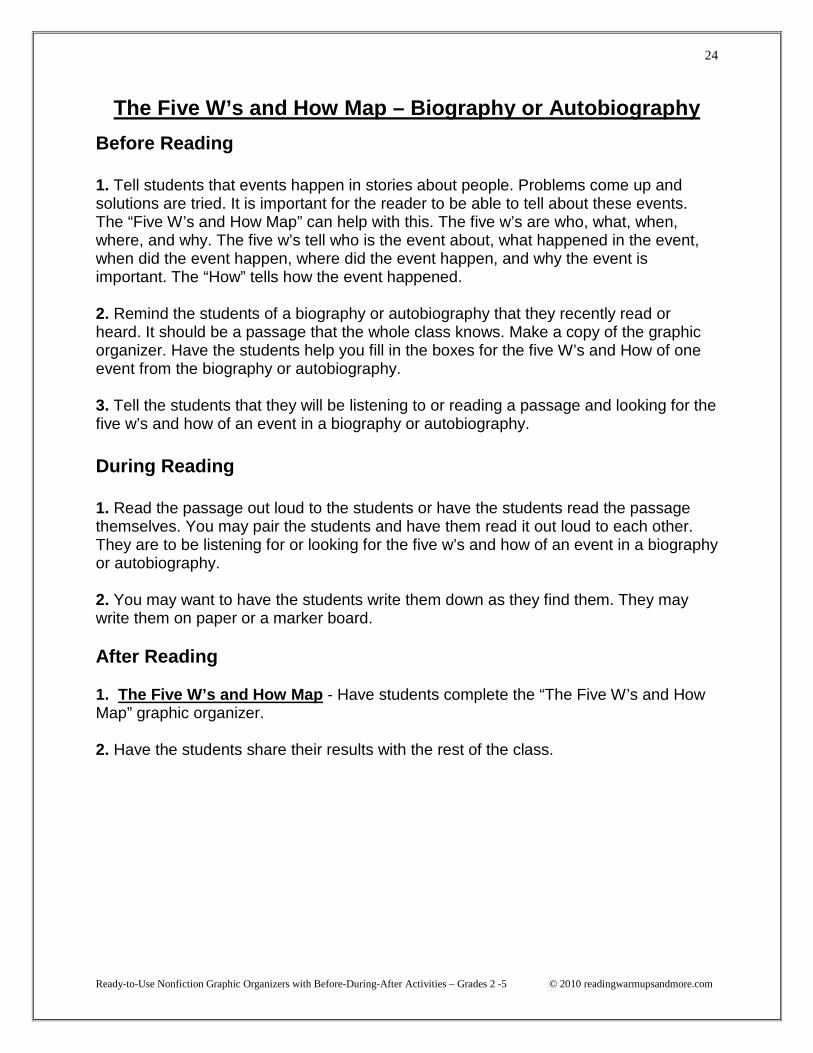
The Five W’s and How Map – Biography or Autobiography
Before Reading
1. Tell students that events happen in stories about people. Problems come up andsolutions are tried. It is important for the reader to be able to tell about these events.The “Five W’s and How Map” can help with this. The five w’s are who, what, when,where, and why. The five w’s tell who is the event about, what happened in the event,when did the event happen, where did the event happen, and why the event isimportant. The “How” tells how the event happened.
2. Remind the students of a biography or autobiography that they recently read orheard. It should be a passage that the whole class knows. Make a copy of the graphicorganizer. Have the students help you fill in the boxes for the five W’s and How of oneevent from the biography or autobiography.
3. Tell the students that they will be listening to or reading a passage and looking for thefive w’s and how of an event in a biography or autobiography.
During Reading
1. Read the passage out loud to the students or have the students read the passagethemselves. You may pair the students and have them read it out loud to each other.They are to be listening for or looking for the five w’s and how of an event in a biographyor autobiography.
2. You may want to have the students write them down as they find them. They maywrite them on paper or a marker board.
After Reading
1. The Five W’s and How Map - Have students complete the “The Five W’s and HowMap” graphic organizer.
2. Have the students share their results with the rest of the class.
Ready-to-Use Nonfiction Graphic Organizers with Before-During-After Activities – Grades 2 -5 © 2010 readingwarmupsandmore.com
25
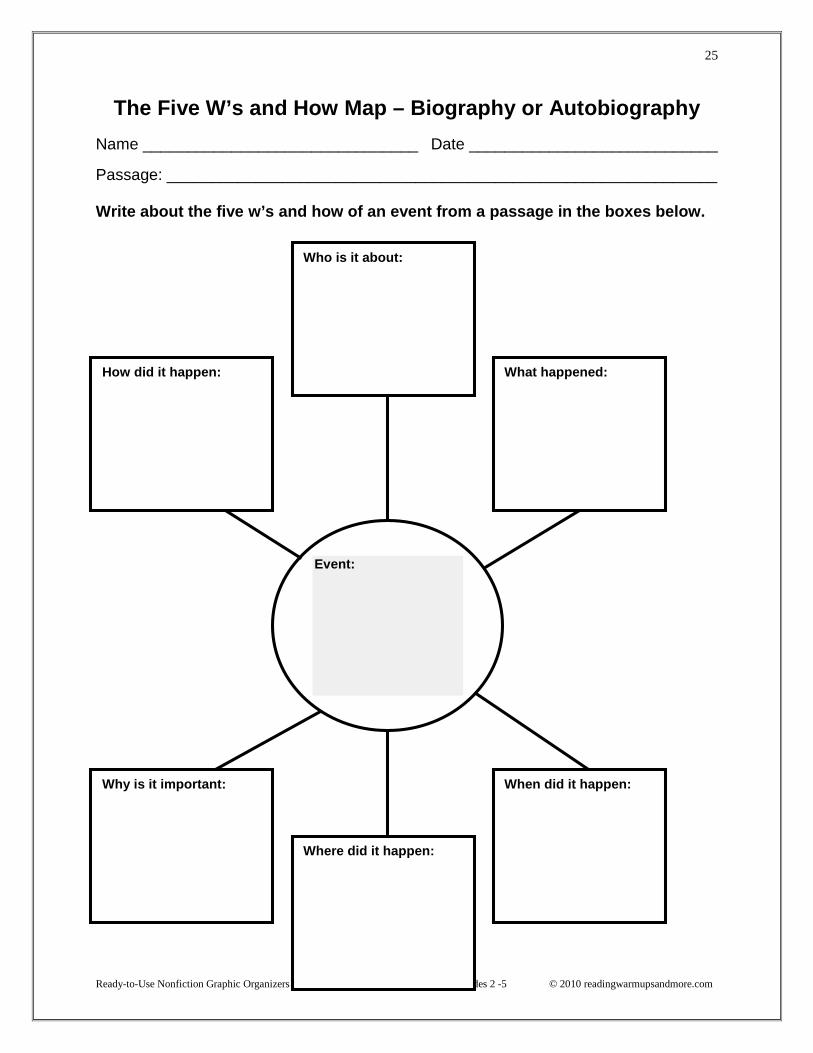
The Five W’s and How Map – Biography or Autobiography
Name _______________________________ Date ____________________________
Passage: ______________________________________________________________
Write about the five w’s and how of an event from a passage in the boxes below.
How did it happen:
Who is it about:
What happened:
Why is it important:
Where did it happen:
When did it happen:
Event:
Ready-to-Use Nonfiction Graphic Organizers with Before-During-After Activities – Grades 2 -5 © 2010 readingwarmupsandmore.com
26
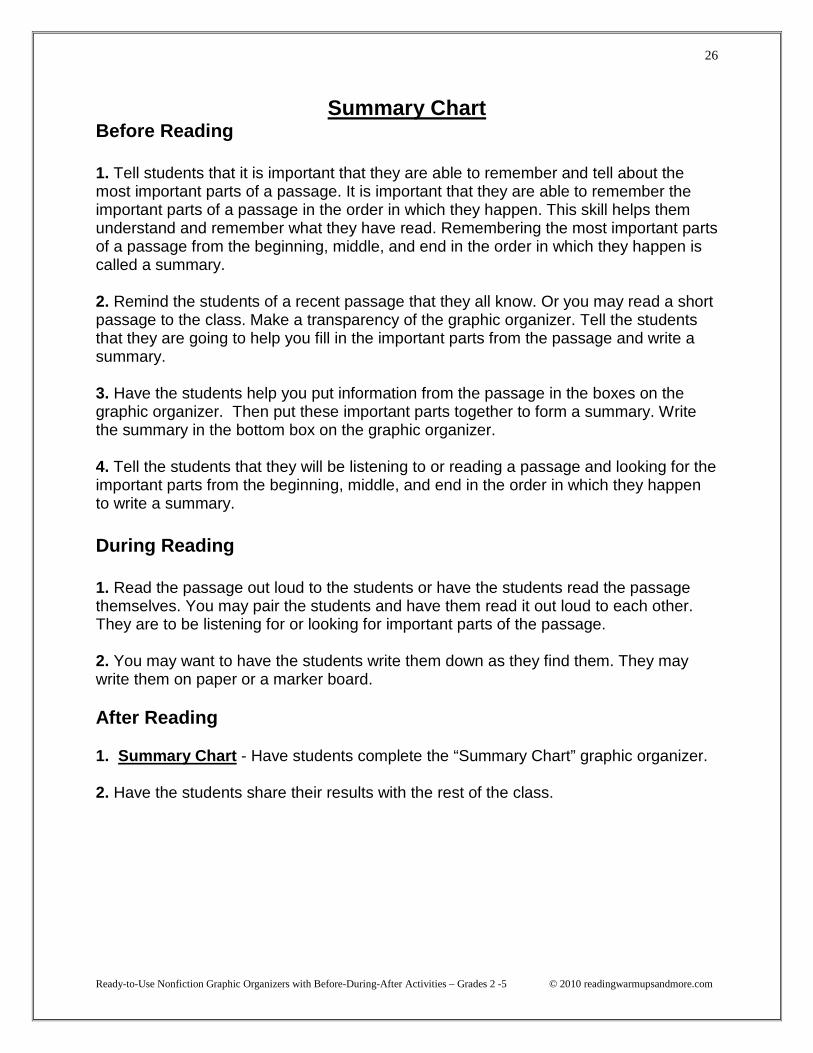
Summary ChartBefore Reading
1. Tell students that it is important that they are able to remember and tell about themost important parts of a passage. It is important that they are able to remember theimportant parts of a passage in the order in which they happen. This skill helps themunderstand and remember what they have read. Remembering the most important partsof a passage from the beginning, middle, and end in the order in which they happen iscalled a summary.
2. Remind the students of a recent passage that they all know. Or you may read a shortpassage to the class. Make a transparency of the graphic organizer. Tell the studentsthat they are going to help you fill in the important parts from the passage and write asummary.
3. Have the students help you put information from the passage in the boxes on thegraphic organizer. Then put these important parts together to form a summary. Writethe summary in the bottom box on the graphic organizer.
4. Tell the students that they will be listening to or reading a passage and looking for theimportant parts from the beginning, middle, and end in the order in which they happento write a summary.
During Reading
1. Read the passage out loud to the students or have the students read the passagethemselves. You may pair the students and have them read it out loud to each other.They are to be listening for or looking for important parts of the passage.
2. You may want to have the students write them down as they find them. They maywrite them on paper or a marker board.
After Reading
1. Summary Chart - Have students complete the “Summary Chart” graphic organizer.
2. Have the students share their results with the rest of the class.
Ready-to-Use Nonfiction Graphic Organizers with Before-During-After Activities – Grades 2 -5 © 2010 readingwarmupsandmore.com
27
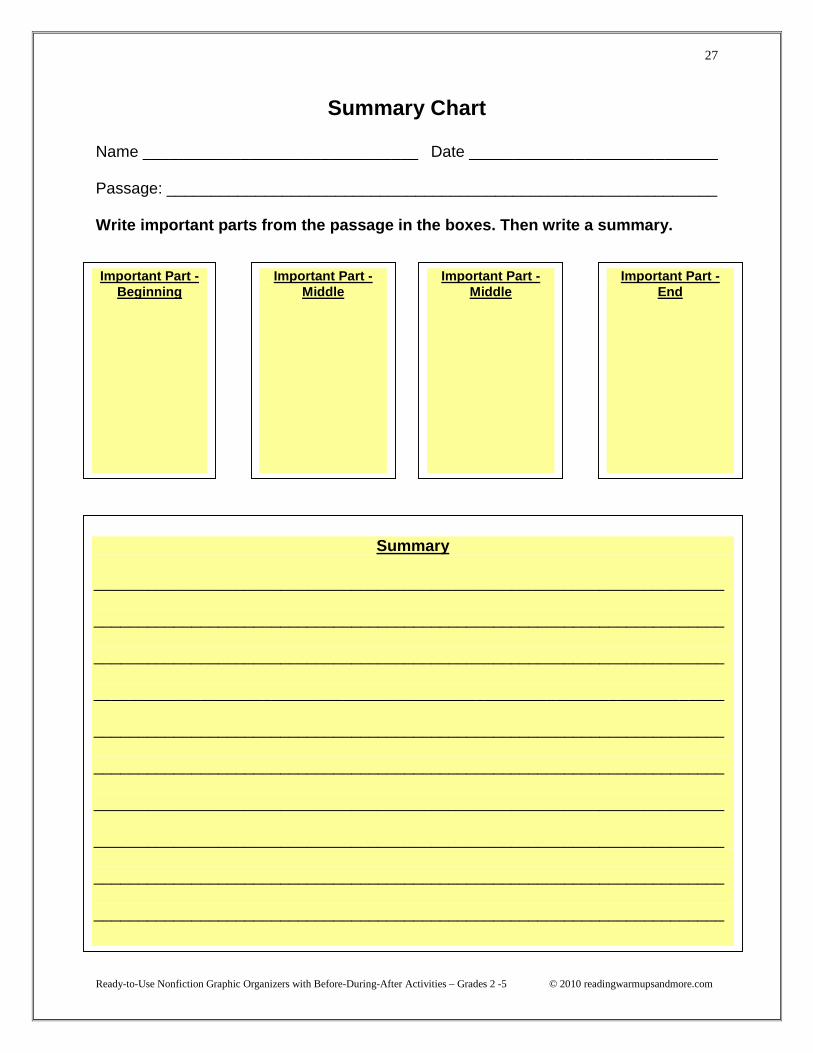
Summary Chart
Name _______________________________ Date ____________________________
Passage: ______________________________________________________________
Write important parts from the passage in the boxes. Then write a summary.
Important Part -Beginning
Important Part -Middle
Important Part -Middle
Important Part -End
Summary
_______________________________________________________________________
_______________________________________________________________________
_______________________________________________________________________
_______________________________________________________________________
_______________________________________________________________________
_______________________________________________________________________
_______________________________________________________________________
_______________________________________________________________________
_______________________________________________________________________
_______________________________________________________________________
Ready-to-Use Nonfiction Graphic Organizers with Before-During-After Activities – Grades 2 -5 © 2010 readingwarmupsandmore.com
28
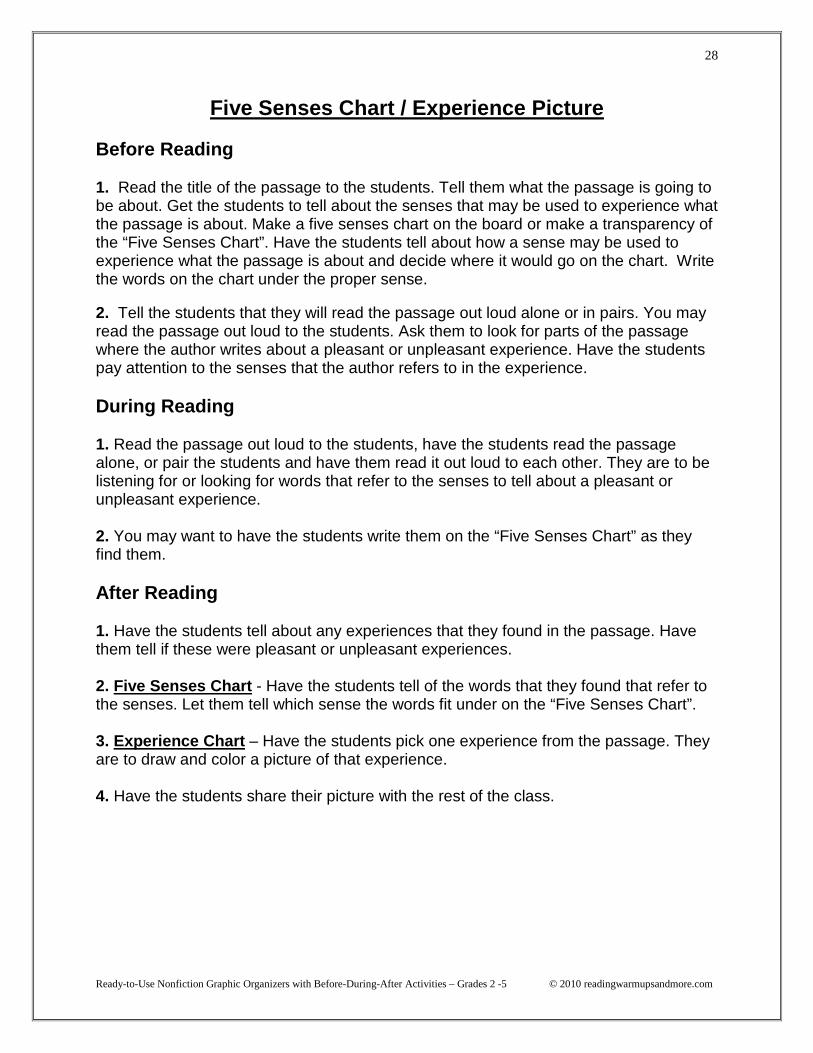
Five Senses Chart / Experience Picture
Before Reading
1. Read the title of the passage to the students. Tell them what the passage is going tobe about. Get the students to tell about the senses that may be used to experience whatthe passage is about. Make a five senses chart on the board or make a transparency ofthe “Five Senses Chart”. Have the students tell about how a sense may be used toexperience what the passage is about and decide where it would go on the chart. Writethe words on the chart under the proper sense.
2. Tell the students that they will read the passage out loud alone or in pairs. You mayread the passage out loud to the students. Ask them to look for parts of the passagewhere the author writes about a pleasant or unpleasant experience. Have the studentspay attention to the senses that the author refers to in the experience.
During Reading
1. Read the passage out loud to the students, have the students read the passagealone, or pair the students and have them read it out loud to each other. They are to belistening for or looking for words that refer to the senses to tell about a pleasant orunpleasant experience.
2. You may want to have the students write them on the “Five Senses Chart” as theyfind them.
After Reading
1. Have the students tell about any experiences that they found in the passage. Havethem tell if these were pleasant or unpleasant experiences.
2. Five Senses Chart - Have the students tell of the words that they found that refer tothe senses. Let them tell which sense the words fit under on the “Five Senses Chart”.
3. Experience Chart – Have the students pick one experience from the passage. Theyare to draw and color a picture of that experience.
4. Have the students share their picture with the rest of the class.
Ready-to-Use Nonfiction Graphic Organizers with Before-During-After Activities – Grades 2 -5 © 2010 readingwarmupsandmore.com
29
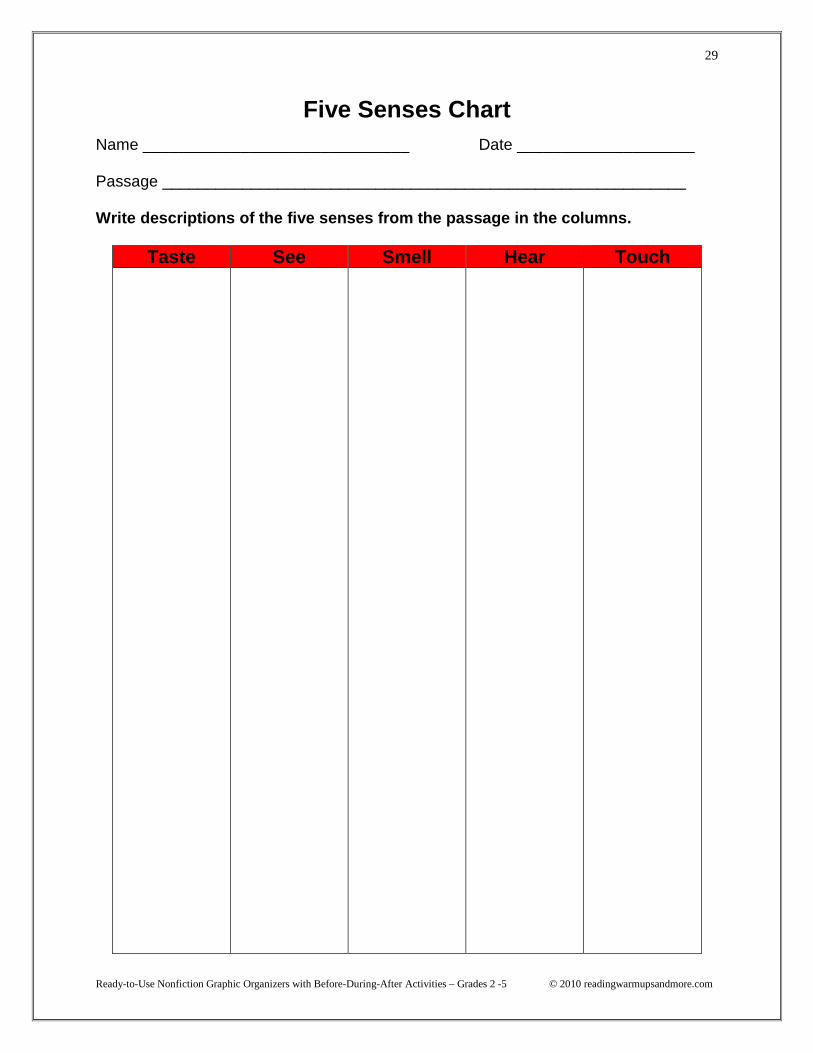
Five Senses Chart
Name ______________________________ Date ____________________
Passage ___________________________________________________________
Write descriptions of the five senses from the passage in the columns.
Taste See Smell Hear Touch
Ready-to-Use Nonfiction Graphic Organizers with Before-During-After Activities – Grades 2 -5 © 2010 readingwarmupsandmore.com
30
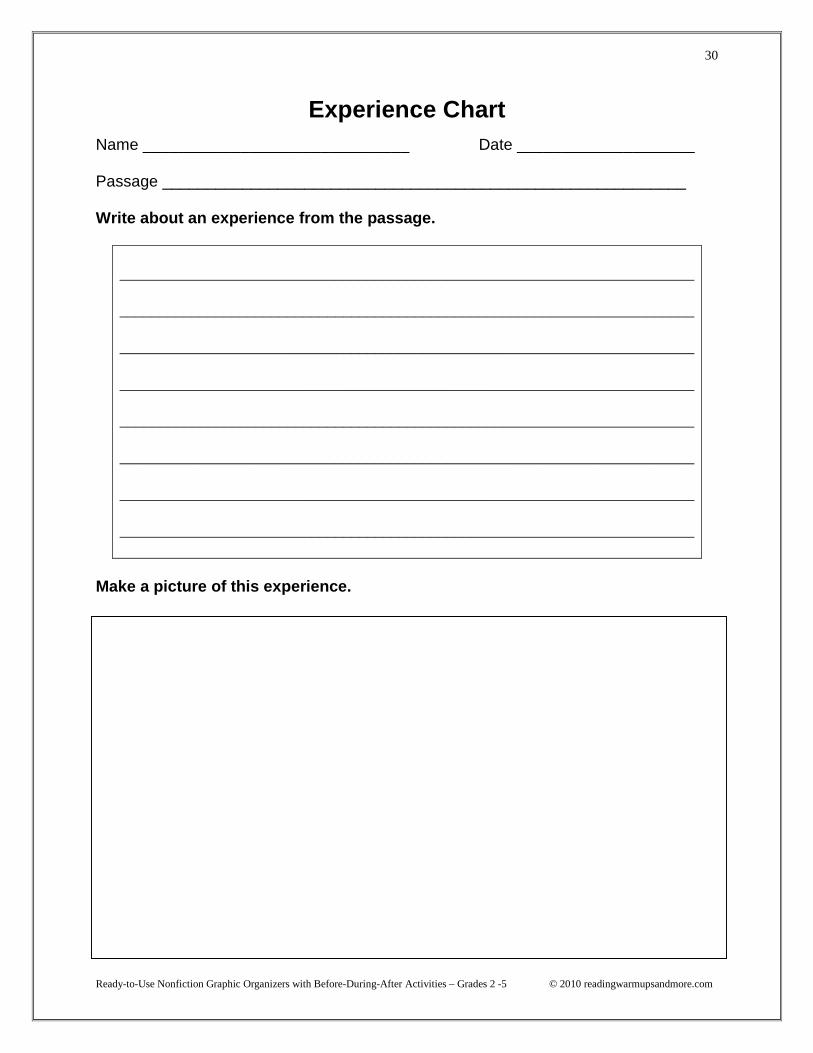
Experience Chart
Name ______________________________ Date ____________________
Passage ___________________________________________________________
Write about an experience from the passage.
________________________________________________________________________
________________________________________________________________________
________________________________________________________________________
________________________________________________________________________
________________________________________________________________________
________________________________________________________________________
________________________________________________________________________
________________________________________________________________________
Make a picture of this experience.
Ready-to-Use Nonfiction Graphic Organizers with Before-During-After Activities – Grades 2 -5 © 2010 readingwarmupsandmore.com
31
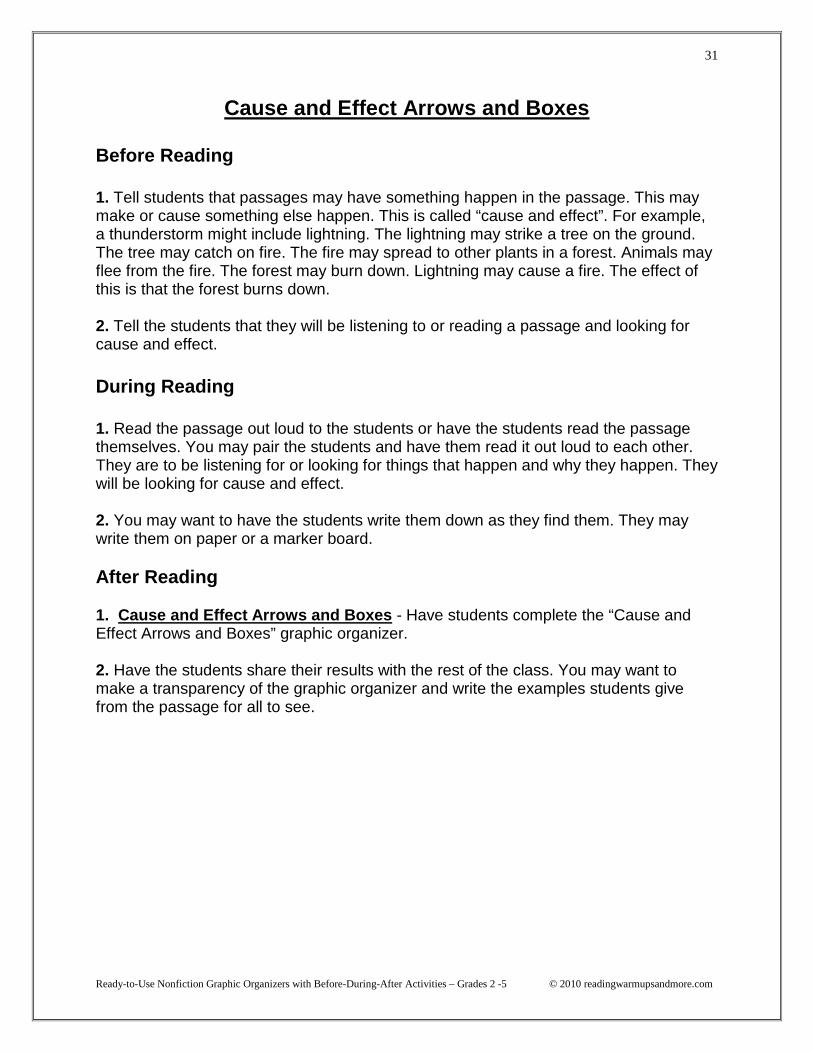
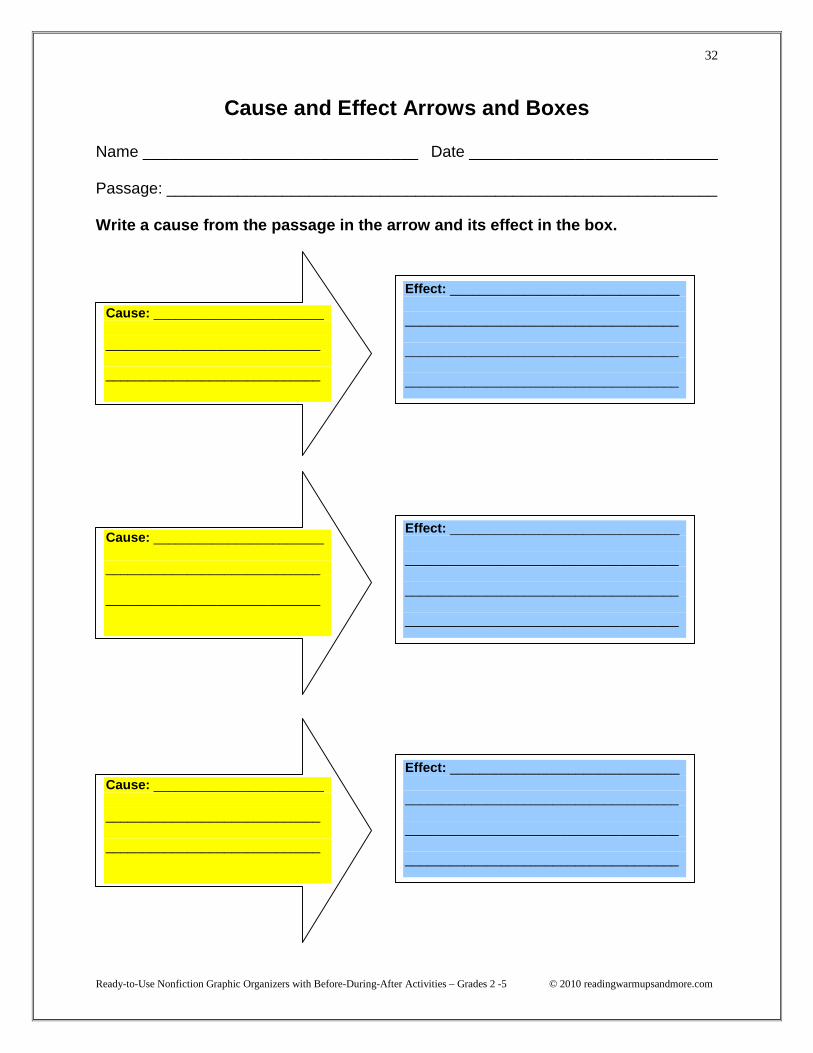
Cause and Effect Arrows and Boxes
Before Reading
1. Tell students that passages may have something happen in the passage. This maymake or cause something else happen. This is called “cause and effect”. For example,a thunderstorm might include lightning. The lightning may strike a tree on the ground.The tree may catch on fire. The fire may spread to other plants in a forest. Animals mayflee from the fire. The forest may burn down. Lightning may cause a fire. The effect ofthis is that the forest burns down.
2. Tell the students that they will be listening to or reading a passage and looking forcause and effect.
During Reading
1. Read the passage out loud to the students or have the students read the passagethemselves. You may pair the students and have them read it out loud to each other.They are to be listening for or looking for things that happen and why they happen. Theywill be looking for cause and effect.
2. You may want to have the students write them down as they find them. They maywrite them on paper or a marker board.
After Reading
1. Cause and Effect Arrows and Boxes - Have students complete the “Cause andEffect Arrows and Boxes” graphic organizer.
2. Have the students share their results with the rest of the class. You may want tomake a transparency of the graphic organizer and write the examples students givefrom the passage for all to see.
Ready-to-Use Nonfiction Graphic Organizers with Before-During-After Activities – Grades 2 -5 © 2010 readingwarmupsandmore.com
32
Cause and Effect Arrows and Boxes
Name _______________________________ Date ____________________________
Passage: ______________________________________________________________
Write a cause from the passage in the arrow and its effect in the box.
Cause: _______________________
_____________________________
_____________________________
Effect: _______________________________
_____________________________________
_____________________________________
_____________________________________
Cause: _______________________
_____________________________
_____________________________
Effect: _______________________________
_____________________________________
_____________________________________
_____________________________________
Cause: _______________________
_____________________________
_____________________________
Effect: _______________________________
_____________________________________
_____________________________________
_____________________________________
Ready-to-Use Nonfiction Graphic Organizers with Before-During-After Activities – Grades 2 -5 © 2010 readingwarmupsandmore.com
33
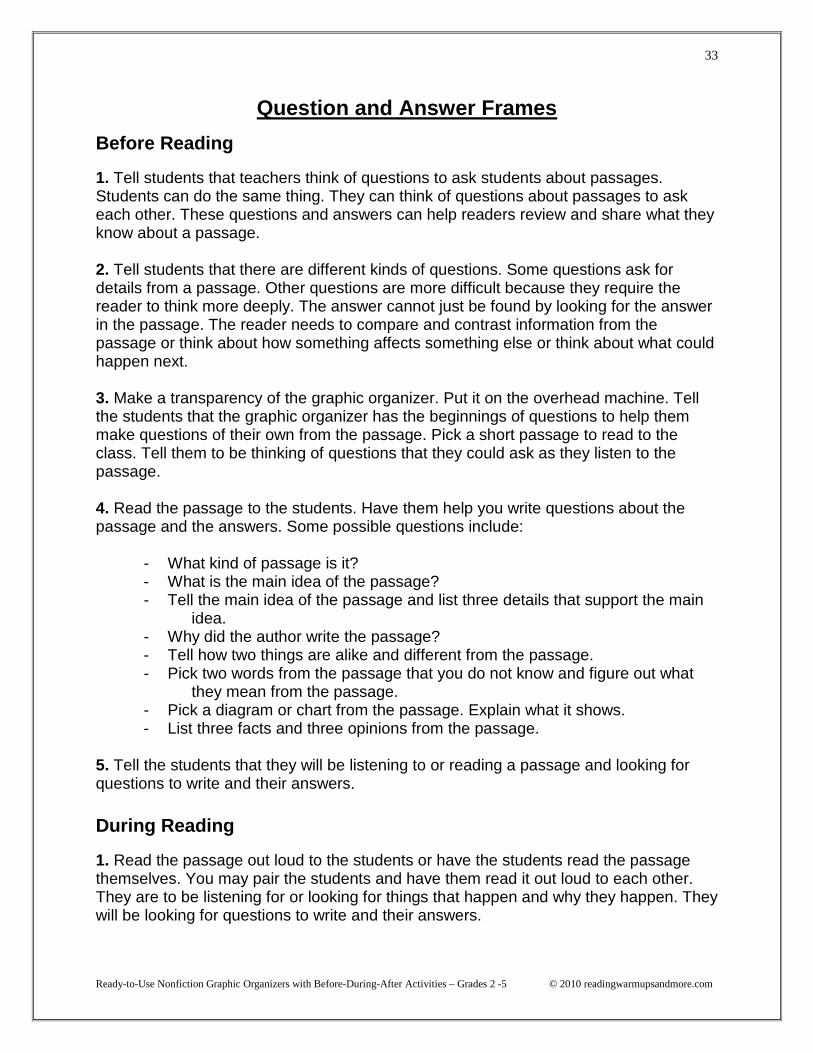
Question and Answer Frames
Before Reading
1. Tell students that teachers think of questions to ask students about passages.Students can do the same thing. They can think of questions about passages to askeach other. These questions and answers can help readers review and share what theyknow about a passage.
2. Tell students that there are different kinds of questions. Some questions ask fordetails from a passage. Other questions are more difficult because they require thereader to think more deeply. The answer cannot just be found by looking for the answerin the passage. The reader needs to compare and contrast information from thepassage or think about how something affects something else or think about what couldhappen next.
3. Make a transparency of the graphic organizer. Put it on the overhead machine. Tellthe students that the graphic organizer has the beginnings of questions to help themmake questions of their own from the passage. Pick a short passage to read to theclass. Tell them to be thinking of questions that they could ask as they listen to thepassage.
4. Read the passage to the students. Have them help you write questions about thepassage and the answers. Some possible questions include:
- What kind of passage is it?- What is the main idea of the passage?- Tell the main idea of the passage and list three details that support the main
idea.- Why did the author write the passage?- Tell how two things are alike and different from the passage.- Pick two words from the passage that you do not know and figure out what
they mean from the passage.- Pick a diagram or chart from the passage. Explain what it shows.- List three facts and three opinions from the passage.
5. Tell the students that they will be listening to or reading a passage and looking forquestions to write and their answers.
During Reading
1. Read the passage out loud to the students or have the students read the passagethemselves. You may pair the students and have them read it out loud to each other.They are to be listening for or looking for things that happen and why they happen. Theywill be looking for questions to write and their answers.

Ready-to-Use Nonfiction Graphic Organizers with Before-During-After Activities – Grades 2 -5 © 2010 readingwarmupsandmore.com
34
2. You may want to have the students write them down as they find them. They maywrite them on paper or a marker board.
After Reading
1. Question and Answer Frames - Have students complete the “Question and AnswerFrames” graphic organizer.
2. Have the students share their results with the rest of the class. You may want tomake a transparency of the graphic organizer and write the examples students givefrom the passage for all to see.
Ready-to-Use Nonfiction Graphic Organizers with Before-During-After Activities – Grades 2 -5 © 2010 readingwarmupsandmore.com
35
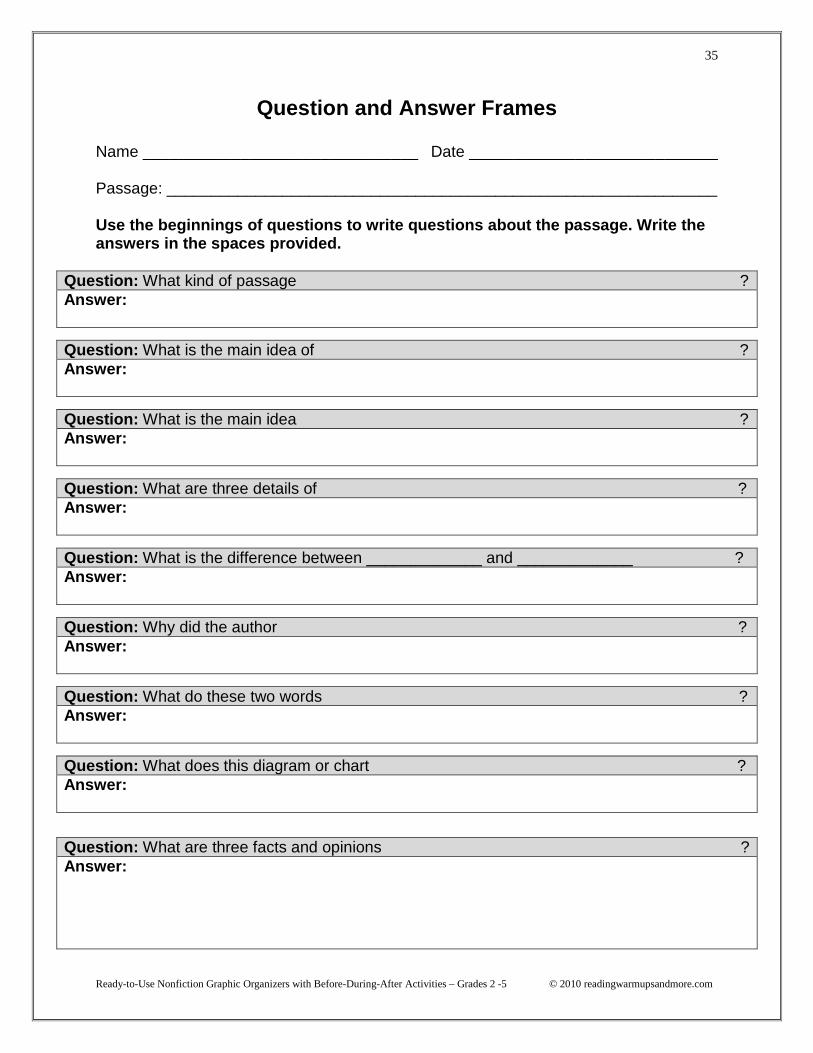
Question and Answer Frames
Name _______________________________ Date ____________________________
Passage: ______________________________________________________________
Use the beginnings of questions to write questions about the passage. Write theanswers in the spaces provided.
Question: What kind of passage ?Answer:
Question: What is the main idea of ?Answer:
Question: What is the main idea ?Answer:
Question: What are three details of ?Answer:
Question: What is the difference between _____________ and _____________ ?Answer:
Question: Why did the author ?Answer:
Question: What do these two words ?Answer:
Question: What does this diagram or chart ?Answer:
Question: What are three facts and opinions ?Answer:
Ready-to-Use Nonfiction Graphic Organizers with Before-During-After Activities – Grades 2 -5 © 2010 readingwarmupsandmore.com
36
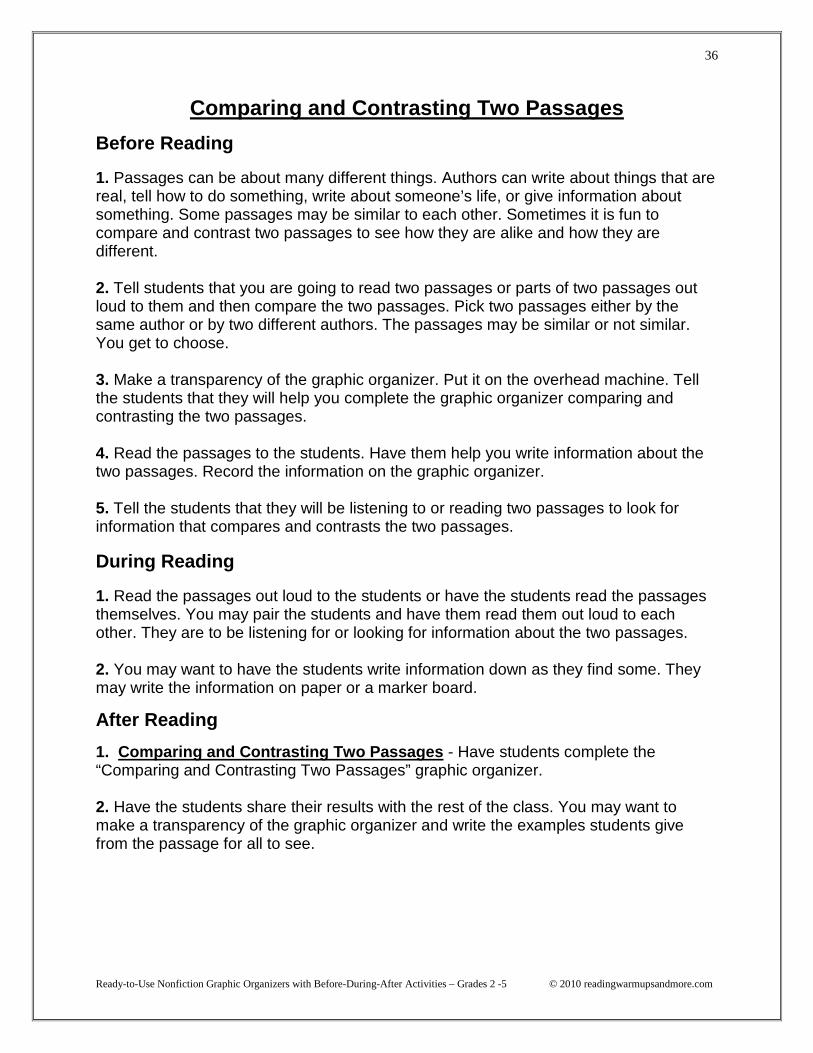
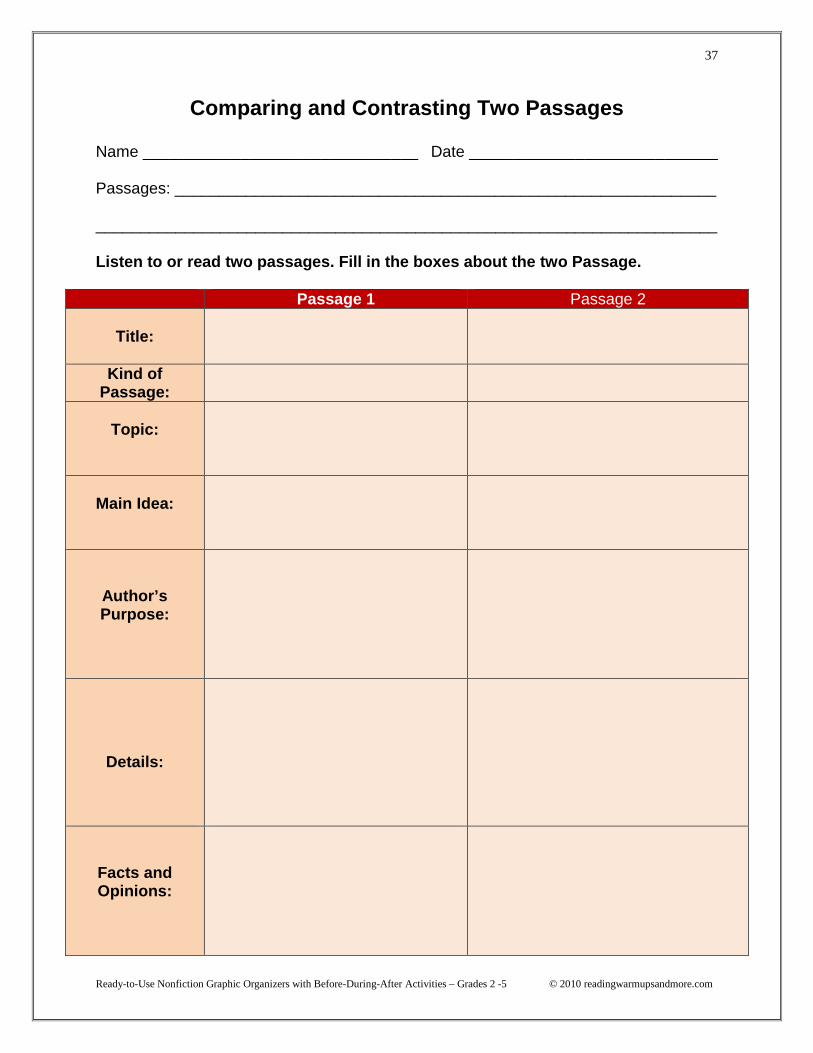
Comparing and Contrasting Two Passages
Before Reading
1. Passages can be about many different things. Authors can write about things that arereal, tell how to do something, write about someone’s life, or give information aboutsomething. Some passages may be similar to each other. Sometimes it is fun tocompare and contrast two passages to see how they are alike and how they aredifferent.
2. Tell students that you are going to read two passages or parts of two passages outloud to them and then compare the two passages. Pick two passages either by thesame author or by two different authors. The passages may be similar or not similar.You get to choose.
3. Make a transparency of the graphic organizer. Put it on the overhead machine. Tellthe students that they will help you complete the graphic organizer comparing andcontrasting the two passages.
4. Read the passages to the students. Have them help you write information about thetwo passages. Record the information on the graphic organizer.
5. Tell the students that they will be listening to or reading two passages to look forinformation that compares and contrasts the two passages.
During Reading
1. Read the passages out loud to the students or have the students read the passagesthemselves. You may pair the students and have them read them out loud to eachother. They are to be listening for or looking for information about the two passages.
2. You may want to have the students write information down as they find some. Theymay write the information on paper or a marker board.
After Reading
1. Comparing and Contrasting Two Passages - Have students complete the“Comparing and Contrasting Two Passages” graphic organizer.
2. Have the students share their results with the rest of the class. You may want tomake a transparency of the graphic organizer and write the examples students givefrom the passage for all to see.
Ready-to-Use Nonfiction Graphic Organizers with Before-During-After Activities – Grades 2 -5 © 2010 readingwarmupsandmore.com
37
Comparing and Contrasting Two Passages
Name _______________________________ Date ____________________________
Passages: _____________________________________________________________
______________________________________________________________________
Listen to or read two passages. Fill in the boxes about the two Passage.
Passage 1 Passage 2
Title:
Kind ofPassage:
Topic:
Main Idea:
Author’sPurpose:
Details:
Facts andOpinions:

Ready-to-Use Nonfiction Graphic Organizers with Before-During-After Activities – Grades 2 -5 © 2010 readingwarmupsandmore.com
38
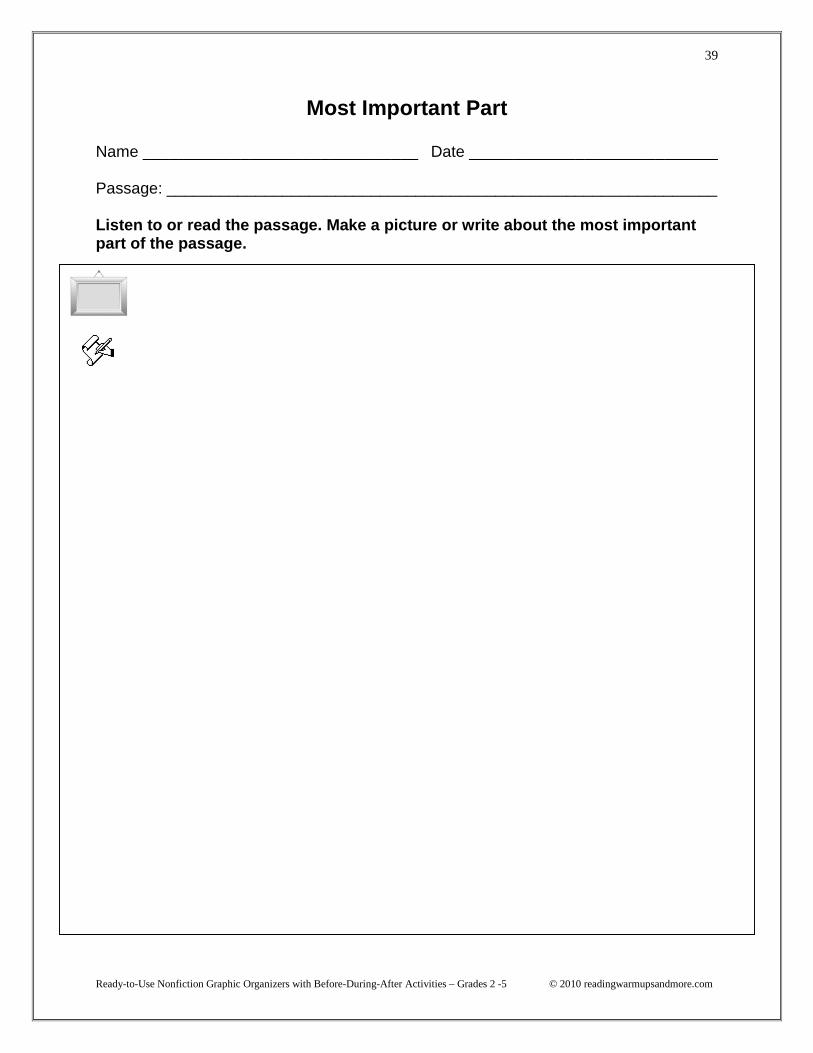
Most Important Part
Before Reading
1. Readers need to be able to tell what the most important part of a passage is afterreading it or listening to it. The most important part of a nonfiction passage could be apart from the beginning, middle, or end of the passage.
2. Tell students that you are going to read a passage out loud to them. They are tolisten for what they think is the most important part. Tell the students that they need tobe able to tell why they think it is the most important part of the passage.
3. Make a transparency of the graphic organizer. Put it on the overhead machine. Tellthe students that they will help you complete the graphic organizer telling the mostimportant part of the passage.
4. Read the passage to the students. Have them help you write information about themost important part of the passage. Record the information on the graphic organizer.
5. Tell the students that they will be listening to or reading a passage to look for themost important part of the passage.
During Reading
1. Read the passage out loud to the students or have the students read the passagethemselves. You may pair the students and have them read them out loud to eachother. They are to be listening for or looking for the most important part of the passage.
2. You may want to have the students write information down as they find some. Theymay write the information on paper or a marker board.
After Reading
1. Most Important Part - Have students complete the “Most Important Part” graphicorganizer.
2. Have the students share their results with the rest of the class. You may want tomake a transparency of the graphic organizer and write the examples students givefrom the passage for all to see.
Ready-to-Use Nonfiction Graphic Organizers with Before-During-After Activities – Grades 2 -5 © 2010 readingwarmupsandmore.com
39
Most Important Part
Name _______________________________ Date ____________________________
Passage: ______________________________________________________________
Listen to or read the passage. Make a picture or write about the most importantpart of the passage.
Reading
Ready-to-Use Nonfiction Graphic Organizers with Before-During-After Activities – Grades 2 -5 © 2010 readingwarmupsandmore.com
40
Think – Pair - Share
Before Reading
1. Tell the students that it is important to be able to work independently. It is alsoimportant to be able to work with other people. Problems can be solved and questionscan be answered with the help of other people.
2. Tell students that you are going to read a passage out loud to them. Then you aregoing to ask a question about the passage. They are to think for a bit about the answerto the question. Then you are going to put them with another student. The two studentswill work together to answer the question. Then the students will share their answer withthe rest of the class.
3. Read the passage to the students. Ask them a question about the story. Here are afew examples:
- What kind of passage is it?- What is the main idea of the passage?- What are three details that support the main idea of the passage?- Why did the author write the passage?- How are two things alike and different in the passage?- What are two words from the passage that you do not know and what do
they mean?- Pick a diagram or chart from the passage. Explain what it shows.- What are three facts and three opinions from the passage?
Have the students think about their answer by themselves. Then put the students inpairs. Have the two students compare their answers and come up with an answertogether. Then have the pairs share their answers with the rest of the class.
4. Tell the students that they will be listening to or reading a passage to think about theanswer to a question alone and then in a pair.
During Reading
1. Read the passage out loud to the students or have the students read the passagethemselves. You may pair the students and have them read them out loud to eachother. Ask a question about the passage. Have the students think about the answeralone and then in a pair.
2. You may want to have the students write information down as they find some. Theymay write the information on paper or a marker board.
After Reading
1. Think – Pair - Share - Have students complete the graphic organizer.
2. Have the students Have the students share their results with the rest of the class.
Ready-to-Use Nonfiction Graphic Organizers with Before-During-After Activities – Grades 2 -5 © 2010 readingwarmupsandmore.com
41
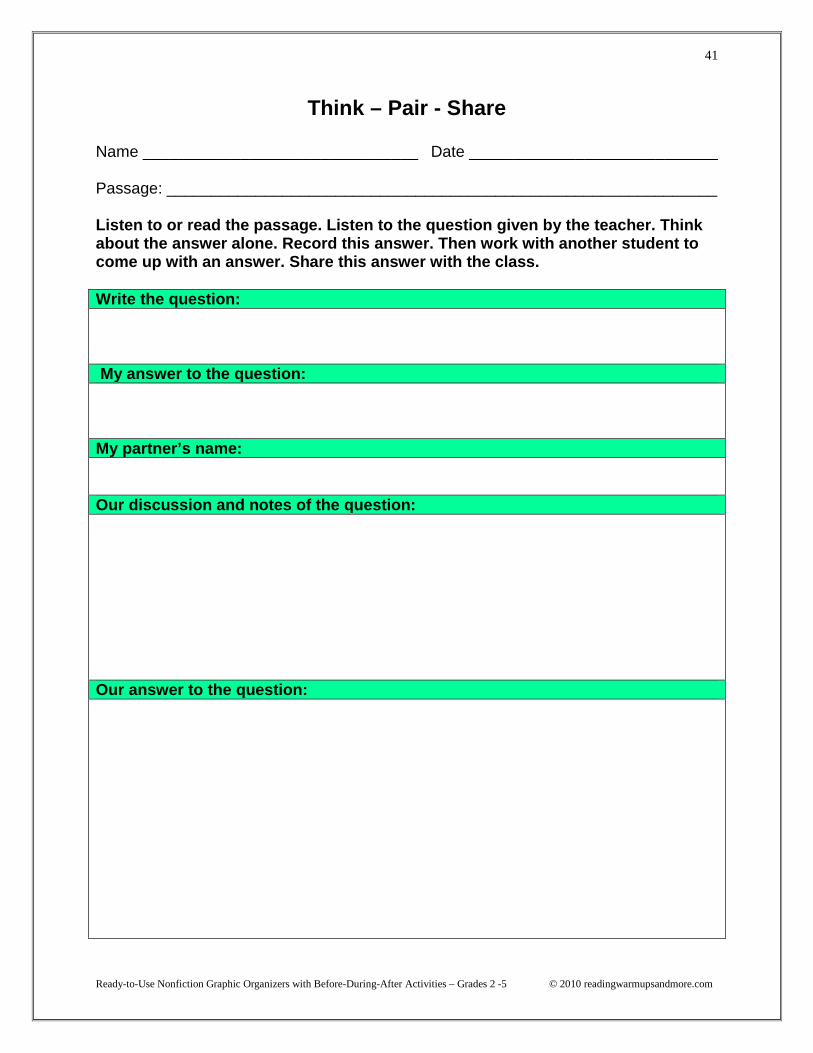
Think – Pair - Share
Name _______________________________ Date ____________________________
Passage: ______________________________________________________________
Listen to or read the passage. Listen to the question given by the teacher. Thinkabout the answer alone. Record this answer. Then work with another student tocome up with an answer. Share this answer with the class.
Write the question:
My answer to the question:
My partner’s name:
Our discussion and notes of the question:
Our answer to the question:
Ready-to-Use Nonfiction Graphic Organizers with Before-During-After Activities – Grades 2 -5 © 2010 readingwarmupsandmore.com
42
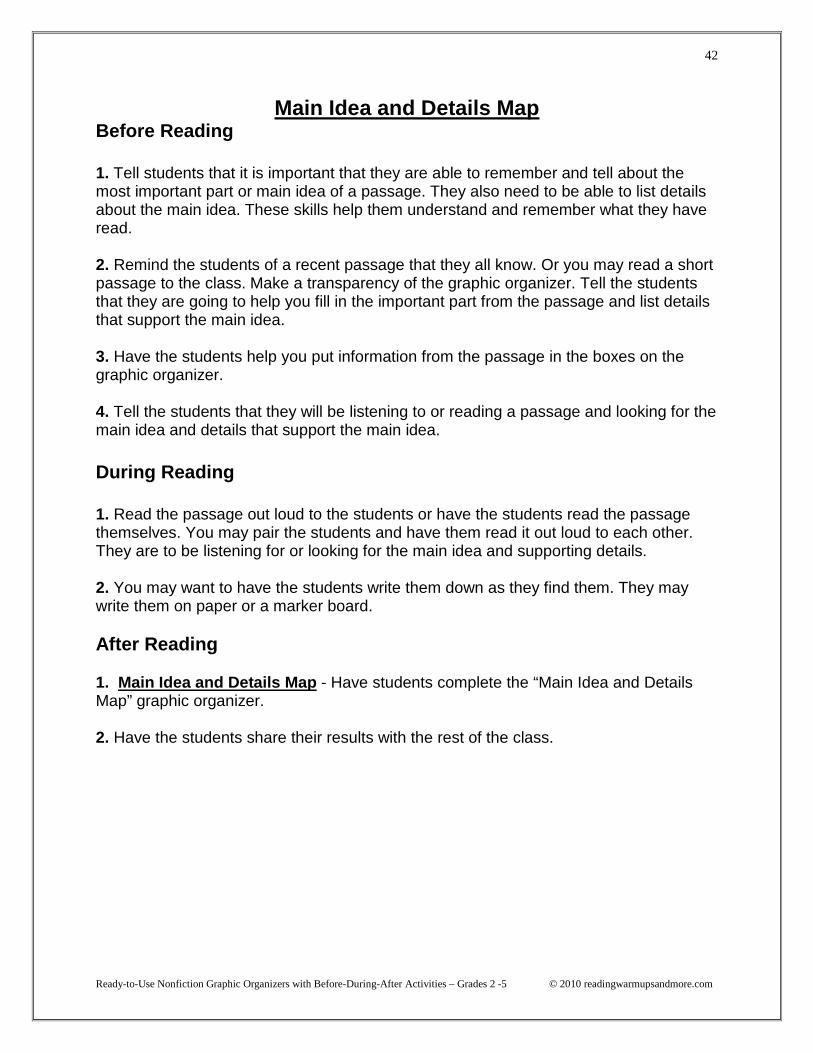
Main Idea and Details MapBefore Reading
1. Tell students that it is important that they are able to remember and tell about themost important part or main idea of a passage. They also need to be able to list detailsabout the main idea. These skills help them understand and remember what they haveread.
2. Remind the students of a recent passage that they all know. Or you may read a shortpassage to the class. Make a transparency of the graphic organizer. Tell the studentsthat they are going to help you fill in the important part from the passage and list detailsthat support the main idea.
3. Have the students help you put information from the passage in the boxes on thegraphic organizer.
4. Tell the students that they will be listening to or reading a passage and looking for themain idea and details that support the main idea.
During Reading
1. Read the passage out loud to the students or have the students read the passagethemselves. You may pair the students and have them read it out loud to each other.They are to be listening for or looking for the main idea and supporting details.
2. You may want to have the students write them down as they find them. They maywrite them on paper or a marker board.
After Reading
1. Main Idea and Details Map - Have students complete the “Main Idea and DetailsMap” graphic organizer.
2. Have the students share their results with the rest of the class.
Ready-to-Use Nonfiction Graphic Organizers with Before-During-After Activities – Grades 2 -5 © 2010 readingwarmupsandmore.com
43
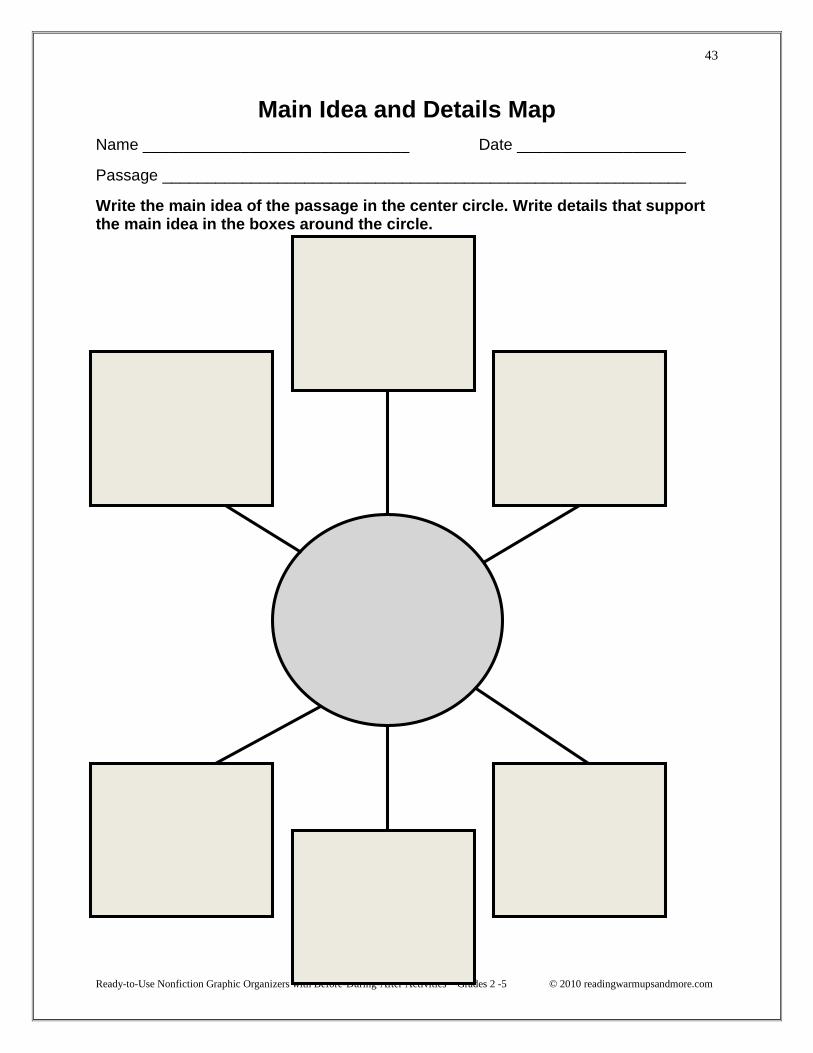
Main Idea and Details Map
Name ______________________________ Date ___________________
Passage ___________________________________________________________
Write the main idea of the passage in the center circle. Write details that supportthe main idea in the boxes around the circle.
Ready-to-Use Nonfiction Graphic Organizers with Before-During-After Activities – Grades 2 -5 © 2010 readingwarmupsandmore.com
44
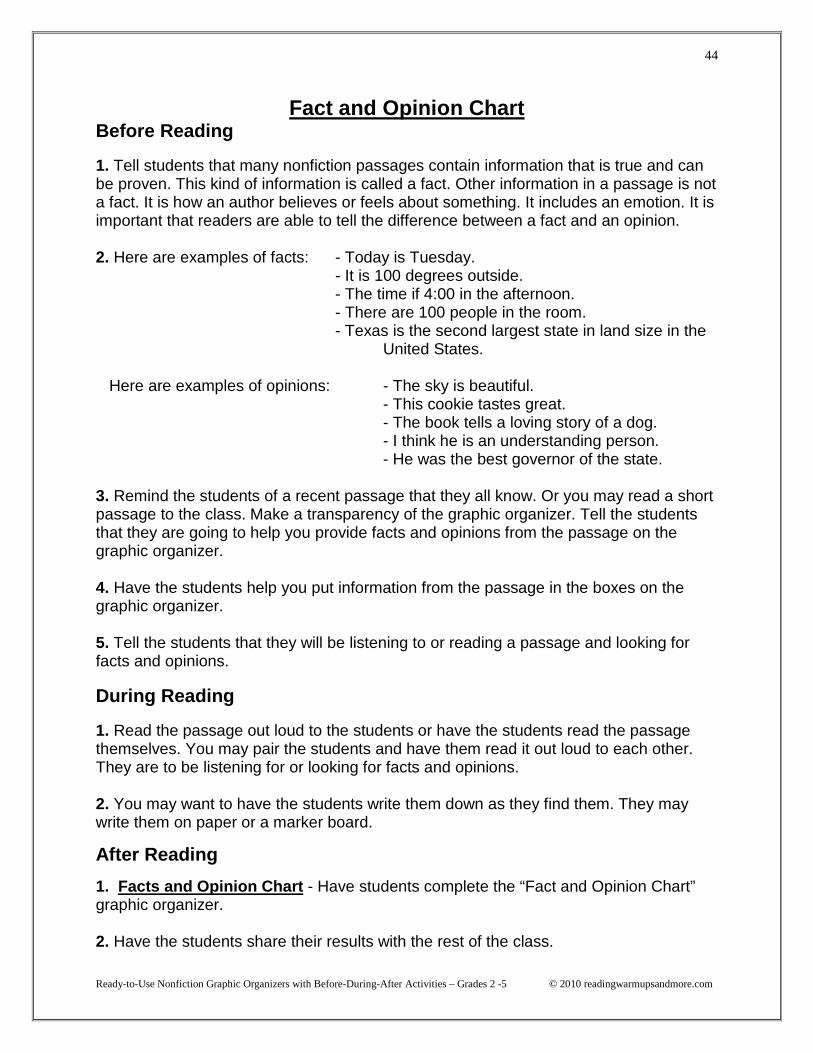
Fact and Opinion ChartBefore Reading
1. Tell students that many nonfiction passages contain information that is true and canbe proven. This kind of information is called a fact. Other information in a passage is nota fact. It is how an author believes or feels about something. It includes an emotion. It isimportant that readers are able to tell the difference between a fact and an opinion.
2. Here are examples of facts: - Today is Tuesday.- It is 100 degrees outside.- The time if 4:00 in the afternoon.- There are 100 people in the room.- Texas is the second largest state in land size in the
United States.
Here are examples of opinions: - The sky is beautiful.- This cookie tastes great.- The book tells a loving story of a dog.- I think he is an understanding person.- He was the best governor of the state.
3. Remind the students of a recent passage that they all know. Or you may read a shortpassage to the class. Make a transparency of the graphic organizer. Tell the studentsthat they are going to help you provide facts and opinions from the passage on thegraphic organizer.
4. Have the students help you put information from the passage in the boxes on thegraphic organizer.
5. Tell the students that they will be listening to or reading a passage and looking forfacts and opinions.
During Reading
1. Read the passage out loud to the students or have the students read the passagethemselves. You may pair the students and have them read it out loud to each other.They are to be listening for or looking for facts and opinions.
2. You may want to have the students write them down as they find them. They maywrite them on paper or a marker board.
After Reading
1. Facts and Opinion Chart - Have students complete the “Fact and Opinion Chart”graphic organizer.
2. Have the students share their results with the rest of the class.

Ready-to-Use Nonfiction Graphic Organizers with Before-During-After Activities – Grades 2 -5 © 2010 readingwarmupsandmore.com
45
Fact and Opinion Chart
Name ______________________________ Date ___________________
Passage ___________________________________________________________
Write facts from the passage in the box marked “Facts”. Write opinions from thepassage in the box marked “Opinions”. Explain how you know.
Facts How I Know
Opinions How I Know
Ready-to-Use Nonfiction Graphic Organizers with Before-During-After Activities – Grades 2 -5 © 2010 readingwarmupsandmore.com
46
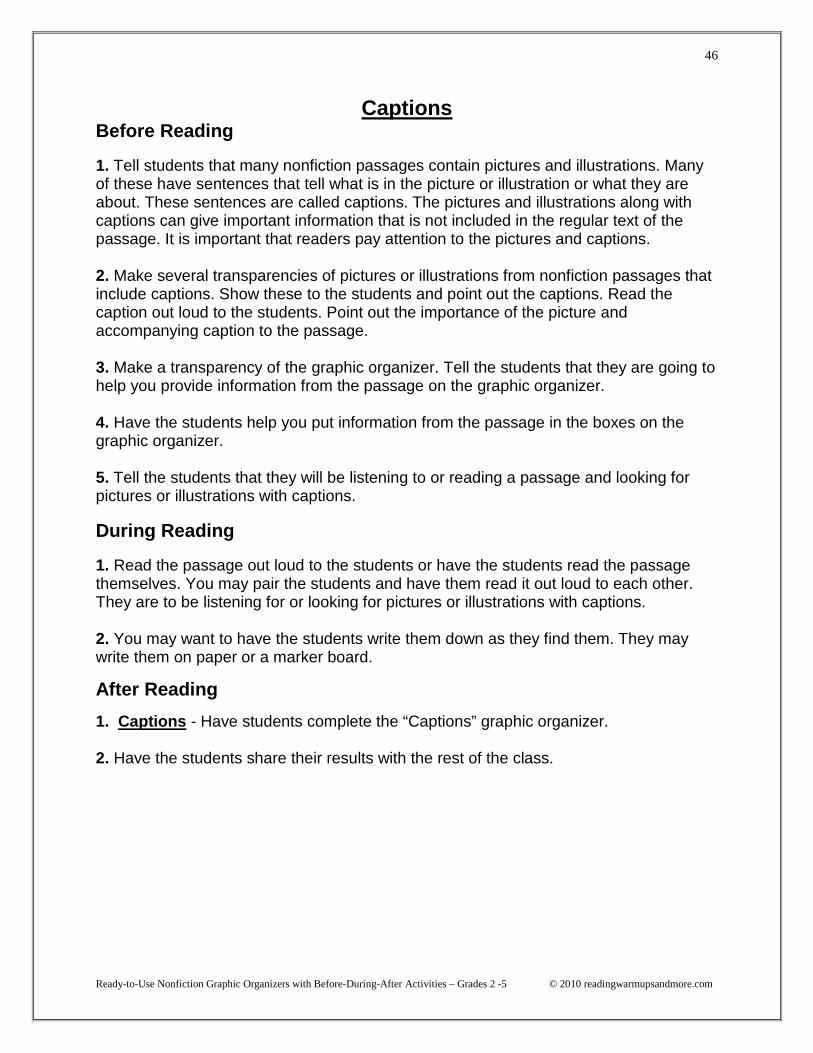
CaptionsBefore Reading
1. Tell students that many nonfiction passages contain pictures and illustrations. Manyof these have sentences that tell what is in the picture or illustration or what they areabout. These sentences are called captions. The pictures and illustrations along withcaptions can give important information that is not included in the regular text of thepassage. It is important that readers pay attention to the pictures and captions.
2. Make several transparencies of pictures or illustrations from nonfiction passages thatinclude captions. Show these to the students and point out the captions. Read thecaption out loud to the students. Point out the importance of the picture andaccompanying caption to the passage.
3. Make a transparency of the graphic organizer. Tell the students that they are going tohelp you provide information from the passage on the graphic organizer.
4. Have the students help you put information from the passage in the boxes on thegraphic organizer.
5. Tell the students that they will be listening to or reading a passage and looking forpictures or illustrations with captions.
During Reading
1. Read the passage out loud to the students or have the students read the passagethemselves. You may pair the students and have them read it out loud to each other.They are to be listening for or looking for pictures or illustrations with captions.
2. You may want to have the students write them down as they find them. They maywrite them on paper or a marker board.
After Reading
1. Captions - Have students complete the “Captions” graphic organizer.
2. Have the students share their results with the rest of the class.
Ready-to-Use Nonfiction Graphic Organizers with Before-During-After Activities – Grades 2 -5 © 2010 readingwarmupsandmore.com
47
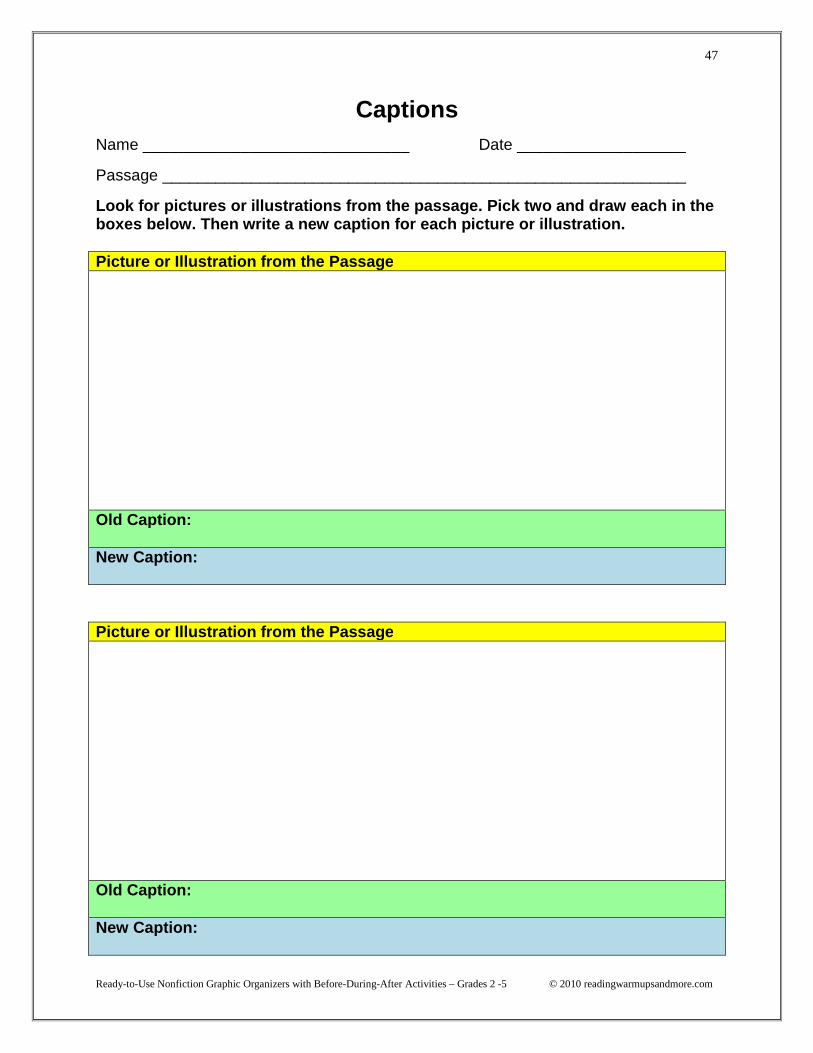
Captions
Name ______________________________ Date ___________________
Passage ___________________________________________________________
Look for pictures or illustrations from the passage. Pick two and draw each in theboxes below. Then write a new caption for each picture or illustration.
Picture or Illustration from the Passage
Old Caption:
New Caption:
Picture or Illustration from the Passage
Old Caption:
New Caption:
Ready-to-Use Nonfiction Graphic Organizers with Before-During-After Activities – Grades 2 -5 © 2010 readingwarmupsandmore.com
48
New Pictures with CaptionsBefore Reading
1. Tell students that many nonfiction passages contain pictures and illustrations. Manyof these have sentences that tell what is in the picture or illustration or what they areabout. These sentences are called captions. The pictures and illustrations along withcaptions can give important information that is not included in the regular text of thepassage. It is important that readers pay attention to the pictures and captions.
2. Make several transparencies of pictures or illustrations from nonfiction passages thatinclude captions. Show these to the students and point out the captions. Read thecaption out loud to the students. Point out the importance of the picture andaccompanying caption to the passage.
3. Make a transparency of the graphic organizer. Tell the students that they are going tohelp you provide a new picture or illustration to show information that is not alreadyshown in a picture or illustration. This will be shown on the graphic organizer.
4. Have the students help you put information from the passage in the boxes on thegraphic organizer.
5. Tell the students that they will be listening to or reading a passage and looking forinformation that can be made into new pictures or illustrations with captions for thepassage.
During Reading
1. Read the passage out loud to the students or have the students read the passagethemselves. You may pair the students and have them read it out loud to each other.They are to be listening for or looking for information that can be made into new picturesor illustrations with captions from the passage.
2. You may want to have the students write them down as they find them. They maywrite them on paper or a marker board.
After Reading
1. New Pictures with Captions - Have students complete the “New Pictures withCaptions” graphic organizer.
2. Have the students share their results with the rest of the class.
Ready-to-Use Nonfiction Graphic Organizers with Before-During-After Activities – Grades 2 -5 © 2010 readingwarmupsandmore.com
49
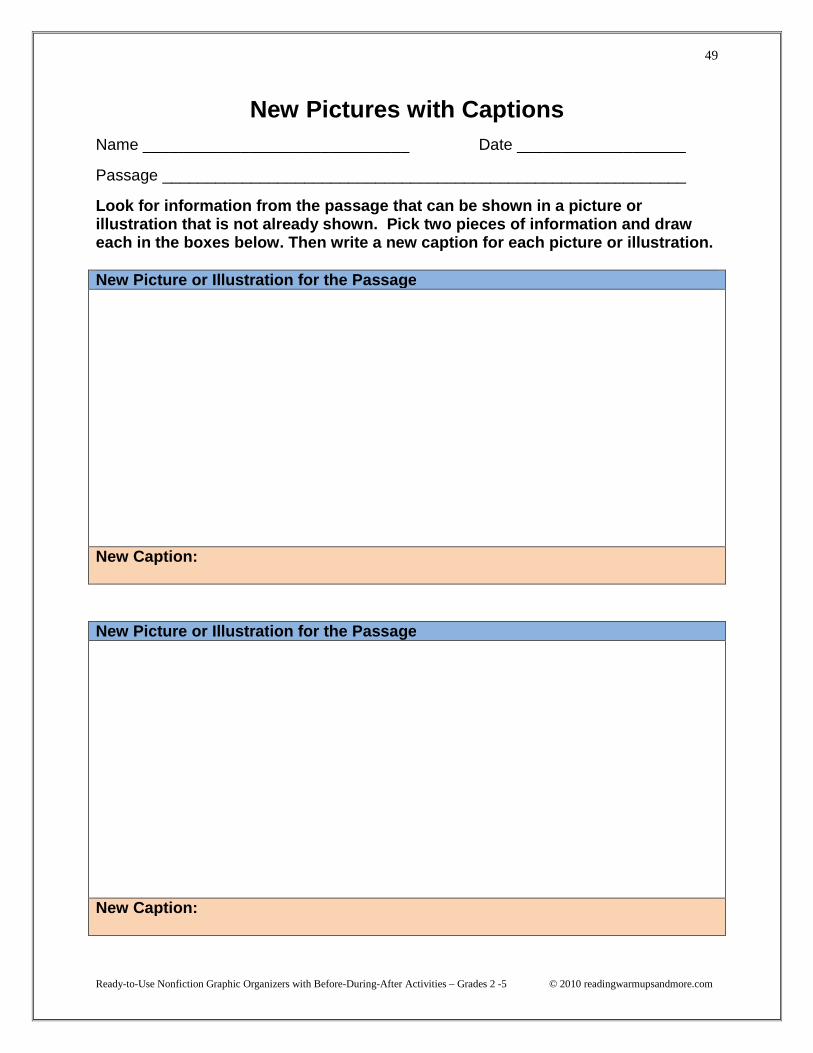
New Pictures with Captions
Name ______________________________ Date ___________________
Passage ___________________________________________________________
Look for information from the passage that can be shown in a picture orillustration that is not already shown. Pick two pieces of information and draweach in the boxes below. Then write a new caption for each picture or illustration.
New Picture or Illustration for the Passage
New Caption:
New Picture or Illustration for the Passage
New Caption:
Ready-to-Use Nonfiction Graphic Organizers with Before-During-After Activities – Grades 2 -5 © 2010 readingwarmupsandmore.com
50
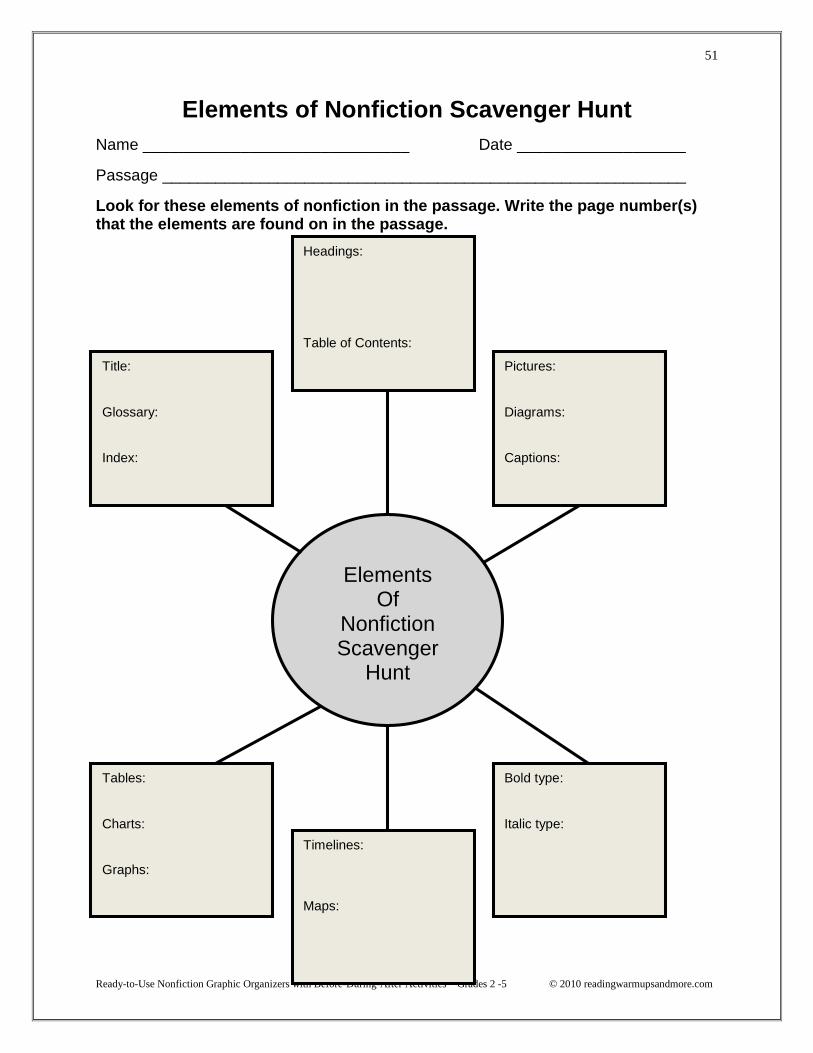
Elements of Nonfiction Scavenger Hunt
Before Reading
1. Tell students that nonfiction passages contain things that make them nonfiction.Nonfiction passages tell about real things, real people, how to do or make something,and they give information about many different things. Nonfiction passages also includethings that fiction passages do not usually contain. These are called Elements ofNonfiction. Elements of Nonfiction include a title, headings, pictures, diagrams, tables,charts, graphs, captions, timelines, index, glossary, table of contents, bold type, italictype, and maps. Fiction passages may include some of these at times, but nonfictionpassages include most of these in each passage. It is important that readers are able torecognize these elements of nonfiction passages and be able to use the informationprovided in the elements to understand the passages.
2. Make several transparencies of pictures or illustrations from nonfiction passages thatinclude these elements of nonfiction passages. Show these to the students and pointout the information provided by the element.
3. Make a transparency of the graphic organizer. Tell the students that they are going tohelp you find examples of these elements of nonfiction in passages.
4. Have the students help you put information from the passage in the boxes on thegraphic organizer.
5. Tell the students that they will be listening to or reading a passage and looking forexamples of the elements of nonfiction passages.
During Reading
1. Read the passage out loud to the students or have the students read the passagethemselves. You may pair the students and have them read it out loud to each other.They are to be listening for or looking for examples of the elements of nonfictionpassages.
2. You may want to have the students write them down as they find them. They maywrite them on paper or a marker board.
After Reading
1. Elements of Nonfiction Scavenger Hunt - Have students complete the “Elementsof Nonfiction Scavenger Hunt” graphic organizer.
2. Have the students share their results with the rest of the class.
Ready-to-Use Nonfiction Graphic Organizers with Before-During-After Activities – Grades 2 -5 © 2010 readingwarmupsandmore.com
51
Elements of Nonfiction Scavenger Hunt
Name ______________________________ Date ___________________
Passage ___________________________________________________________
Look for these elements of nonfiction in the passage. Write the page number(s)that the elements are found on in the passage.
Title:
Glossary:
Index:
Headings:
Table of Contents:
Pictures:
Diagrams:
Captions:
Tables:
Charts:
Graphs:
Timelines:
Maps:
Bold type:
Italic type:
ElementsOf
NonfictionScavenger
Hunt
Ready-to-Use Nonfiction Graphic Organizers with Before-During-After Activities – Grades 2 -5 © 2010 readingwarmupsandmore.com
52
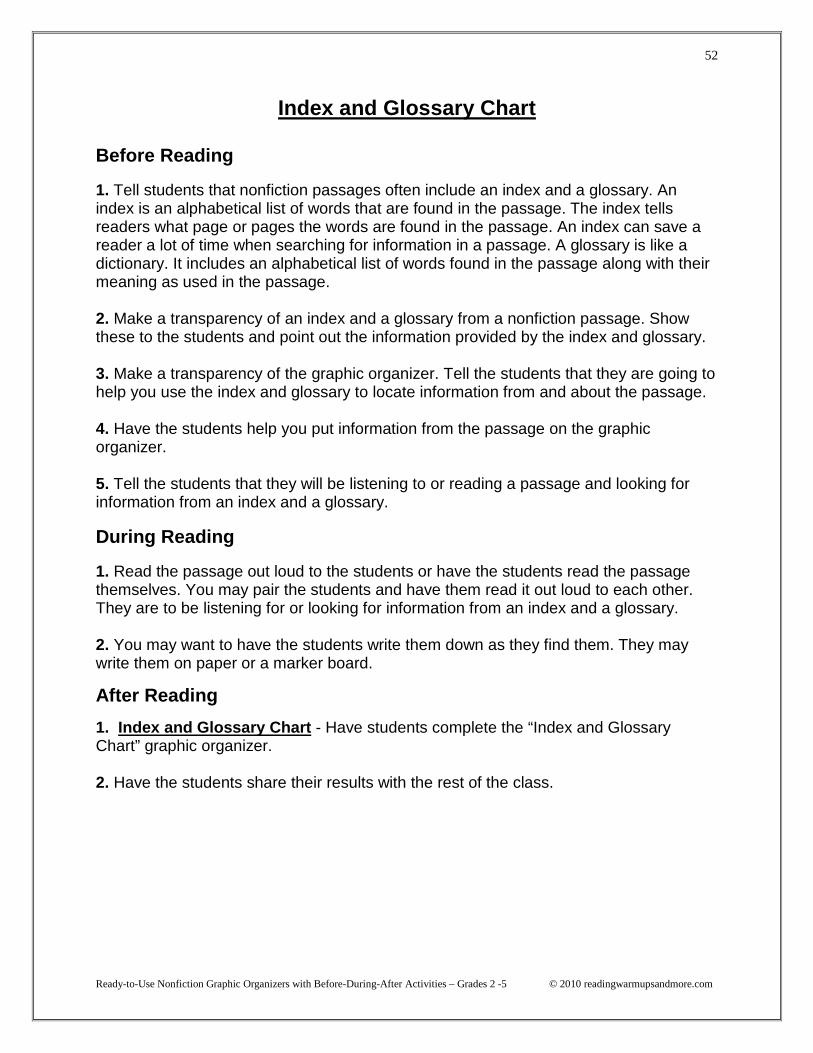
Index and Glossary Chart
Before Reading
1. Tell students that nonfiction passages often include an index and a glossary. Anindex is an alphabetical list of words that are found in the passage. The index tellsreaders what page or pages the words are found in the passage. An index can save areader a lot of time when searching for information in a passage. A glossary is like adictionary. It includes an alphabetical list of words found in the passage along with theirmeaning as used in the passage.
2. Make a transparency of an index and a glossary from a nonfiction passage. Showthese to the students and point out the information provided by the index and glossary.
3. Make a transparency of the graphic organizer. Tell the students that they are going tohelp you use the index and glossary to locate information from and about the passage.
4. Have the students help you put information from the passage on the graphicorganizer.
5. Tell the students that they will be listening to or reading a passage and looking forinformation from an index and a glossary.
During Reading
1. Read the passage out loud to the students or have the students read the passagethemselves. You may pair the students and have them read it out loud to each other.They are to be listening for or looking for information from an index and a glossary.
2. You may want to have the students write them down as they find them. They maywrite them on paper or a marker board.
After Reading
1. Index and Glossary Chart - Have students complete the “Index and GlossaryChart” graphic organizer.
2. Have the students share their results with the rest of the class.
Ready-to-Use Nonfiction Graphic Organizers with Before-During-After Activities – Grades 2 -5 © 2010 readingwarmupsandmore.com
53
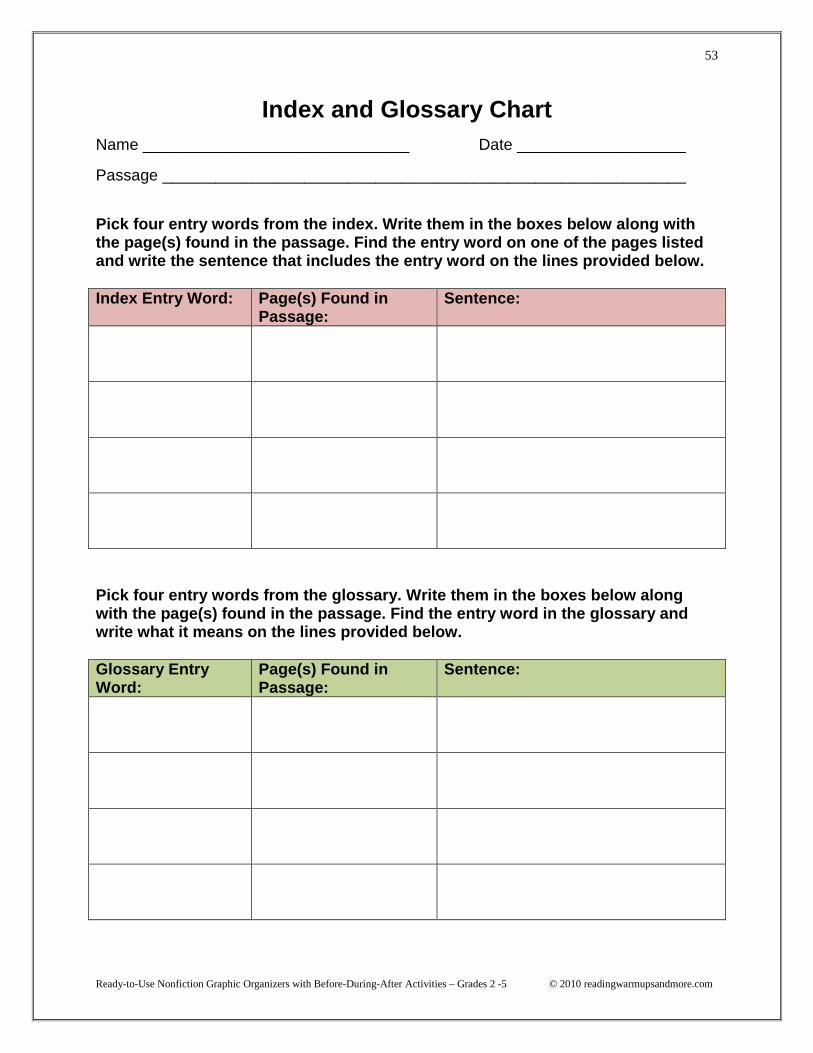
Index and Glossary Chart
Name ______________________________ Date ___________________
Passage ___________________________________________________________
Pick four entry words from the index. Write them in the boxes below along withthe page(s) found in the passage. Find the entry word on one of the pages listedand write the sentence that includes the entry word on the lines provided below.
Index Entry Word: Page(s) Found inPassage:
Sentence:
Pick four entry words from the glossary. Write them in the boxes below alongwith the page(s) found in the passage. Find the entry word in the glossary andwrite what it means on the lines provided below.
Glossary EntryWord:
Page(s) Found inPassage:
Sentence:
Ready-to-Use Nonfiction Graphic Organizers with Before-During-After Activities – Grades 2 -5 © 2010 readingwarmupsandmore.com
54
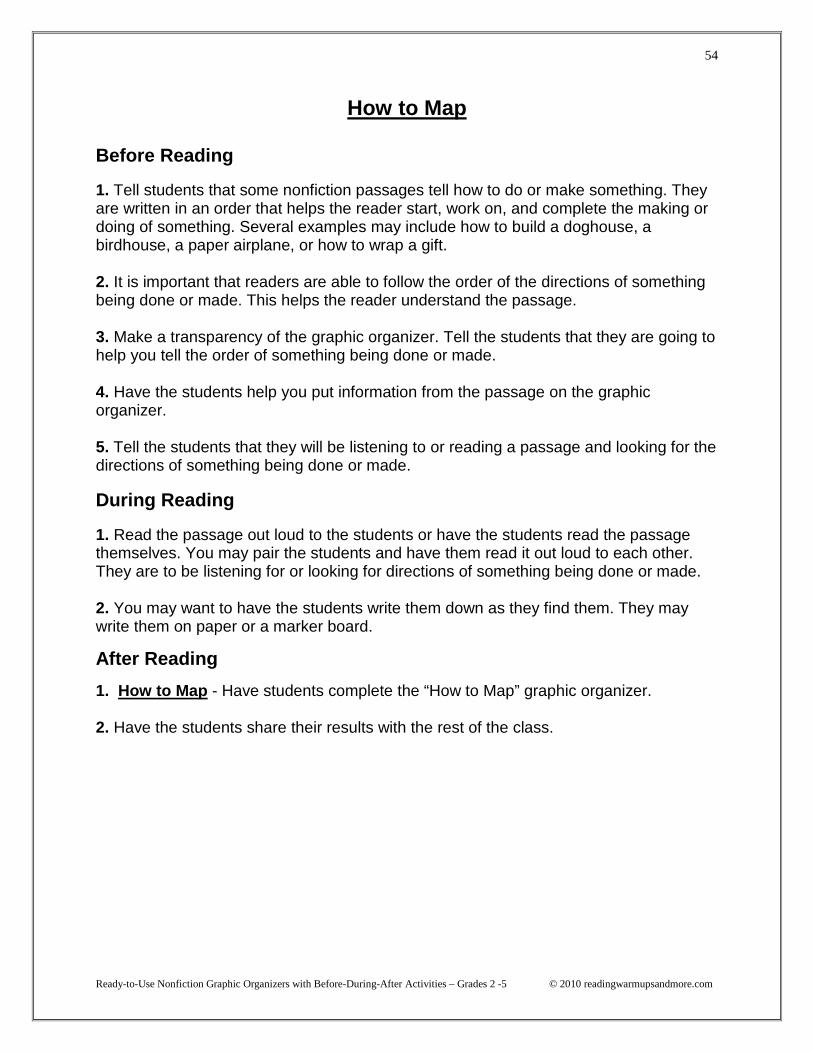
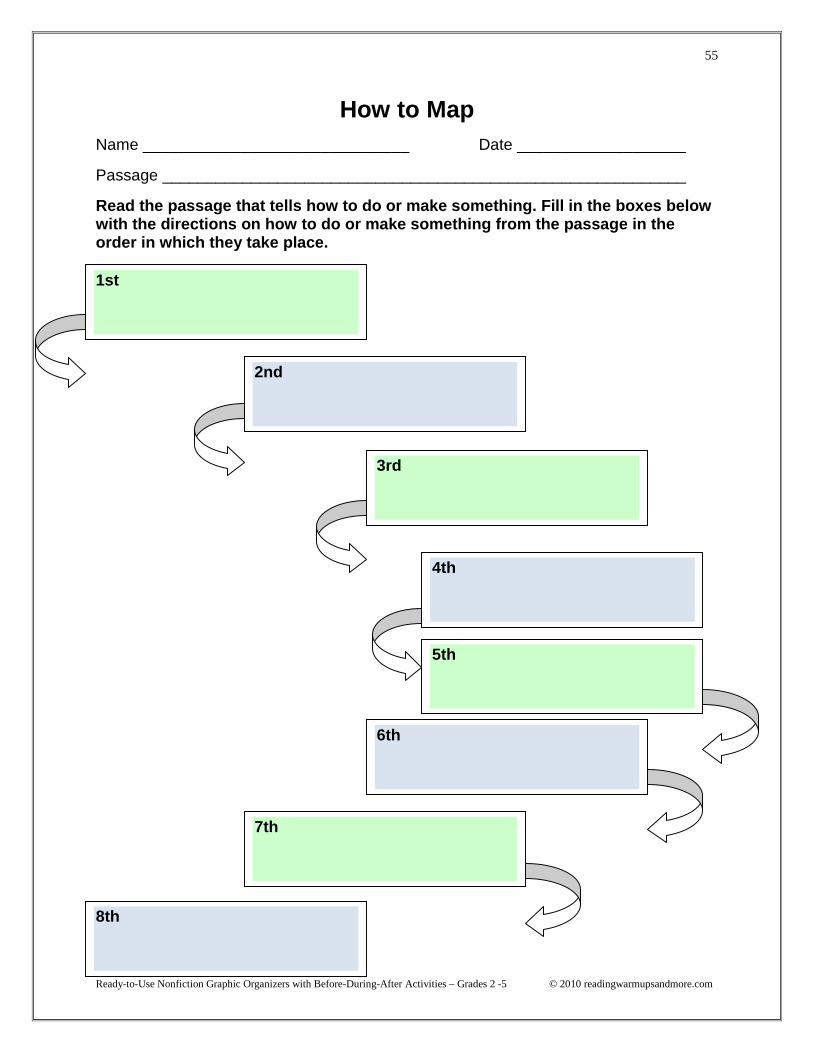
How to Map
Before Reading
1. Tell students that some nonfiction passages tell how to do or make something. Theyare written in an order that helps the reader start, work on, and complete the making ordoing of something. Several examples may include how to build a doghouse, abirdhouse, a paper airplane, or how to wrap a gift.
2. It is important that readers are able to follow the order of the directions of somethingbeing done or made. This helps the reader understand the passage.
3. Make a transparency of the graphic organizer. Tell the students that they are going tohelp you tell the order of something being done or made.
4. Have the students help you put information from the passage on the graphicorganizer.
5. Tell the students that they will be listening to or reading a passage and looking for thedirections of something being done or made.
During Reading
1. Read the passage out loud to the students or have the students read the passagethemselves. You may pair the students and have them read it out loud to each other.They are to be listening for or looking for directions of something being done or made.
2. You may want to have the students write them down as they find them. They maywrite them on paper or a marker board.
After Reading
1. How to Map - Have students complete the “How to Map” graphic organizer.
2. Have the students share their results with the rest of the class.
Ready-to-Use Nonfiction Graphic Organizers with Before-During-After Activities – Grades 2 -5 © 2010 readingwarmupsandmore.com
55
How to Map
Name ______________________________ Date ___________________
Passage ___________________________________________________________
Read the passage that tells how to do or make something. Fill in the boxes belowwith the directions on how to do or make something from the passage in theorder in which they take place.
1st
2nd
3rd
4th
5th
6th
7th
8th
Ready-to-Use Nonfiction Graphic Organizers with Before-During-After Activities – Grades 2 -5 © 2010 readingwarmupsandmore.com
56
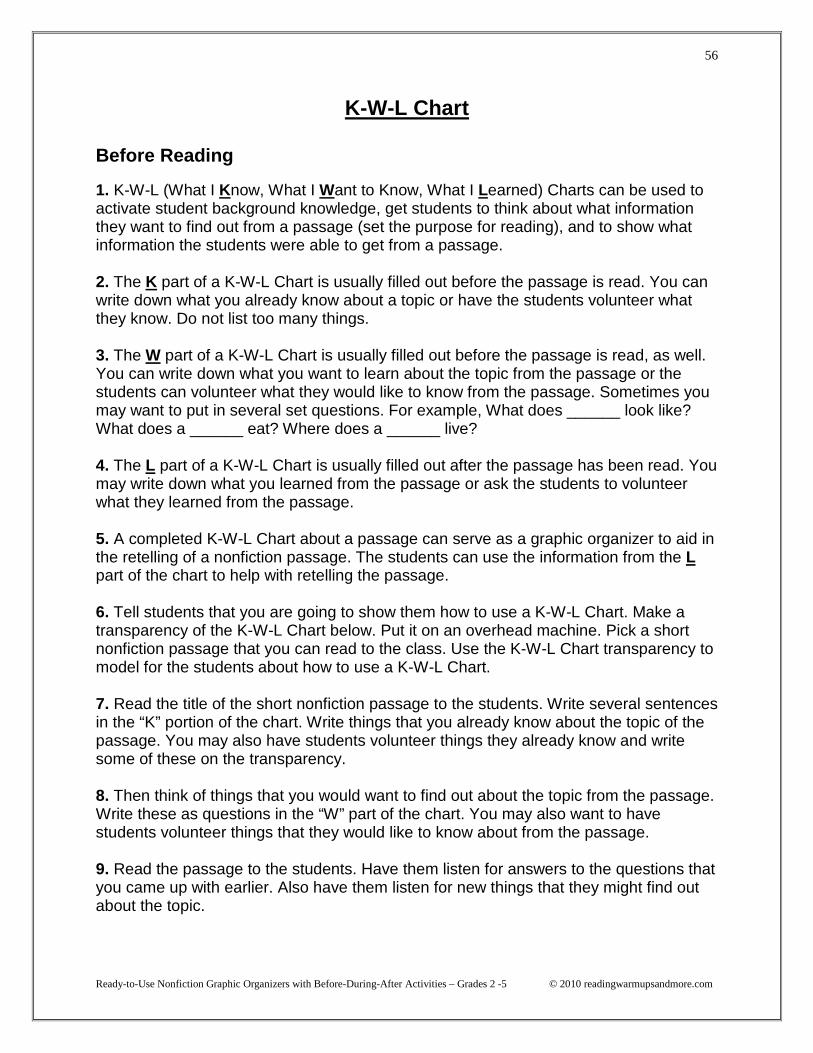
K-W-L Chart
Before Reading
1. K-W-L (What I Know, What I Want to Know, What I Learned) Charts can be used toactivate student background knowledge, get students to think about what informationthey want to find out from a passage (set the purpose for reading), and to show whatinformation the students were able to get from a passage.
2. The K part of a K-W-L Chart is usually filled out before the passage is read. You canwrite down what you already know about a topic or have the students volunteer whatthey know. Do not list too many things.
3. The W part of a K-W-L Chart is usually filled out before the passage is read, as well.You can write down what you want to learn about the topic from the passage or thestudents can volunteer what they would like to know from the passage. Sometimes youmay want to put in several set questions. For example, What does ______ look like?What does a ______ eat? Where does a ______ live?
4. The L part of a K-W-L Chart is usually filled out after the passage has been read. Youmay write down what you learned from the passage or ask the students to volunteerwhat they learned from the passage.
5. A completed K-W-L Chart about a passage can serve as a graphic organizer to aid inthe retelling of a nonfiction passage. The students can use the information from the Lpart of the chart to help with retelling the passage.
6. Tell students that you are going to show them how to use a K-W-L Chart. Make atransparency of the K-W-L Chart below. Put it on an overhead machine. Pick a shortnonfiction passage that you can read to the class. Use the K-W-L Chart transparency tomodel for the students about how to use a K-W-L Chart.
7. Read the title of the short nonfiction passage to the students. Write several sentencesin the “K” portion of the chart. Write things that you already know about the topic of thepassage. You may also have students volunteer things they already know and writesome of these on the transparency.
8. Then think of things that you would want to find out about the topic from the passage.Write these as questions in the “W” part of the chart. You may also want to havestudents volunteer things that they would like to know about from the passage.
9. Read the passage to the students. Have them listen for answers to the questions thatyou came up with earlier. Also have them listen for new things that they might find outabout the topic.
Ready-to-Use Nonfiction Graphic Organizers with Before-During-After Activities – Grades 2 -5 © 2010 readingwarmupsandmore.com
57
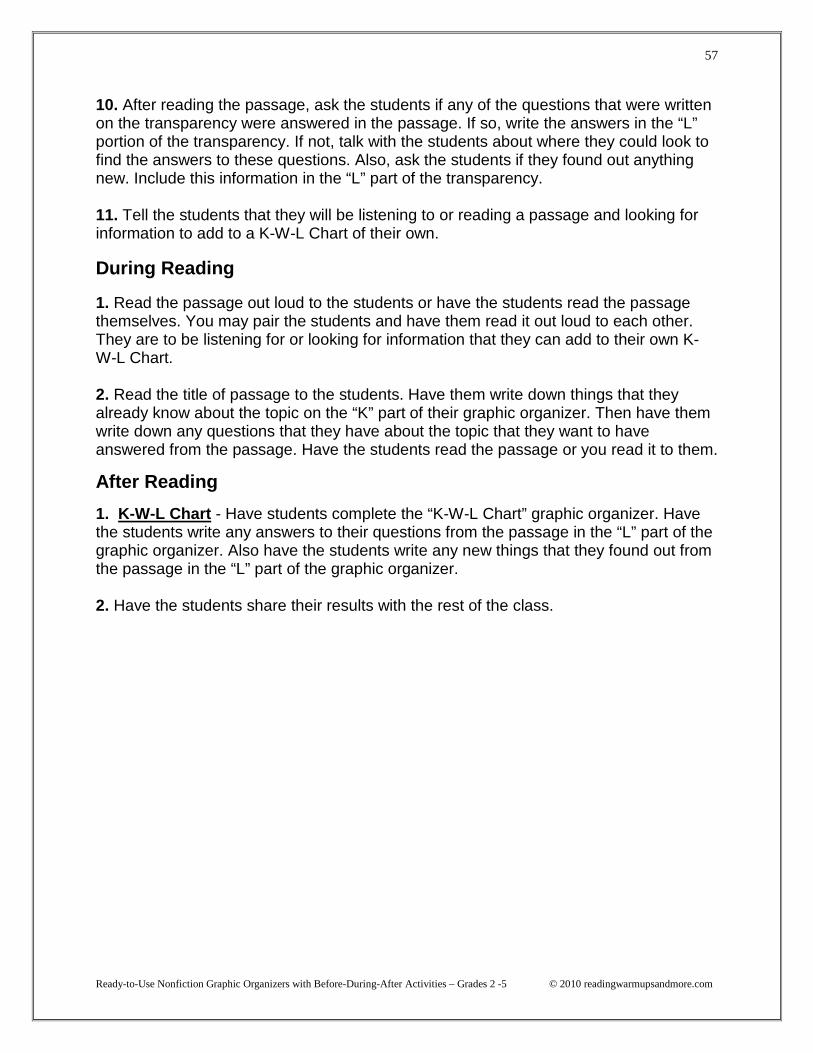
10. After reading the passage, ask the students if any of the questions that were writtenon the transparency were answered in the passage. If so, write the answers in the “L”portion of the transparency. If not, talk with the students about where they could look tofind the answers to these questions. Also, ask the students if they found out anythingnew. Include this information in the “L” part of the transparency.
11. Tell the students that they will be listening to or reading a passage and looking forinformation to add to a K-W-L Chart of their own.
During Reading
1. Read the passage out loud to the students or have the students read the passagethemselves. You may pair the students and have them read it out loud to each other.They are to be listening for or looking for information that they can add to their own K-W-L Chart.
2. Read the title of passage to the students. Have them write down things that theyalready know about the topic on the “K” part of their graphic organizer. Then have themwrite down any questions that they have about the topic that they want to haveanswered from the passage. Have the students read the passage or you read it to them.
After Reading
1. K-W-L Chart - Have students complete the “K-W-L Chart” graphic organizer. Havethe students write any answers to their questions from the passage in the “L” part of thegraphic organizer. Also have the students write any new things that they found out fromthe passage in the “L” part of the graphic organizer.
2. Have the students share their results with the rest of the class.

Ready-to-Use Nonfiction Graphic Organizers with Before-During-After Activities – Grades 2 -5 © 2010 readingwarmupsandmore.com
58
K-W-L Chart
Name ______________________________ Date ___________________
Passage ___________________________________________________________
Read the title of the passage. Write information that you already know in the “K”part. Write questions that you would like to find the answers to from the passagein the “W” part. Read the passage. Write answers to the questions and newinformation that you found out from the passage in the “L” part.
Wh
at
Ile
arn
ed
Wh
at
Iw
an
tto
kn
ow
Wh
at
Ik
no
w