Embed Size (px)
DESCRIPTION
Step by step photos of how to make the Jennifer Ruched cap
Citation preview
www.mchats.etsy.com
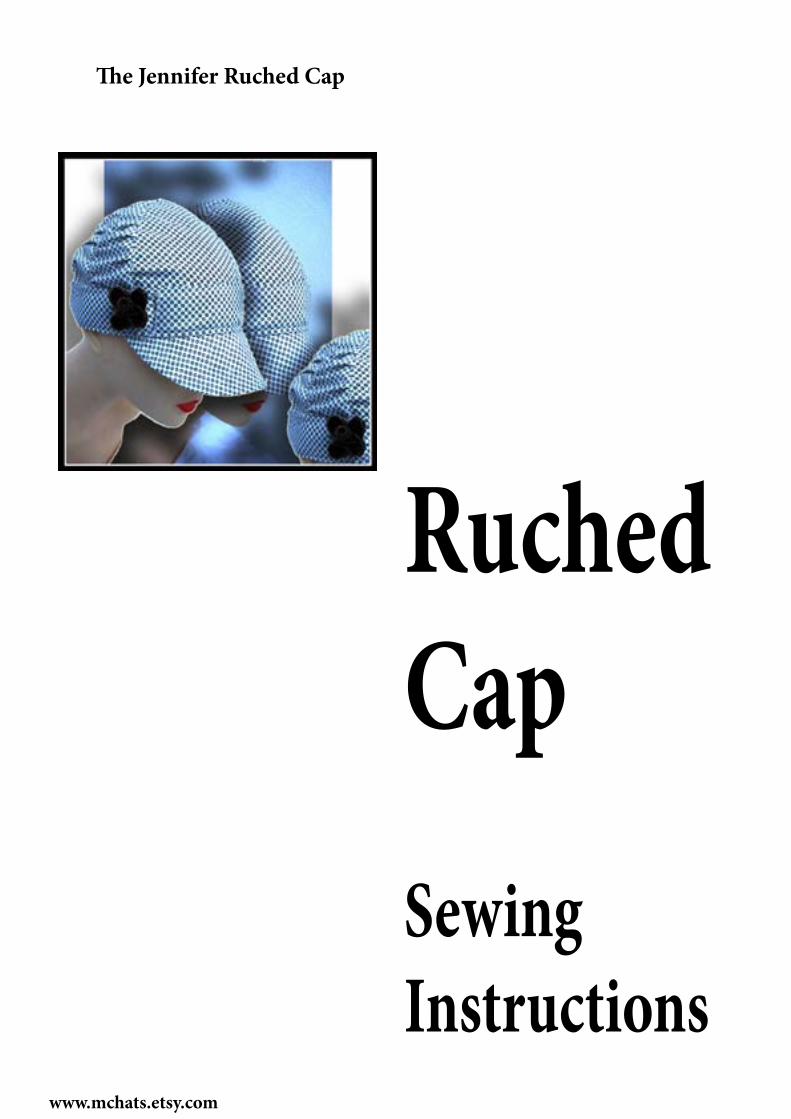
Ruched Cap Sewing Instructions
The Jennifer Ruched Cap
ruched cap pattern instructionswww.mchats.etsy.com
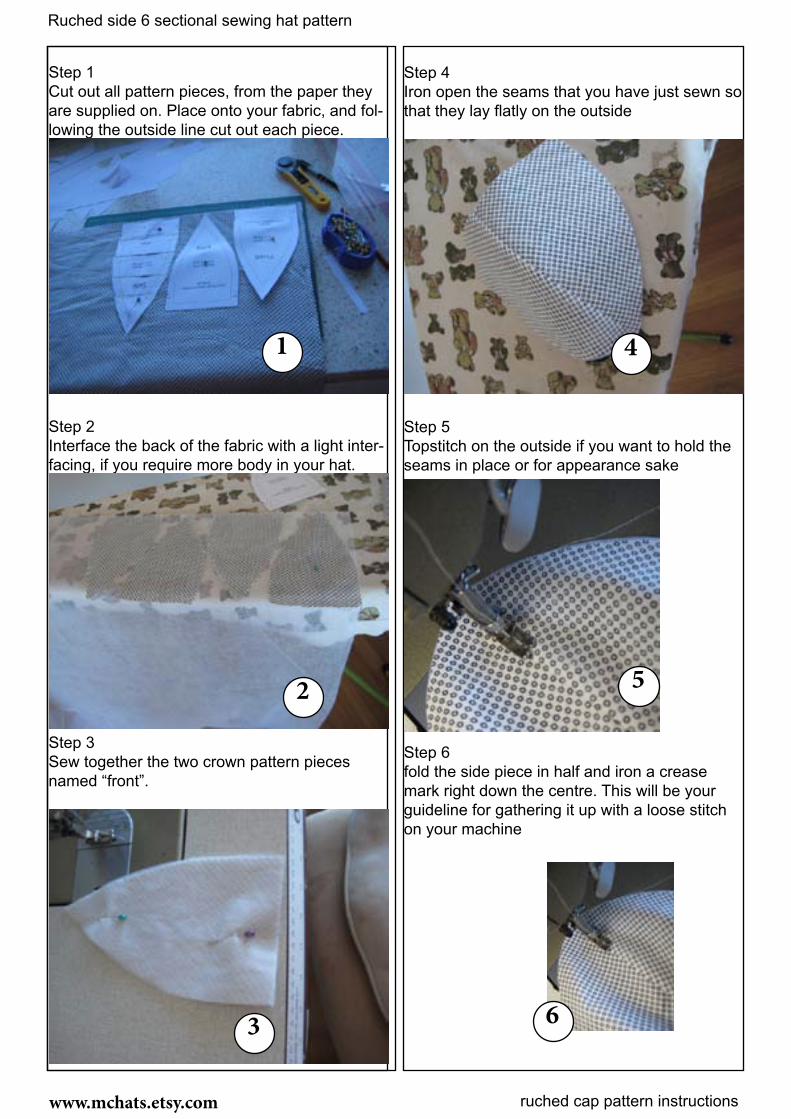
Ruched side 6 sectional sewing hat pattern
Step 1Cut out all pattern pieces, from the paper they are supplied on. Place onto your fabric, and fol-lowing the outside line cut out each piece.
Step 2Interface the back of the fabric with a light inter-facing, if you require more body in your hat.
Step 3Sew together the two crown pattern pieces named “front”.
Step 4Iron open the seams that you have just sewn so that they lay flatly on the outside
Step 5Topstitch on the outside if you want to hold the seams in place or for appearance sake
Step 6fold the side piece in half and iron a crease mark right down the centre. This will be your guideline for gathering it up with a loose stitch on your machine
1
2
3 6
5
4

ruched cap pattern instructionswww.mchats.etsy.com
side pattern piece ironed in half, then do a loose machine gathering stitch so that you may gath-er the piece up to match the length of the front piece you will attach it to
Gathering up the ironed creased mark
you will then adjust the gathers to your liking matching the length of the piece you are attach-ing the ruched fabric to.
Ruched side piece attached to front piece. I have made some small pleated folds in the side to match the length of the front and for a nice finish on the outside
Stitch the gathers into place then on outsideplace a line of stitching to hold gathers in place
7
9
10
8
11
12
ruched cap pattern instructionswww.mchats.etsy.com
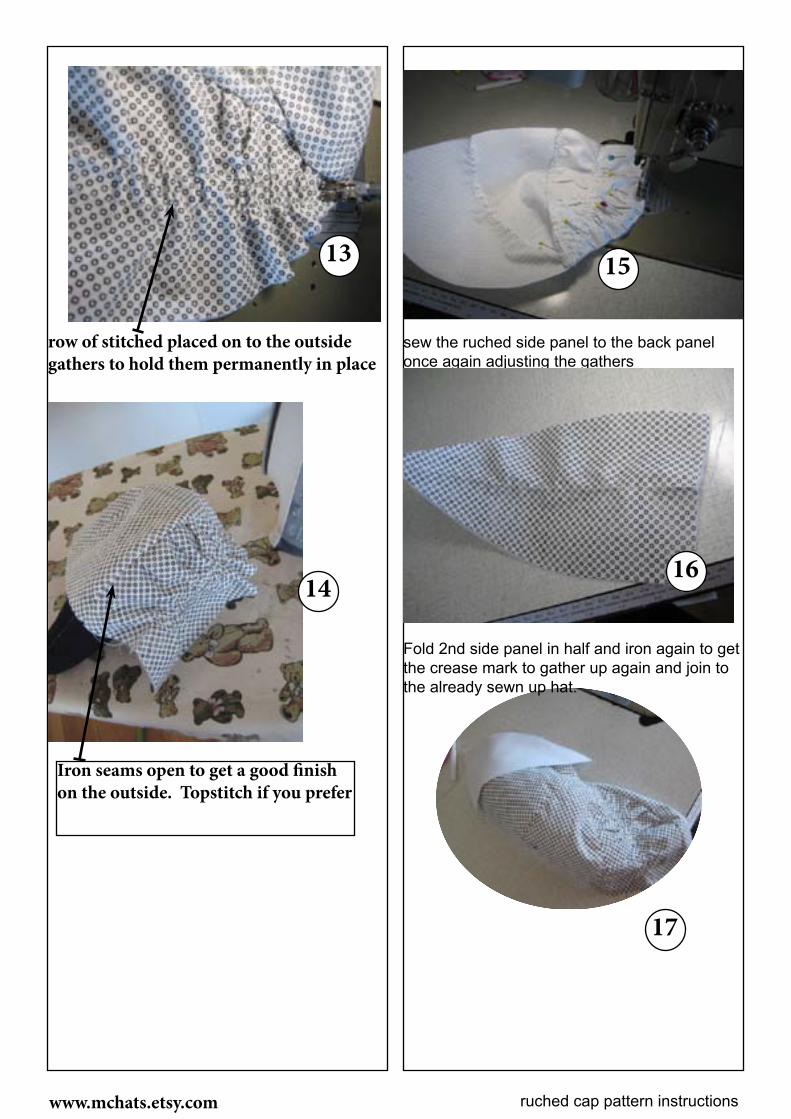
row of stitched placed on to the outside gathers to hold them permanently in place
Iron seams open to get a good finish on the outside. Topstitch if you prefer
sew the ruched side panel to the back panel once again adjusting the gathers
Fold 2nd side panel in half and iron again to get the crease mark to gather up again and join to the already sewn up hat.
17
13
1614
15
ruched cap pattern instructionswww.mchats.etsy.com
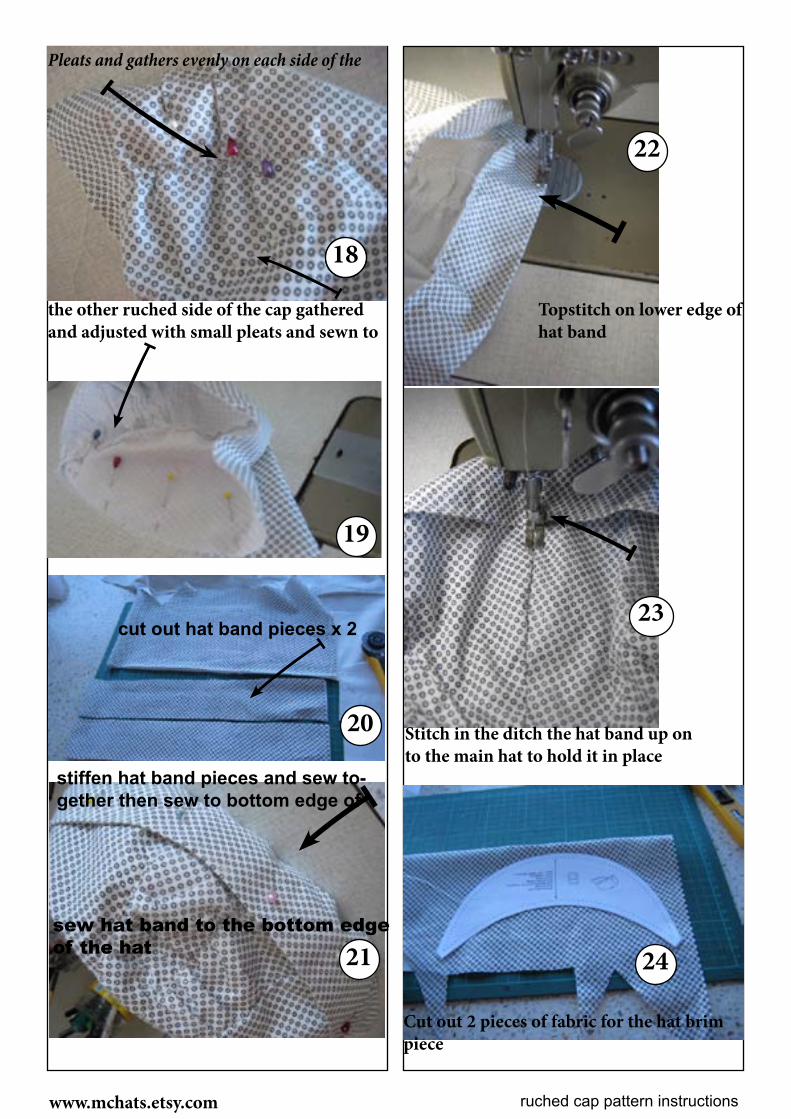
Pleats and gathers evenly on each side of the
the other ruched side of the cap gathered and adjusted with small pleats and sewn to
cut out hat band pieces x 2
sew hat band to the bottom edge of the hat
stiffen hat band pieces and sew to-gether then sew to bottom edge of
Topstitch on lower edge of hat band
Stitch in the ditch the hat band up on to the main hat to hold it in place
Cut out 2 pieces of fabric for the hat brim piece
18
19
18
20
21 24
22
23

ruched cap pattern instructionswww.mchats.etsy.com
I put 2 layers of interfacing on the back side of my peak pattern piece
Sew the pattern peak pieces together then turn to the right side out and iron it into a good shape
I topstitched my peak piece with 4 rows of topstitching, (optional) 2 rows looks good
Fold the peak piece in half and make a small fold crease down the centre
Folded crease matched to the centre front of hat
after matching the folded centre of the peak to the centre front of the pin into place in preparation for sewing
26
25
27
28
29
30

ruched cap pattern instructionswww.mchats.etsy.com
Stitch peak to hat with 1/4” seam allow-ance
Cut out lining pattern pieces 3 x dou-ble sided - 6 pieces in total
sew up three pieces of the lining fabric fol-lowing the seam allowances given
you now have to sections of 3 pieces each of the lining fabric, that you will place togeth-er & sew right over the top
With the other 3 pieces of the lining sec-tion you need to leave a small hole open-ing in the back seam for which you turn the hat to the right side out through the hole when the hat is completed - see the following photograph
Hole in the lining back seam which hat will be turned through to the right side out at a later stage
31
32
33
34
35
36
ruched cap pattern instructionswww.mchats.etsy.com
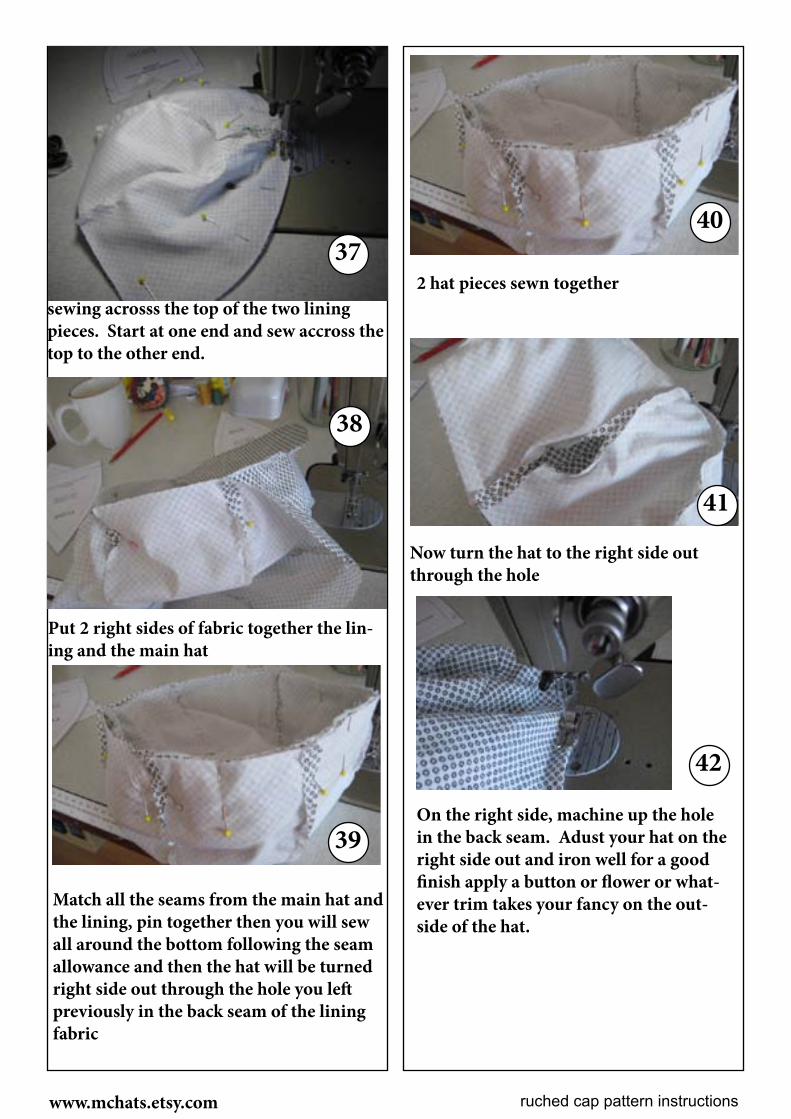
sewing acrosss the top of the two lining pieces. Start at one end and sew accross the top to the other end.
42
41
40
39
38
37
Put 2 right sides of fabric together the lin-ing and the main hat
Match all the seams from the main hat and the lining, pin together then you will sew all around the bottom following the seam allowance and then the hat will be turned right side out through the hole you left previously in the back seam of the lining fabric
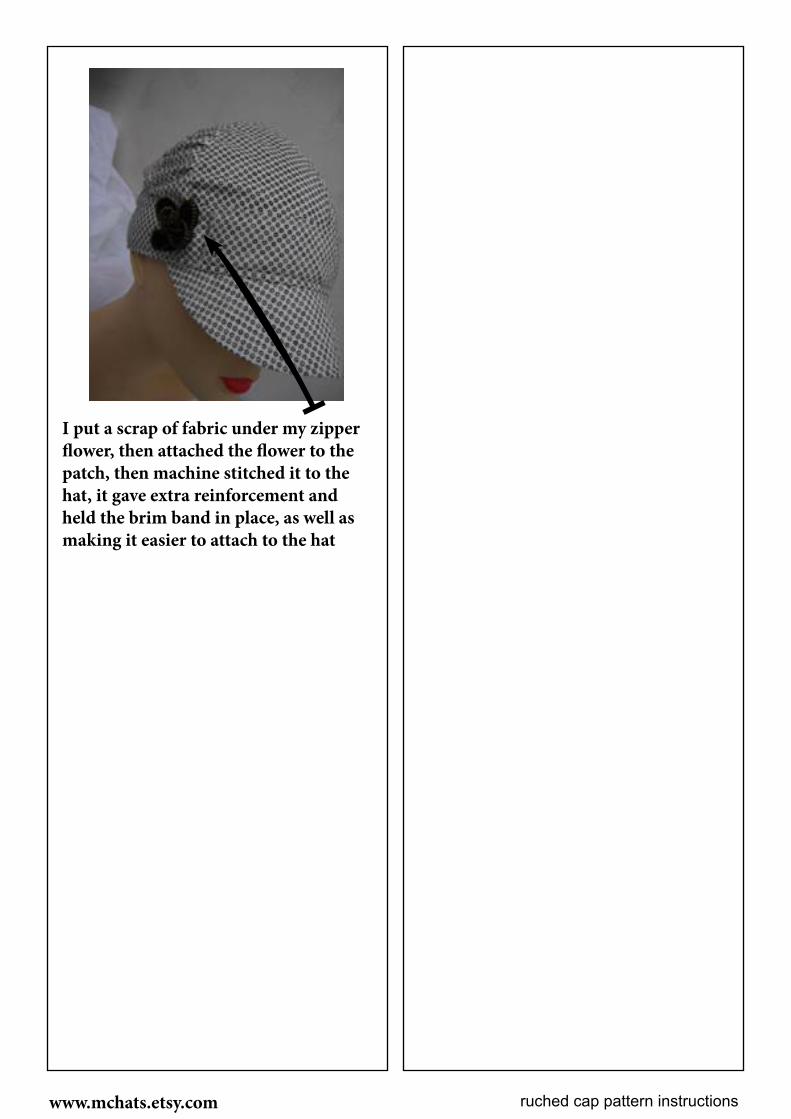
2 hat pieces sewn together
Now turn the hat to the right side out through the hole
On the right side, machine up the hole in the back seam. Adust your hat on the right side out and iron well for a good finish apply a button or flower or what-ever trim takes your fancy on the out-side of the hat.
ruched cap pattern instructionswww.mchats.etsy.com
I put a scrap of fabric under my zipper flower, then attached the flower to the patch, then machine stitched it to the hat, it gave extra reinforcement and held the brim band in place, as well as making it easier to attach to the hat


![MySewingMall.com [Sewing Machine Parts & Sewing Jargons]](https://img.pdfslide.net/doc/110x75/587a415b1a28ab00148b4837/mysewingmallcom-sewing-machine-parts-sewing-jargons.jpg)