Embed Size (px)
DESCRIPTION
Laboratory Method of Teaching PREPARED BY: Ma. Fretzi G. Paras BSE-PhySci2
Citation preview
PREPARED BY:
Ma. Fretzi G. Paras
BSE-PhySci2
Features / Characteristics:
1. To promote information
acquisition through
observation, experimental
solutions to problems
guided by reflective
thinking and acquisition of
skill in manipulation.
2. Provides students
opportunities to conduct or
participate in original
research.
Continue…
3. Develops skill in using
laboratory equipment and
instruments.
4. Enhances higher order
thinking skills.
MAJOR GOALS OF
LABORATORY WORKS:
Teaching Manuals and
Observational skills relevant
to the subject.
Improving understanding of
methods of scientific inquiry.
Developing problem
solving and doing by self
skills.
GUIDELINES OF USING:
1. Make use of the power of
observation and
reasoning.
2. Manipulate learning
equipments.
3. Make use of reality to
make learning easier and
more permanent.
4. Use of the scientific
attitudes.
1. Experimental – aims to train
students in problem solving
with incidental acquisition of
information and motor skills,
emphasis is on discovery,
original procedure, and
solution of problems.
2. Demonstration- is a process
of presenting or establishing
facts or principles. It is a
procedure of doing or
performing something in the
presence of others or either
as a means of showing them
how to do it or illustrating a
principle.
Types of Laboratory
Method :
1. Students learn by doing
and come in contact with
raw data or materials object
in teaching learning
process.
2. Develops the power of
observation and reasoning.
3.Develops the scientific
attitudes
ADVANTAGES:

4. Gives an understanding
of what research is and
how to apply the scientific
method of research
5. Gives training in
organizing data gathered
from real materials object
and how these objects are
manipulated to attain the
objectives.
continue..
6. Since students come in
contact with real life
situations, it can be a
preparation for solving real
life problems.

1. Uneconomical way of
learning in time and
material.
2. Does give much training
in verbal expression and
when the time equipment is
used, most of the time, its
use becomes mechanical,
i.e. used without much
thinking anymore
DISADVANTAGES:
1. PREPARATION / INTRODUCTORY STEP
In this step which provides for motivation and
orientation, the following factors should be taken into
account.
(a) Determination of Laboratory work to be done.
-- the first step is an explanation of the problem or
other work to be done, This may be called
presentation.
-- here is the teacher's opportunity to motivate the
students.
But if the work is to be planned co-operatively
by the students and the teacher, the first step is to
determine by means of class discussion, the nature of
the problem or the work to be done.
STEPS IN LABORATORY METHOD:
(b) Determination of the Plan of Work.
-- the second step is to get clearly in mind what is
to be done.
This may be set forth by the teacher who
gives the necessary directions for both individual
and group work. Since this work is likely to take
more time than one period as it consists of various
activities, written directions in the form of guide
sheets, manuals, work-books and so on should be
used.
The introductory step thus considers the
problem and the objectives of the work as well as
of the plan of work to be carried out. After
considering the first step, we now discuss the
second one-work period.
2. ACTUAL WORK PERIOD
-- the laboratory activity should take the form of a supervised
work-period in which groups or individuals have their
particular work to do
-- the students can work individually or collectively on a
particular problem or on different problems
-- directions must be very specific
-- the length of the work periods should be determined by the
nature of the problems and the objectives
If the laboratory work occupies several days, it may be
desirable to have the class meet as group each day,
preferably at the beginning of the period for a discussion of
the problems, progress and to receive criticisms, suggestions
or directions from the teacher.
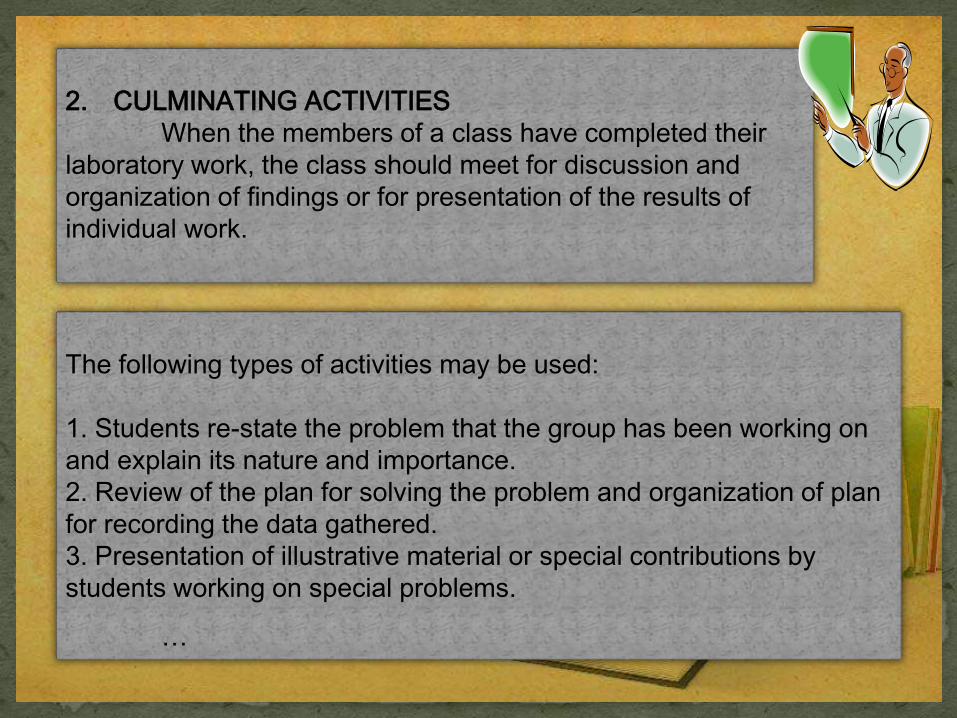
2. CULMINATING ACTIVITIES
When the members of a class have completed their
laboratory work, the class should meet for discussion and
organization of findings or for presentation of the results of
individual work.
The following types of activities may be used:
1. Students re-state the problem that the group has been working on
and explain its nature and importance.
2. Review of the plan for solving the problem and organization of plan
for recording the data gathered.
3. Presentation of illustrative material or special contributions by
students working on special problems.
…
…
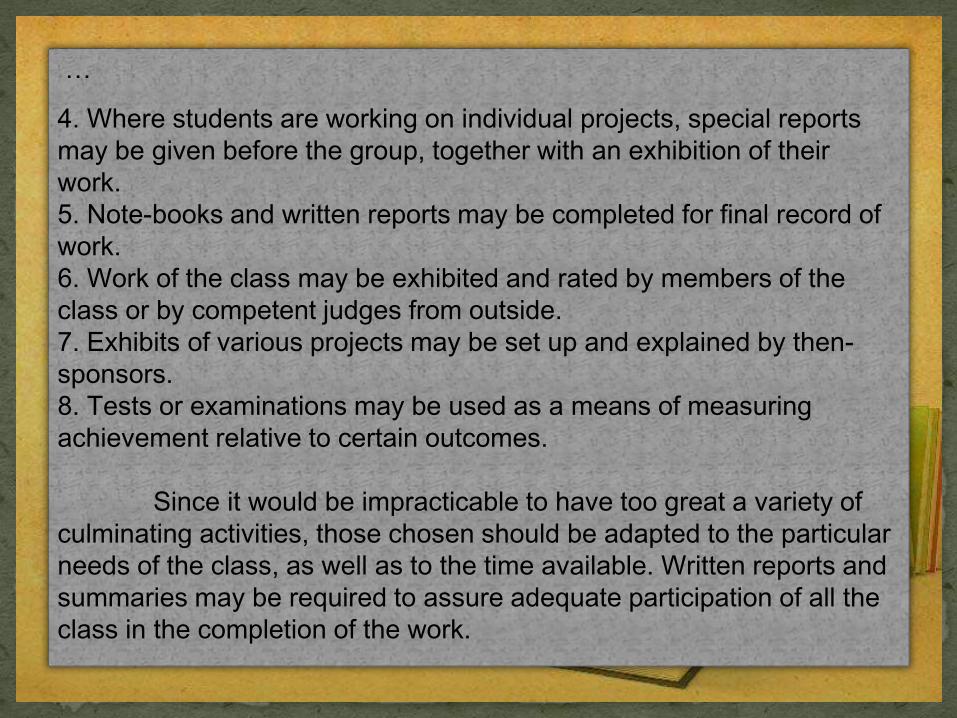
4. Where students are working on individual projects, special reports
may be given before the group, together with an exhibition of their
work.
5. Note-books and written reports may be completed for final record of
work.
6. Work of the class may be exhibited and rated by members of the
class or by competent judges from outside.
7. Exhibits of various projects may be set up and explained by then-
sponsors.
8. Tests or examinations may be used as a means of measuring
achievement relative to certain outcomes.
Since it would be impracticable to have too great a variety of
culminating activities, those chosen should be adapted to the particular
needs of the class, as well as to the time available. Written reports and
summaries may be required to assure adequate participation of all the
class in the completion of the work.
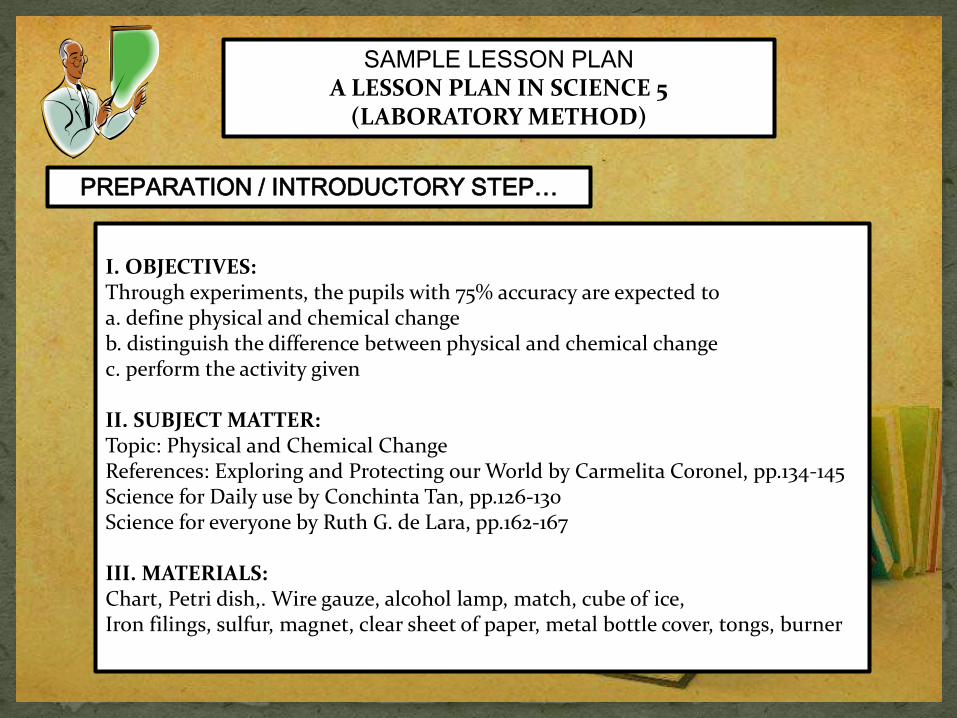
SAMPLE LESSON PLAN
A LESSON PLAN IN SCIENCE 5 (LABORATORY METHOD)
I. OBJECTIVES:Through experiments, the pupils with 75% accuracy are expected to a. define physical and chemical changeb. distinguish the difference between physical and chemical changec. perform the activity given
II. SUBJECT MATTER:Topic: Physical and Chemical ChangeReferences: Exploring and Protecting our World by Carmelita Coronel, pp.134-145Science for Daily use by Conchinta Tan, pp.126-130Science for everyone by Ruth G. de Lara, pp.162-167
III. MATERIALS:Chart, Petri dish,. Wire gauze, alcohol lamp, match, cube of ice,Iron filings, sulfur, magnet, clear sheet of paper, metal bottle cover, tongs, burner
PREPARATION / INTRODUCTORY STEP…
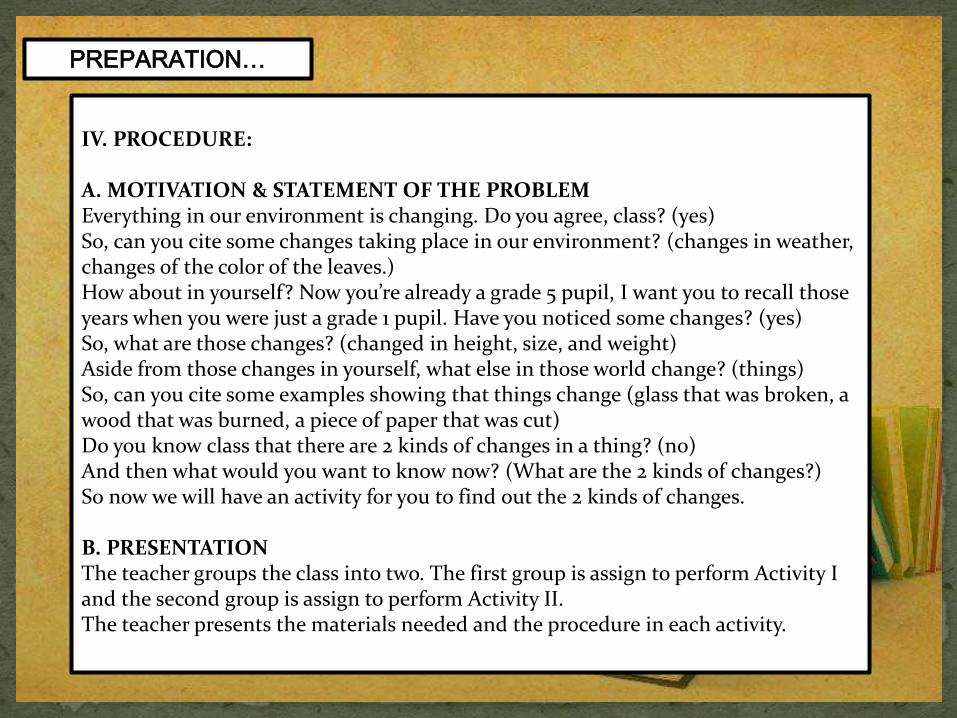
IV. PROCEDURE:
A. MOTIVATION & STATEMENT OF THE PROBLEM Everything in our environment is changing. Do you agree, class? (yes) So, can you cite some changes taking place in our environment? (changes in weather, changes of the color of the leaves.) How about in yourself? Now you’re already a grade 5 pupil, I want you to recall those years when you were just a grade 1 pupil. Have you noticed some changes? (yes) So, what are those changes? (changed in height, size, and weight) Aside from those changes in yourself, what else in those world change? (things) So, can you cite some examples showing that things change (glass that was broken, a wood that was burned, a piece of paper that was cut) Do you know class that there are 2 kinds of changes in a thing? (no) And then what would you want to know now? (What are the 2 kinds of changes?) So now we will have an activity for you to find out the 2 kinds of changes.
B. PRESENTATIONThe teacher groups the class into two. The first group is assign to perform Activity I and the second group is assign to perform Activity II.The teacher presents the materials needed and the procedure in each activity.
PREPARATION…
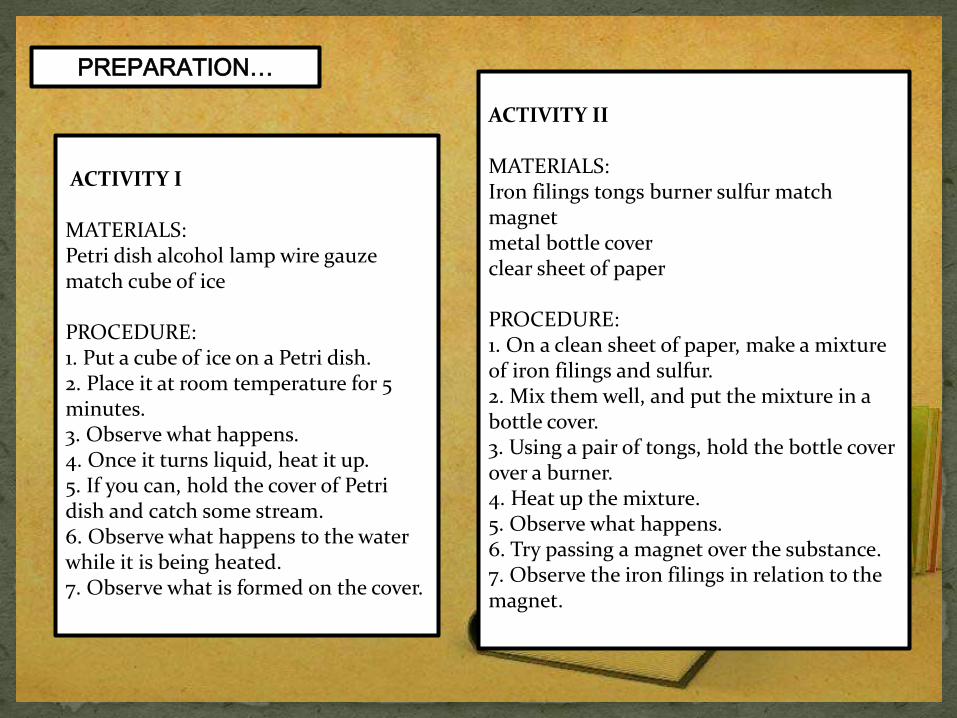
ACTIVITY I
MATERIALS:Petri dish alcohol lamp wire gauze match cube of ice
PROCEDURE:1. Put a cube of ice on a Petri dish.2. Place it at room temperature for 5 minutes.3. Observe what happens.4. Once it turns liquid, heat it up.5. If you can, hold the cover of Petri dish and catch some stream.6. Observe what happens to the water while it is being heated.7. Observe what is formed on the cover.
PREPARATION…
ACTIVITY II
MATERIALS:Iron filings tongs burner sulfur match magnetmetal bottle cover clear sheet of paper
PROCEDURE:1. On a clean sheet of paper, make a mixture of iron filings and sulfur.2. Mix them well, and put the mixture in a bottle cover.3. Using a pair of tongs, hold the bottle cover over a burner.4. Heat up the mixture.5. Observe what happens.6. Try passing a magnet over the substance.7. Observe the iron filings in relation to the magnet.

C. WORK PERIODThe teacher asks the group 1 to perform the first activity given and asks the rest of the class to observe. After the group 1 performs, the teacher then asks the group 2 to perform the second activity assigned to them and asks the rest of the class to observe. The teacher facilitates and observes each group especially in handling the materials.
ACTUAL WORK PERIOD…
D. DISCUSSION OF RESULTSThe teacher asks the pupils: In the first activity what have you observed when the ice cube was placed at room temperature for 5 minutes? Was there any changes happen? (yes) (the ice cube was melted) While the water was being heated, what have you observed? (the water was boiling.) How about the cover, what have you observed? (a moist was formed) Now, let’s take a look at your group 2’s activity. What have you observed when the iron filings and sulfur was being heated? (the sulfur was melted.) Class, before we perform the second activity, we observed that iron filings sticked to the magnet but when the mixture was being heated, do the iron filings still stick to the magnet ? (no, it didn’t filings become a nonmagnetic substance .)
CULMINATING ACTIVITIES…
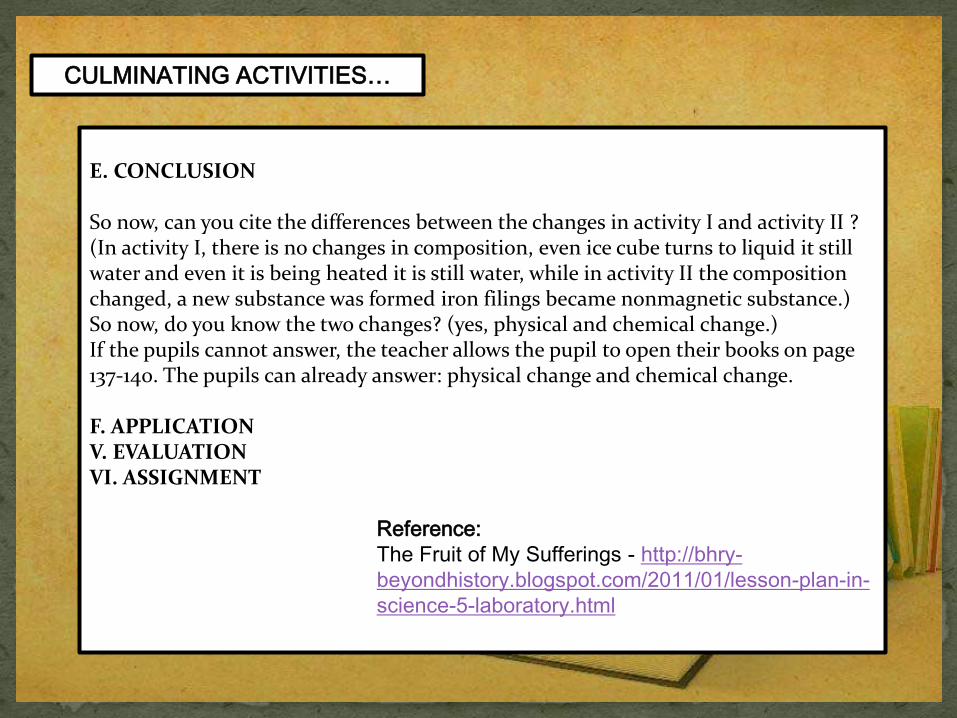
E. CONCLUSION
So now, can you cite the differences between the changes in activity I and activity II ? (In activity I, there is no changes in composition, even ice cube turns to liquid it still water and even it is being heated it is still water, while in activity II the composition changed, a new substance was formed iron filings became nonmagnetic substance.) So now, do you know the two changes? (yes, physical and chemical change.)If the pupils cannot answer, the teacher allows the pupil to open their books on page 137-140. The pupils can already answer: physical change and chemical change.
F. APPLICATIONV. EVALUATIONVI. ASSIGNMENT
Reference:
The Fruit of My Sufferings - http://bhry-
beyondhistory.blogspot.com/2011/01/lesson-plan-in-
science-5-laboratory.html
CULMINATING ACTIVITIES…
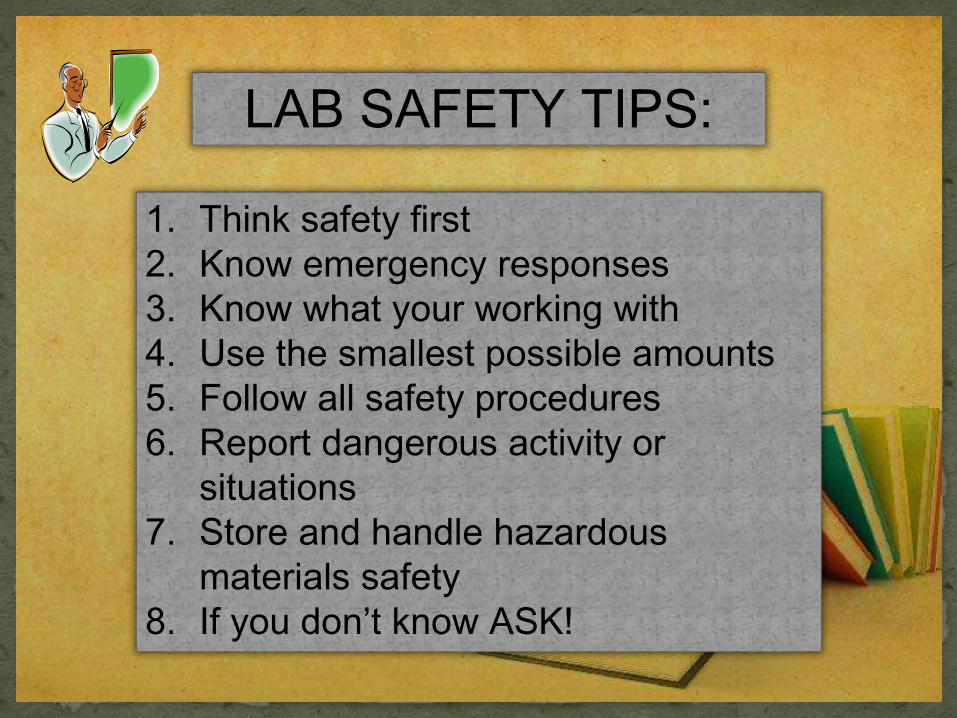
1. Think safety first
2. Know emergency responses
3. Know what your working with
4. Use the smallest possible amounts
5. Follow all safety procedures
6. Report dangerous activity or
situations
7. Store and handle hazardous
materials safety
8. If you don’t know ASK!
LAB SAFETY TIPS:
References:
The Laboratory Method of Teaching ppt.
by R D l. Galiciano and R J A. Tering
Laboratory Teaching Methods ppt.
By C. Tunzon, etc.
Notes on The Laboratory Method of Teaching Natural Sciences -
http://www.preservearticles.com/2012010920369/notes-on-the-
laboratory-method-of-teaching-natural-sciences.html
The Fruit of My Sufferings - http://bhry-
beyondhistory.blogspot.com/2011/01/lesson-plan-in-science-5-
laboratory.html
Principles of Teaching