Embed Size (px)
Citation preview
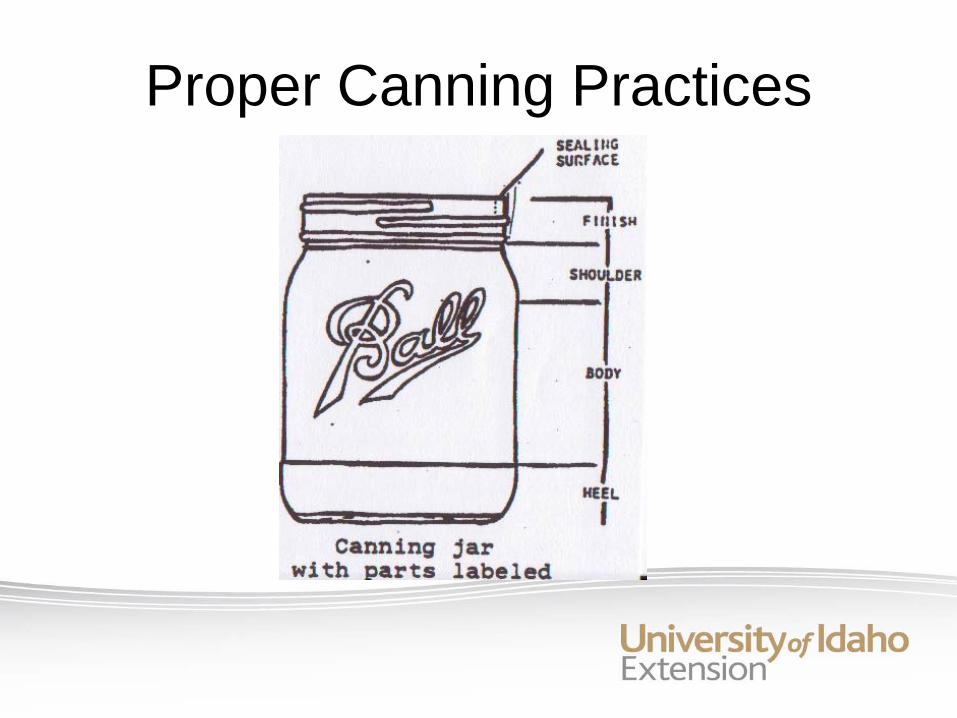
The INs and OUTs of Canning
Grace WittmanFCS Extension
EducatorCassia County
Rhea LantingFCS Extension
EducatorTwin Falls County
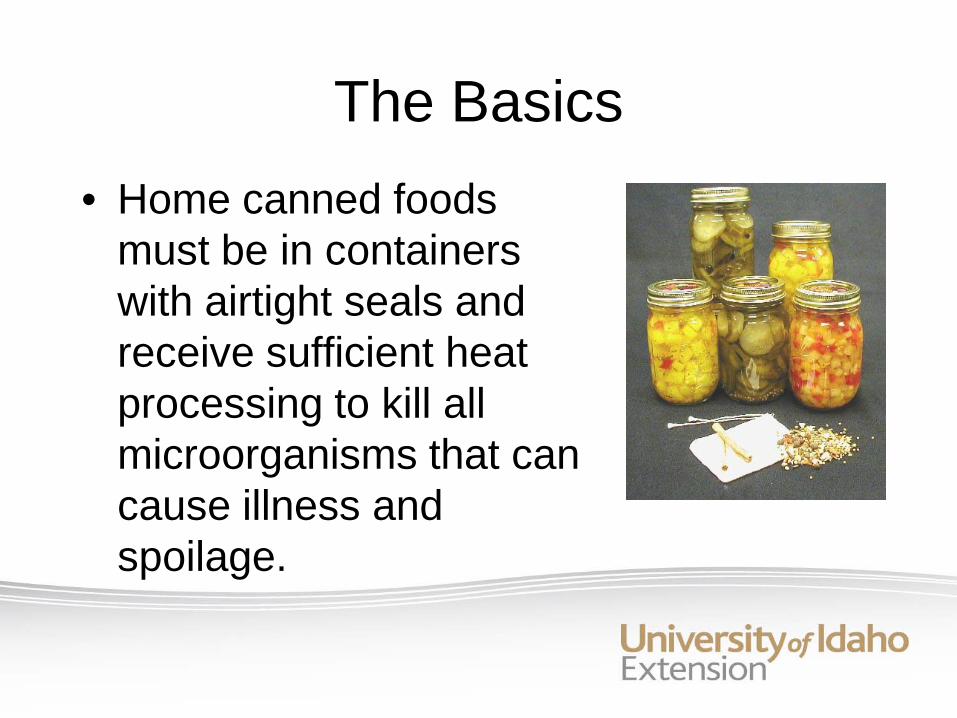
The Basics• Home canned foods
must be in containers with airtight seals and receive sufficient heat processing to kill all microorganisms that can cause illness and spoilage.
The Basics
• Acidity is the most important factor in canning because the acid level determines whether boiling water or pressure canner is needed.

The Basics
• Processing times are determined by:– Acidity– Size of Jar– Thickness of Food– Elevation in which food is
being processed at
Acidity
• The amount and method of heat processing used depends mainly on the acidity in food.
• Low-acid canned foods contain too little acidity to prevent the growth of heat-resistant bacteria.
Acidity
• Acid foods contain enough acidity to block growth or destroy microorganisms more rapidly when heated.
• pH is the measure of acidity– The lower its value
the more acid in the food
– Adding vinegar or citric acid acidity level
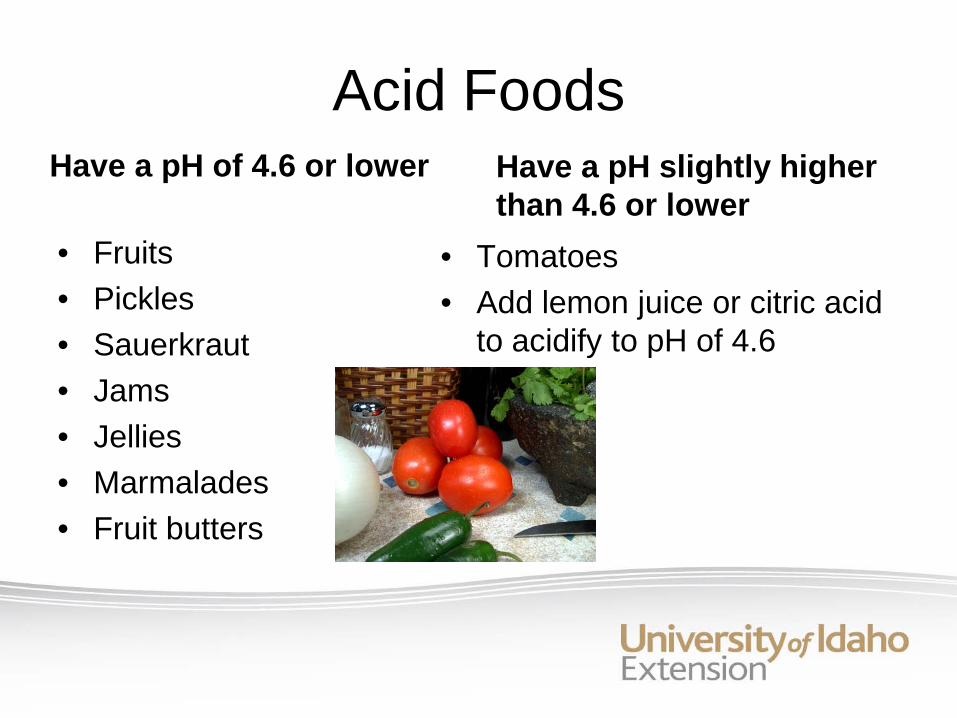
Acid FoodsHave a pH of 4.6 or lower
• Fruits• Pickles• Sauerkraut• Jams• Jellies• Marmalades• Fruit butters
Have a pH slightly higher than 4.6 or lower
• Tomatoes• Add lemon juice or citric acid
to acidify to pH of 4.6
Acid Foods• Cranberries• Lemons• Jams• Jellies• Conserves• Apple & Grape Juice• Some Pickled
Products
• Have a pH value around 3.0
• Only have a 15 minute processing time
Acid Foods• Berry Fruits• Apples, Apricots,
grapes• Nectarines• Peaches• Pears• Pineapple• Some pickled products• Rhubarb
• pH values of 3.4-4.0• Require more heat
to destroy their native spoilage microorganisms
• 20-42 minutes in boiling water canner
Acid Foods
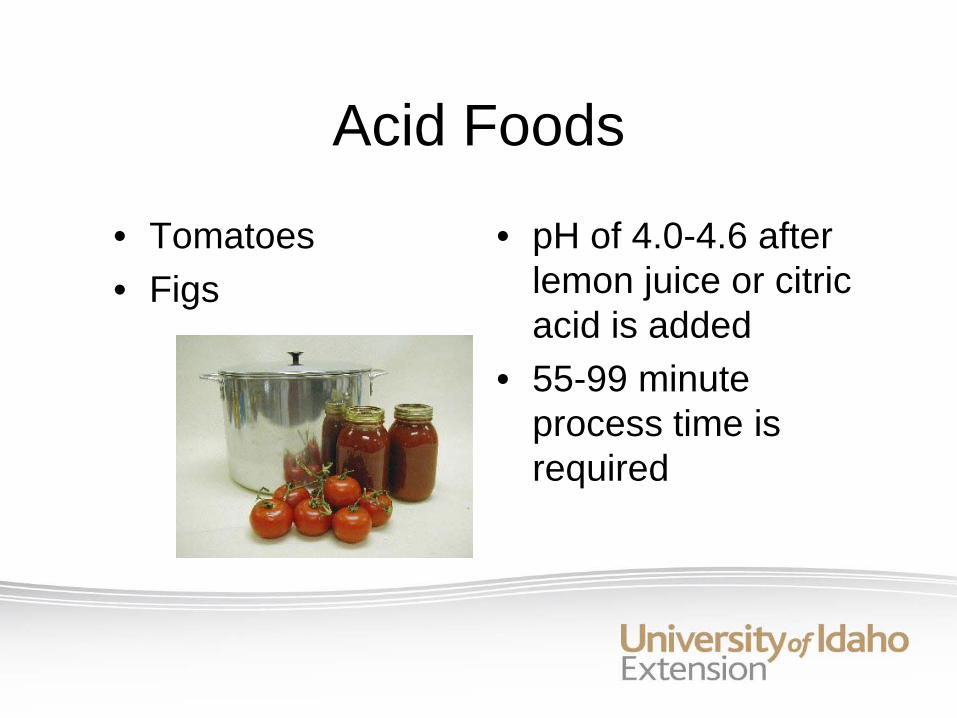
• Tomatoes• Figs
• pH of 4.0-4.6 after lemon juice or citric acid is added
• 55-99 minute process time is required
Low-Acid FoodspH values of higher than 4.6• Meats• Poultry• Fish• Seafood• Milk• Fresh vegetables
• Natural acid level is too low to prevent the growth of the very heat-resistant spore-forming bacteria
• These foods must be canned in a Pressure Canner
Low-Acid Foods• All low-acid foods should be sterilized at
temperatures of 240°F to 250°F, attainable with pressure canners operated at 10-15 pounds per square inch of pressure as measured by gauge.
• Time needed ranges from 20 to 120 minutes.
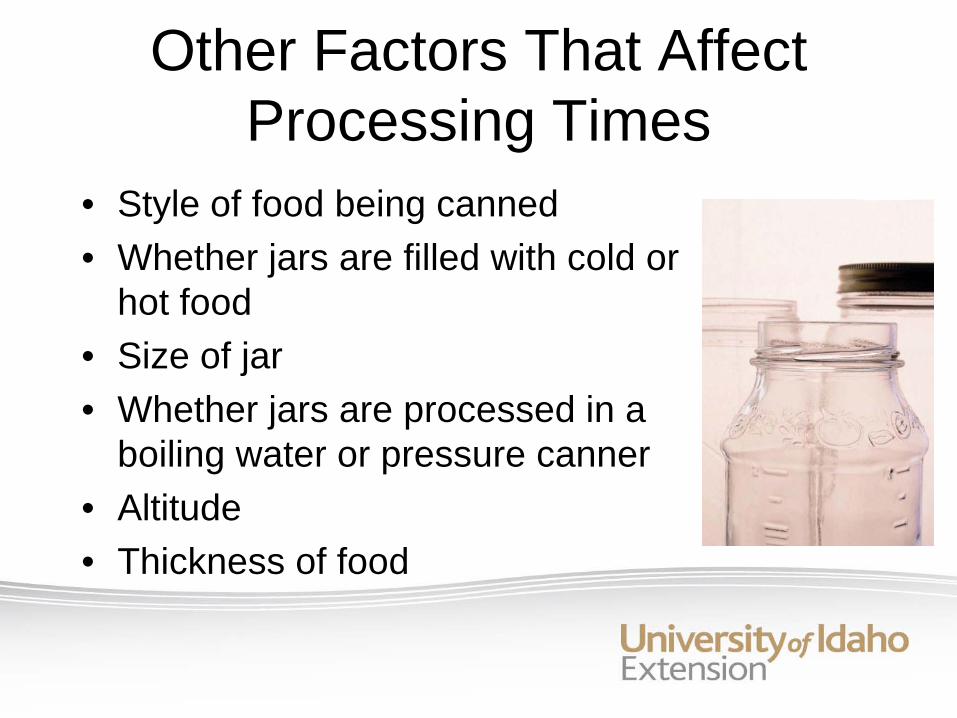
Other Factors That Affect Processing Times
• Style of food being canned• Whether jars are filled with cold or
hot food• Size of jar• Whether jars are processed in a
boiling water or pressure canner• Altitude• Thickness of food
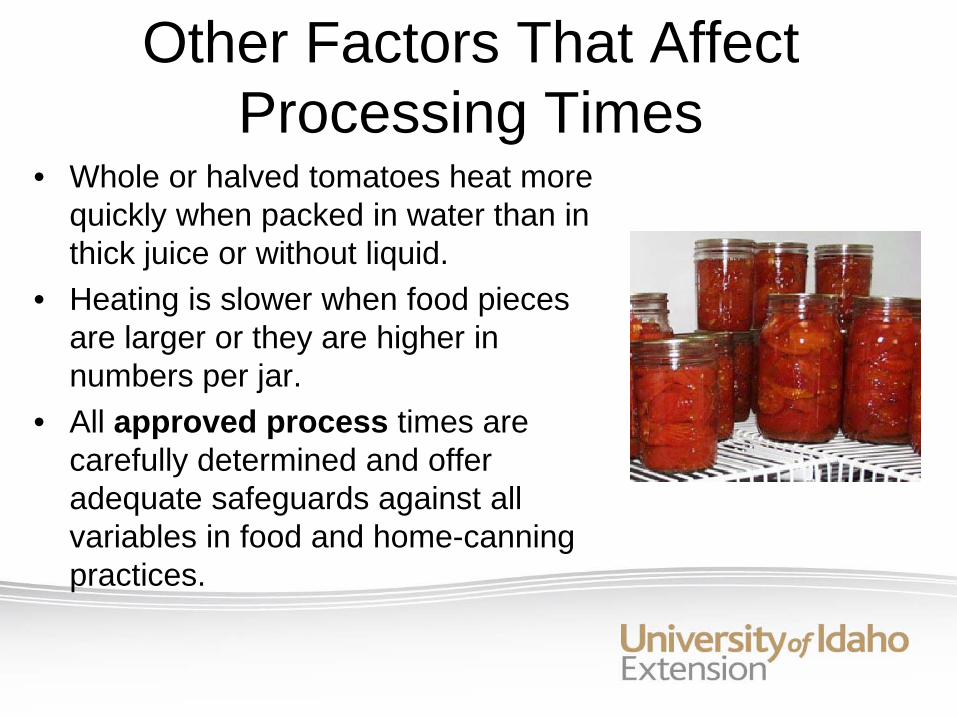
Other Factors That Affect Processing Times
• Whole or halved tomatoes heat more quickly when packed in water than in thick juice or without liquid.
• Heating is slower when food pieces are larger or they are higher in numbers per jar.
• All approved process times are carefully determined and offer adequate safeguards against all variables in food and home-canning practices.
Proper Canning Practices1. Carefully select good quality food2. Wash and peel3. If Hot Packing, heat and boil for 1-5 minutes4. Fill immediately into hot jars5. Add acids6. Apply and tighten self-sealing lids7. Process Jars8. Cool Jars 12-24 hours9. Remove screw bands
Proper Canning Practices
• These practices remove oxygen, destroy enzymes, prevent the growth of bacteria, yeast, and molds, and help form a high vacuum in jars.
• Good vacuums form tight seals that keep liquid in and air and microorganisms out.
• Preheat water to 140°F for raw packed food and 180°F for hot packed foods.
Proper Canning PracticesSelecting Fresh Food• Can fruits and vegetables when they
are at their peak of quality - within hours of harvest.
• Apricots, nectarines, peaches, pears, and plums have more flavor if ripened for one or more days.
Proper Canning Practices
• Fresh home-slaughtered red and poultry meats from healthy animals should be chilled and canned without delay.
• Do not can meat from sick or diseased animals.
• Ice seafood after harvest and can it within two days.
Proper Canning Practices
Washing and Peeling• Rinse, don’t soak, in
cold water• For most foods,
rinse 1-3 times in kitchen sink
• Sanitize the sink after washing garden produce
• For dirty garden foods, first rinse with outside hose, then rinse 1-3 times in kitchen sink
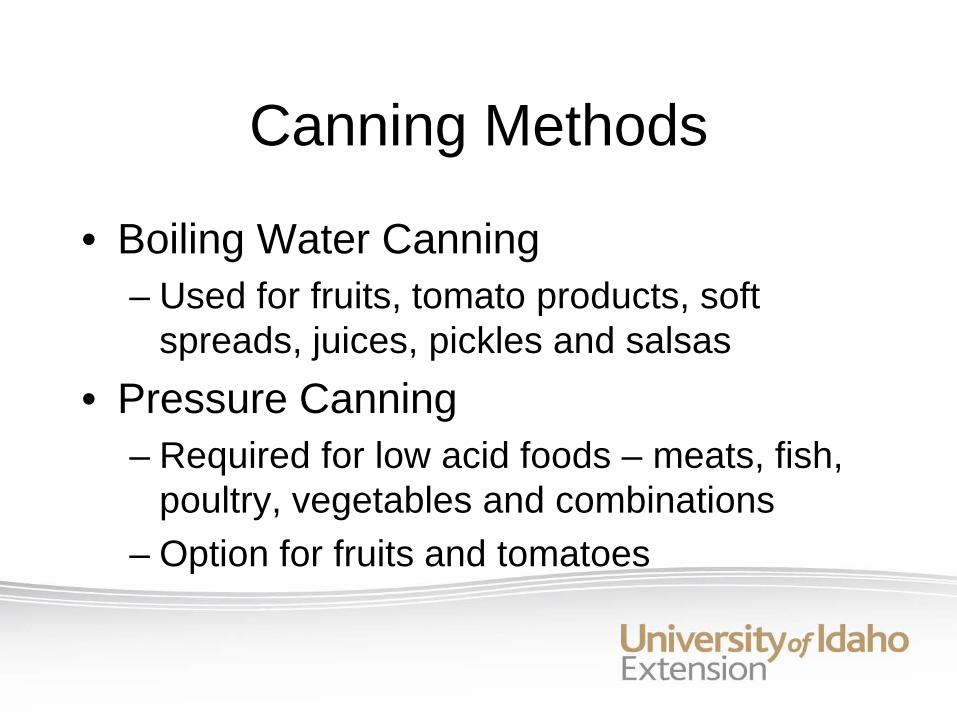
Canning Methods
• Boiling Water Canning– Used for fruits, tomato products, soft
spreads, juices, pickles and salsas• Pressure Canning
– Required for low acid foods – meats, fish, poultry, vegetables and combinations
– Option for fruits and tomatoes
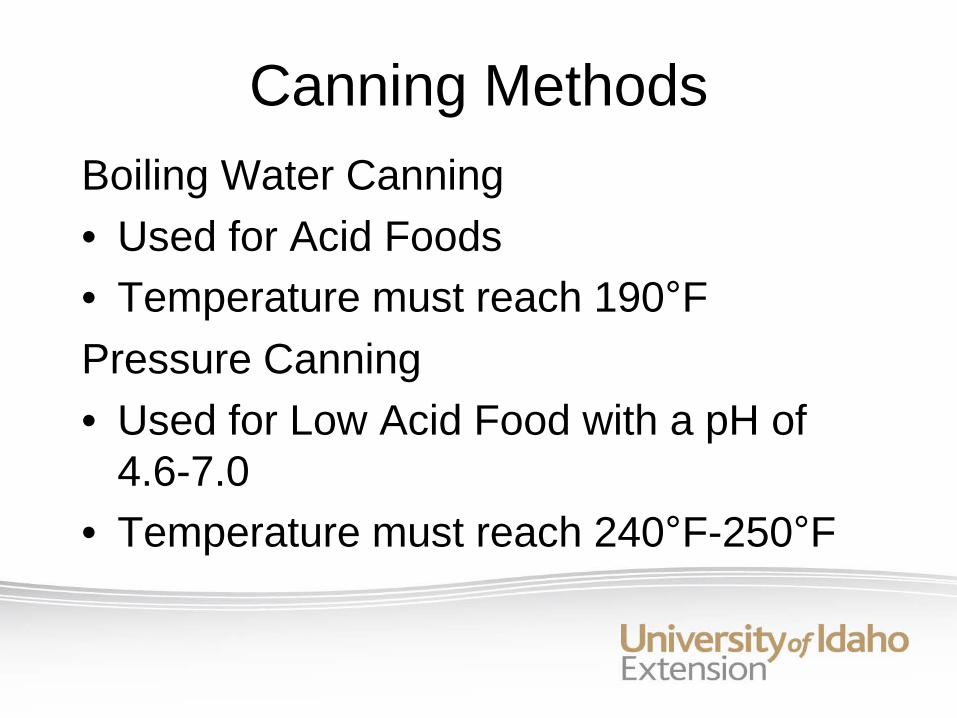
Canning MethodsBoiling Water Canning• Used for Acid Foods• Temperature must reach 190°FPressure Canning• Used for Low Acid Food with a pH of
4.6-7.0• Temperature must reach 240°F-250°F
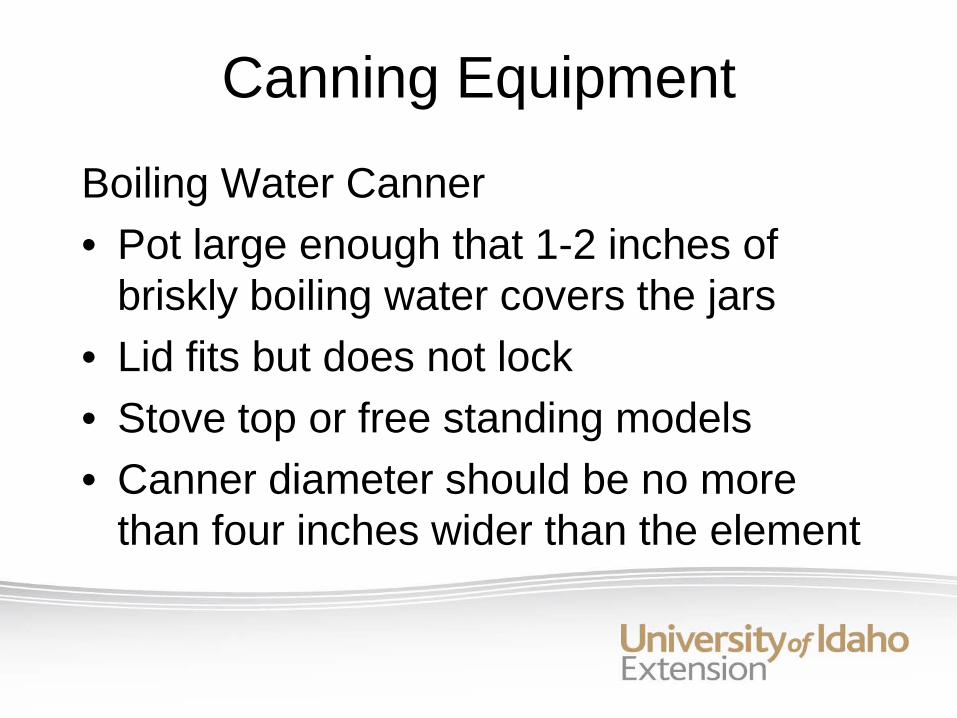
Canning Equipment
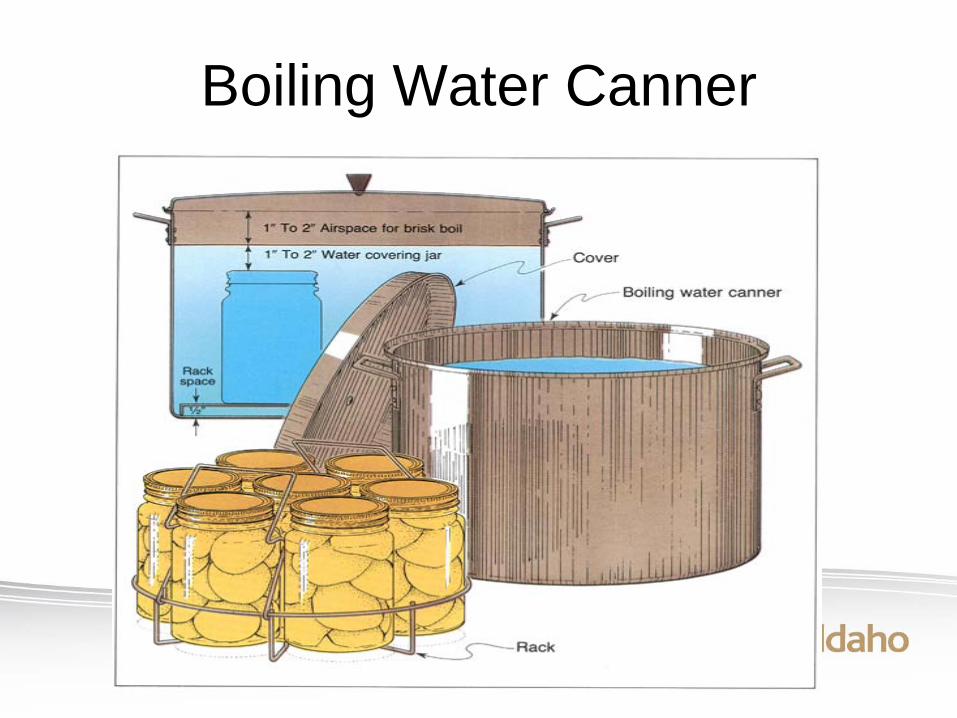
Boiling Water Canner• Pot large enough that 1-2 inches of
briskly boiling water covers the jars• Lid fits but does not lock• Stove top or free standing models• Canner diameter should be no more
than four inches wider than the element
Boiling Water Canner
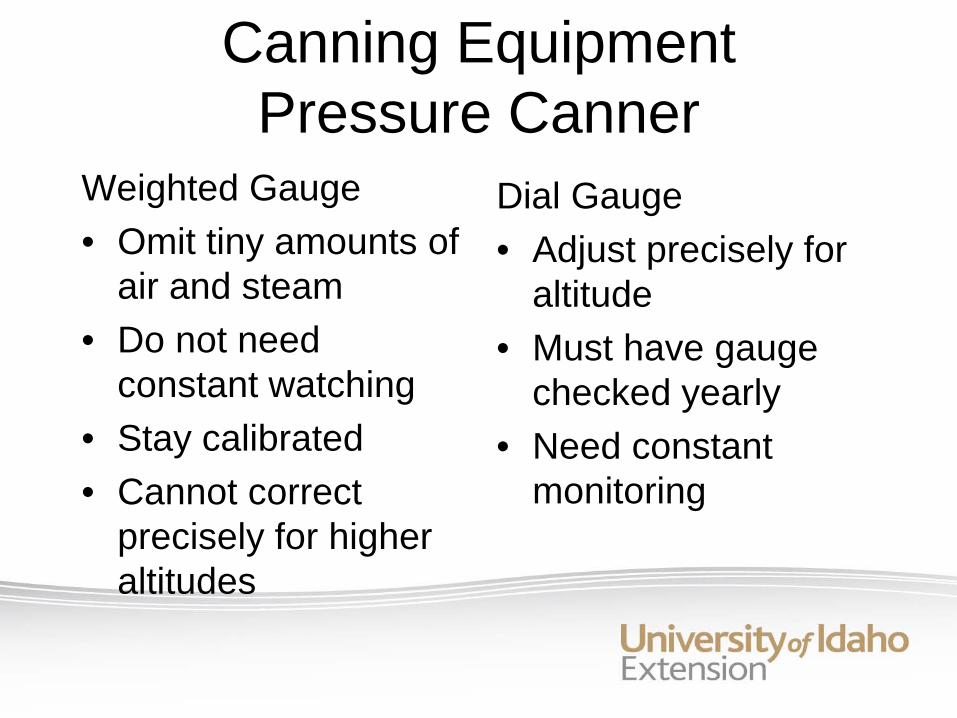
Canning EquipmentPressure Canner
Weighted Gauge• Omit tiny amounts of
air and steam• Do not need
constant watching• Stay calibrated• Cannot correct
precisely for higher altitudes
Dial Gauge• Adjust precisely for
altitude• Must have gauge
checked yearly• Need constant
monitoring
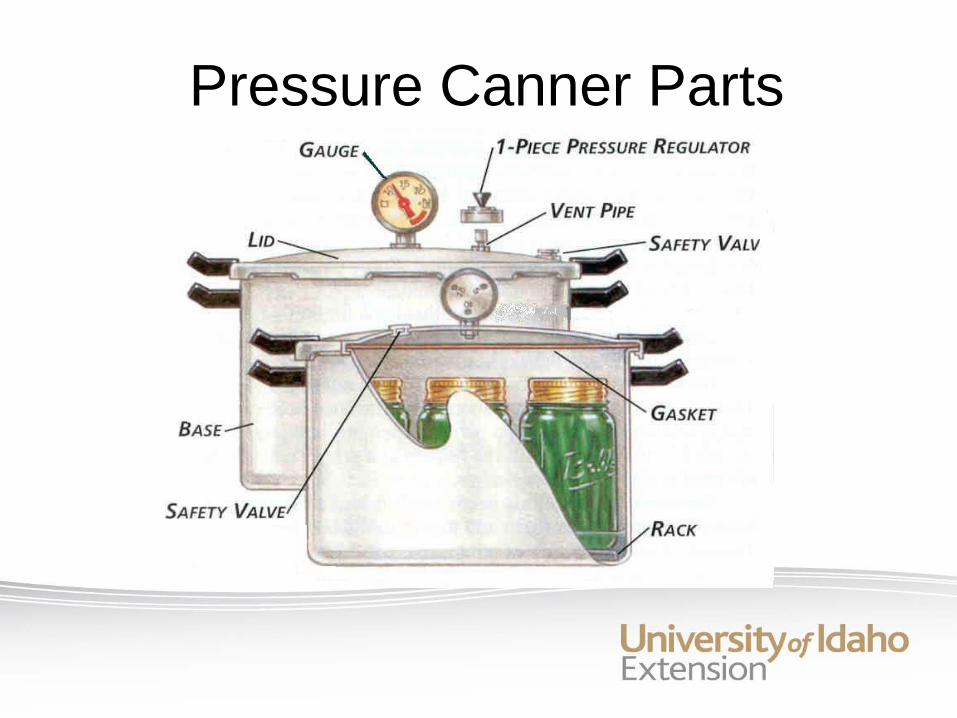
Pressure Canner Parts
Proper Canning EquipmentJarsMason type, threaded, home-canning jars
with self sealing lids are the best.• Half pint, pint, 11/2 quart, quart and half
gallon sizes (only for grape and apple juices)
• Mouth openings of 2 3/8 and 3 inches
Proper Canning Equipment
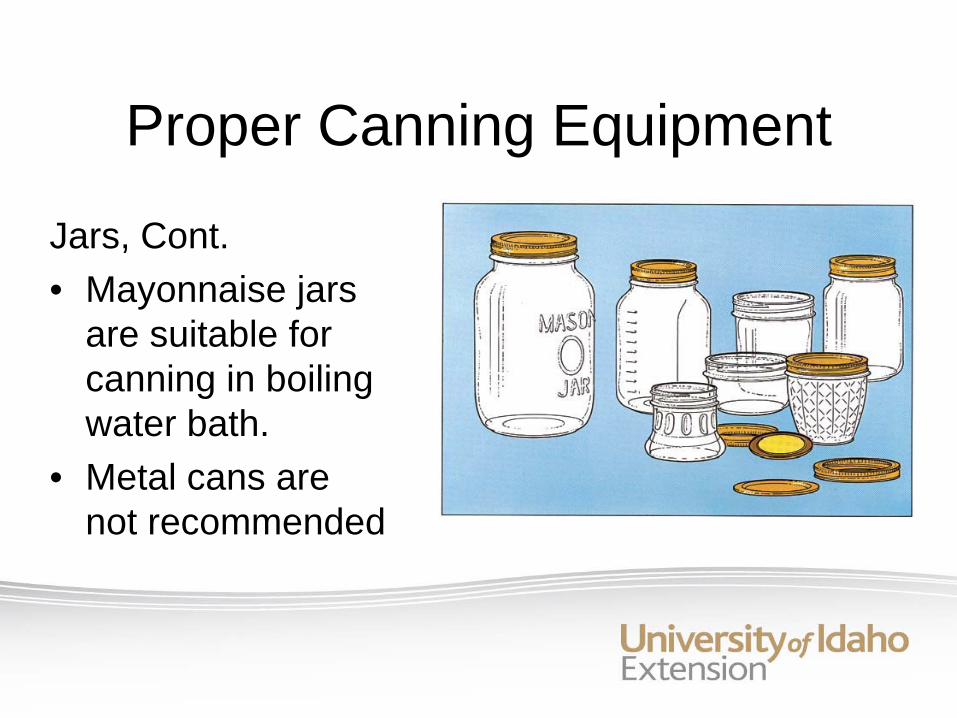
Jars, Cont.• Mayonnaise jars
are suitable for canning in boiling water bath.
• Metal cans are not recommended
Proper Canning Practices
Proper Canning Practices
Preparation of Jars• Check and clean all jars before use• When filled jars are processed less
than 10 minutes in boiling water, they should be pre-sterilized before use.
Proper Canning Practices
How to sterilize jars• Put them right side up on the rack in a boiling water
canner.• Fill canner and jars with hot (not boiling) water to one
inch above the tops of the jars.• Boil 10 minutes • Remove and drain hot sterilized jars one at a time• Fill with food, add lids, tighten screw bands and
process
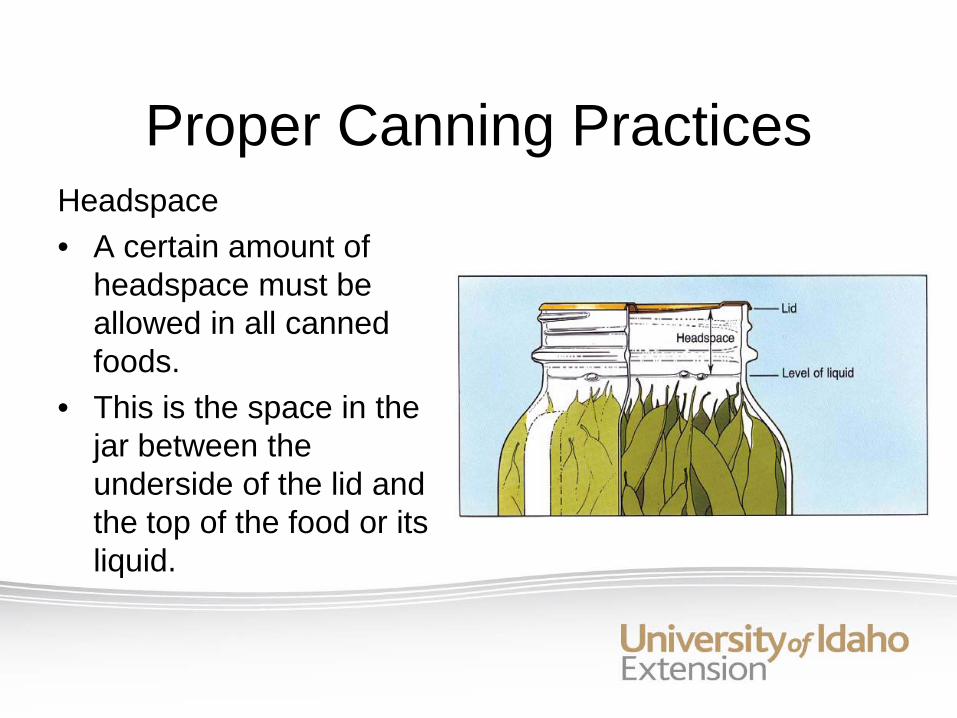
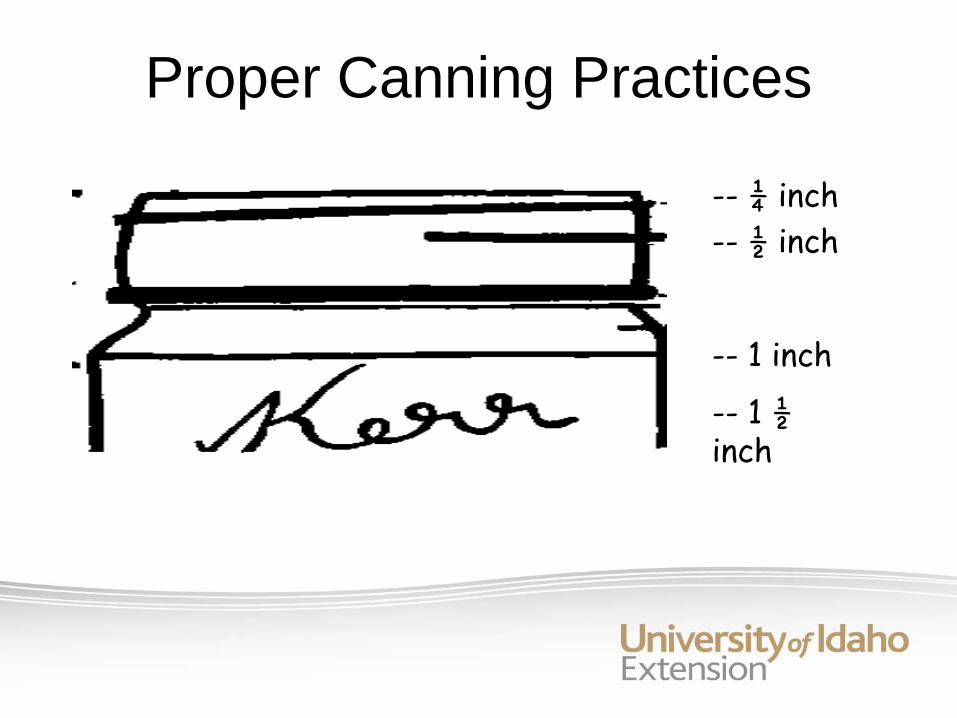
Proper Canning PracticesHeadspace• A certain amount of
headspace must be allowed in all canned foods.
• This is the space in the jar between the underside of the lid and the top of the food or its liquid.
Proper Canning Practices
Headspace, Cont.• Too little headspace may cause food to
expand and bubble from the jar during processing
• Too much headspace may cause the food at the top to discolor in storage
Proper Canning Practices
-- ¼ inch-- ½ inch
-- 1 inch
-- 1 ½ inch
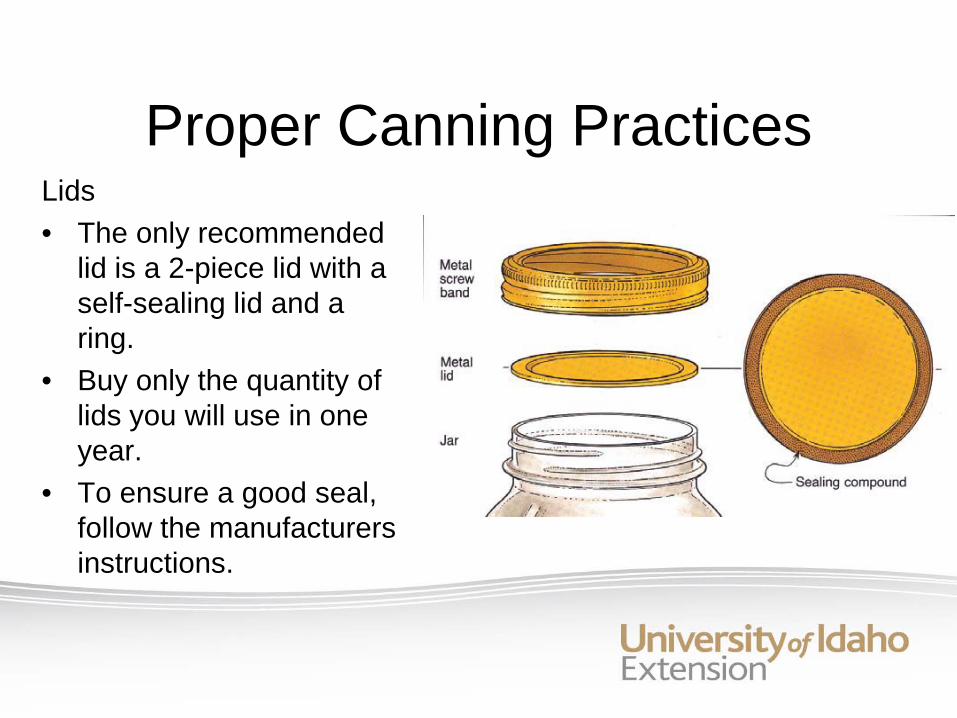
Proper Canning PracticesLids• The only recommended
lid is a 2-piece lid with a self-sealing lid and a ring.
• Buy only the quantity of lids you will use in one year.
• To ensure a good seal, follow the manufacturers instructions.
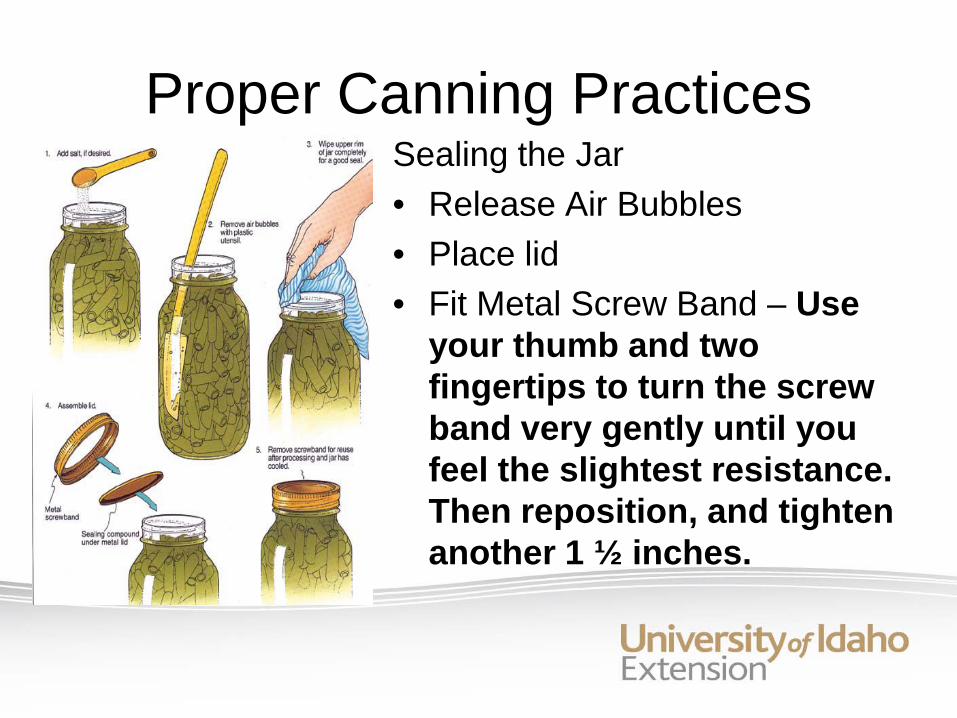
Proper Canning PracticesSealing the Jar• Release Air Bubbles• Place lid• Fit Metal Screw Band – Use
your thumb and two fingertips to turn the screw band very gently until you feel the slightest resistance. Then reposition, and tighten another 1 ½ inches.
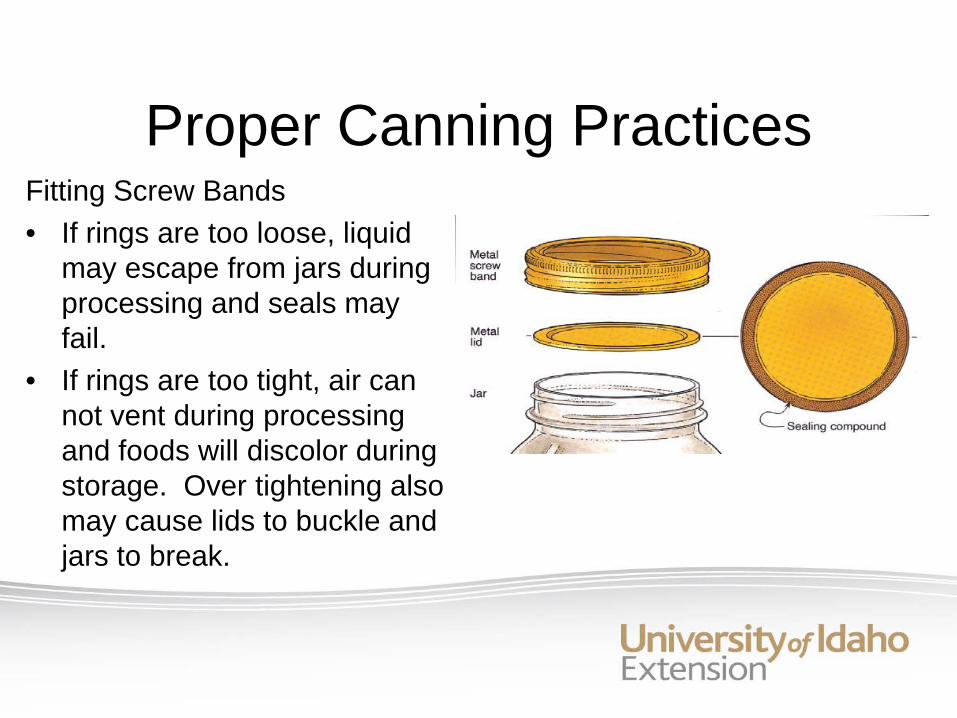
Proper Canning PracticesFitting Screw Bands• If rings are too loose, liquid
may escape from jars during processing and seals may fail.
• If rings are too tight, air can not vent during processing and foods will discolor during storage. Over tightening also may cause lids to buckle and jars to break.
Proper Canning PracticesDo you leave screw bands on?• Screw bands are not needed during
storage.• When stored properly screw bands can be
used for years.• If left on jars they can become difficult to
remove, often rust and may not work properly.
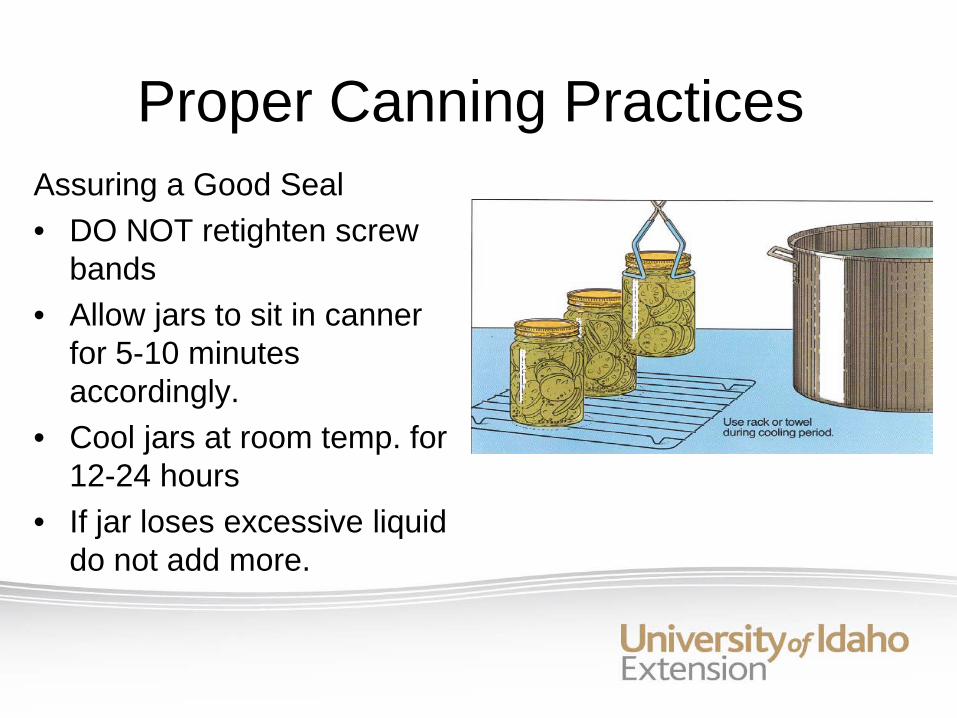
Proper Canning PracticesAssuring a Good Seal• DO NOT retighten screw
bands• Allow jars to sit in canner
for 5-10 minutes accordingly.
• Cool jars at room temp. for 12-24 hours
• If jar loses excessive liquid do not add more.
Proper Canning Practices
How to Test Seals1.Press the middle of the lid with a finger.
If the lid springs up when you release your finger, the lid is not sealed.
2.Tap the lid with the bottom of a teaspoon. If there is a dull sound lid is sealed.
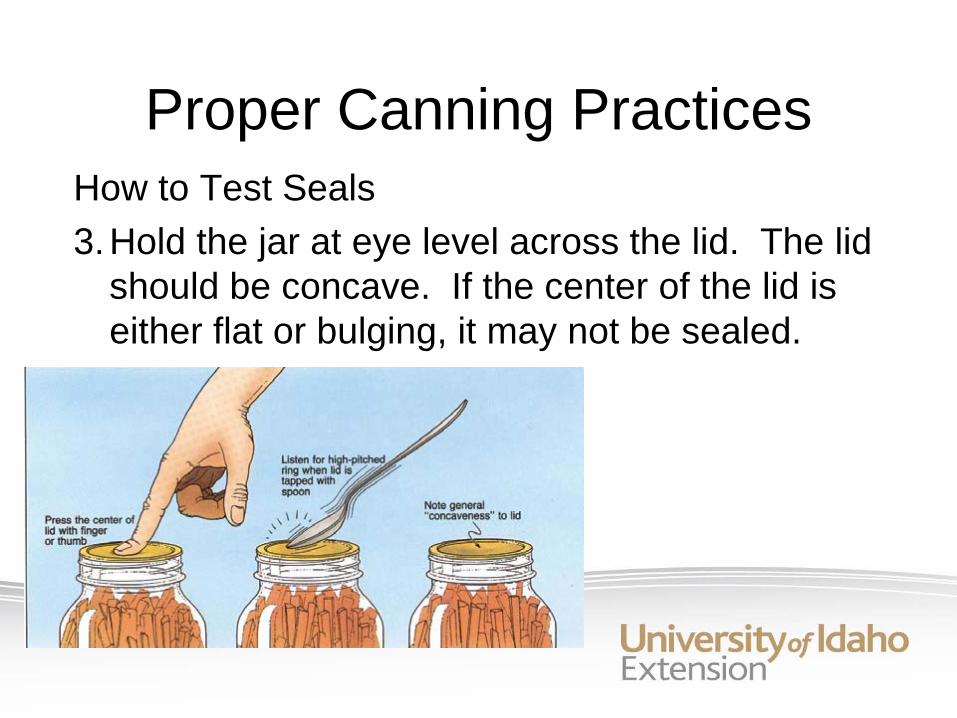
Proper Canning PracticesHow to Test Seals3.Hold the jar at eye level across the lid. The lid
should be concave. If the center of the lid is either flat or bulging, it may not be sealed.
Proper Canning Practices
Storing Canned Foods• Remove screw bands• Wash lid and jar to remove residue• Label and date the jars• Store in clean, cool, dark, dry place
Elevation Adjustments of Canning Procedures
• Using the process time for canning food at sea level may result in spoilage if you live at altitudes of 1,000 feet or above.
• Therefore, when using approved recipes makes sure to adjust for altitude.
Elevation Adjustments of Canning Procedures
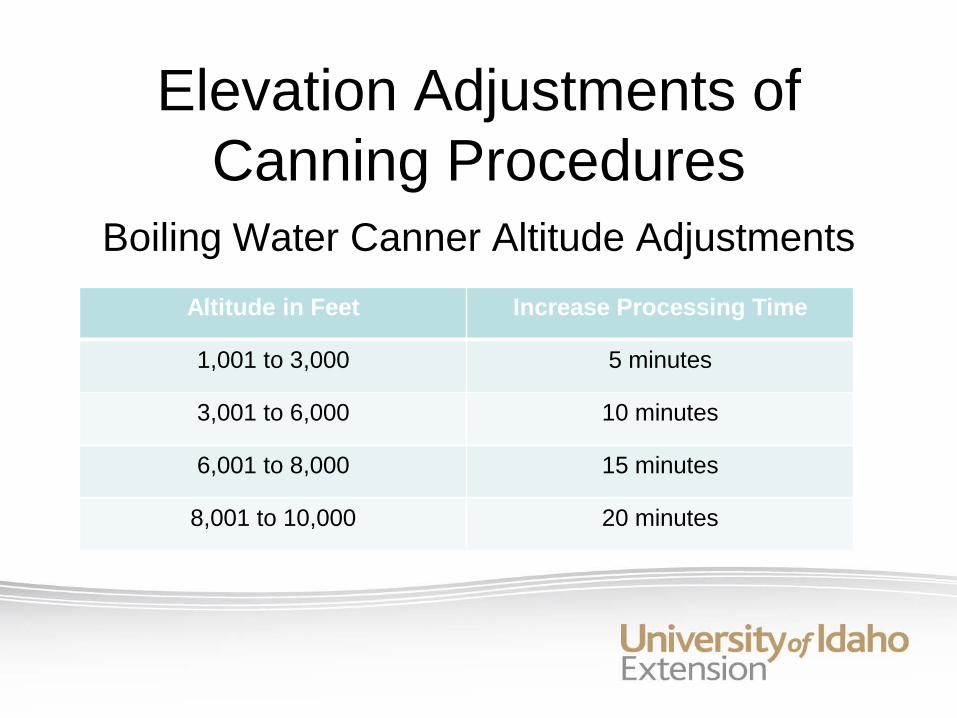
Boiling Water Canner Altitude AdjustmentsAltitude in Feet Increase Processing Time
1,001 to 3,000 5 minutes
3,001 to 6,000 10 minutes
6,001 to 8,000 15 minutes
8,001 to 10,000 20 minutes
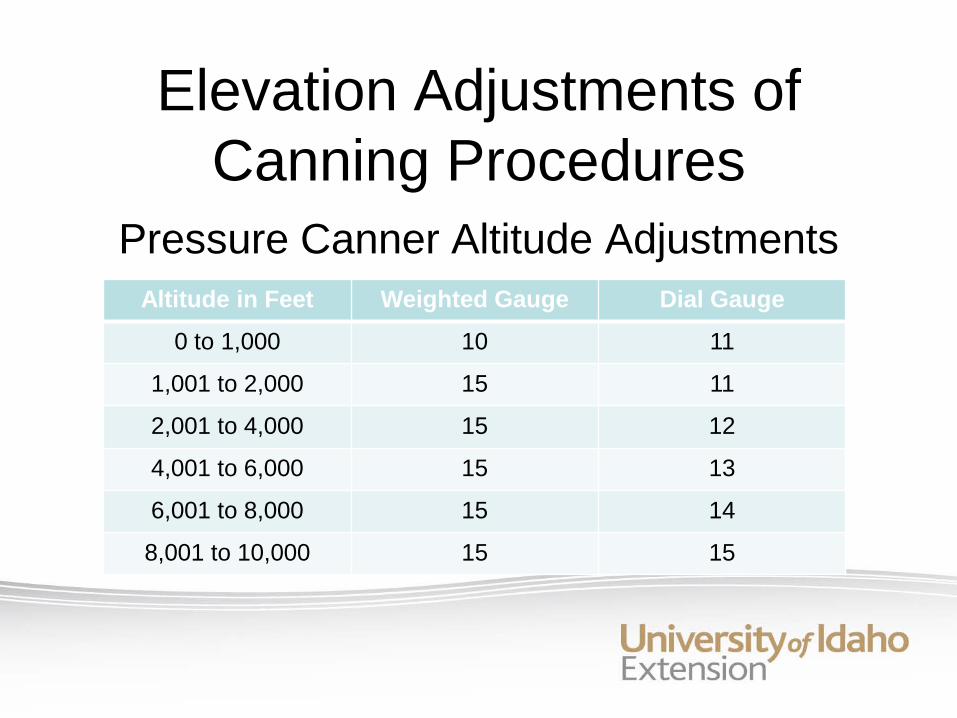
Elevation Adjustments of Canning Procedures
Pressure Canner Altitude AdjustmentsAltitude in Feet Weighted Gauge Dial Gauge
0 to 1,000 10 11
1,001 to 2,000 15 11
2,001 to 4,000 15 12
4,001 to 6,000 15 13
6,001 to 8,000 15 14
8,001 to 10,000 15 15

Canning Sins!
Potentially Deadly Errors
• Making up a recipe
• Adding extra starch
• Adding extra vegetables to salsa
• Using the oven
• Not making altitude adjustments
Potentially Deadly Errors…• Not venting
• Not having gauge tested annually
• Failing to acidify canned tomatoes
• Force cooling a pressure canner
• Letting food cool before processing
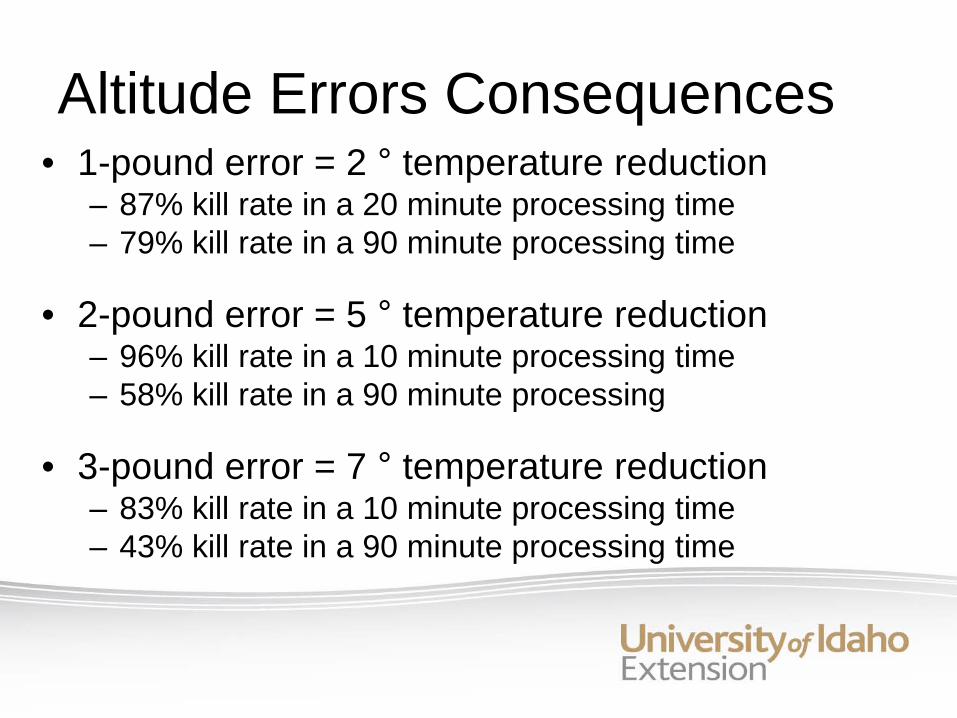
Altitude Errors Consequences • 1-pound error = 2 ° temperature reduction
– 87% kill rate in a 20 minute processing time– 79% kill rate in a 90 minute processing time
• 2-pound error = 5 ° temperature reduction– 96% kill rate in a 10 minute processing time– 58% kill rate in a 90 minute processing
• 3-pound error = 7 ° temperature reduction– 83% kill rate in a 10 minute processing time– 43% kill rate in a 90 minute processing time
Venting Error Consequences
• Failure to adequately vent reduces food
sterilization and microbial kill by as much
as 48%!
Economic Loss, but Error not Deadly
• Using mayonnaise jars
• Using paraffin on soft spreads
• Cooling too slowly
• Storing food longer than recommended
General Rules
1. Always follow tested recipe exactly
2. Make altitude adjustments
3. Unless sure correct processing was
used boil 10 minutes before eating
Exceptions to the rules
• Change salt level but not in pickled products
• Change sugar level in syrup used for canned
fruit
• Can substitute bottled lemon or lime juice for
vinegar.
Exceptions to the rules…
• DECREASE amount of spices in salsa.
• Substitute bell peppers, long green peppers or jalapeno peppers for each other as long as you do not increase or decrease total amount.
Odds & Ends – No No’s• Weck & Improved Gem jars
• Using recipes from popular magazines
• Using a steam canner
• Canning vegetables in oil
Recommended Resources• USDA Complete Guide to Home Canning
– http://uga.edu/nchfp/publications/publications_usda.html– http://extension.usu.edu/cooperative/publications/index.cfm?ced
=2948
• Ball Blue Book
• UI/WSU PNW Bulletins
– Available from County Extension Office, through Ag Publications, or
online at http://info.ag.uidaho.edu/catalog/Family/nutrition.htm
Questions