Embed Size (px)
Citation preview
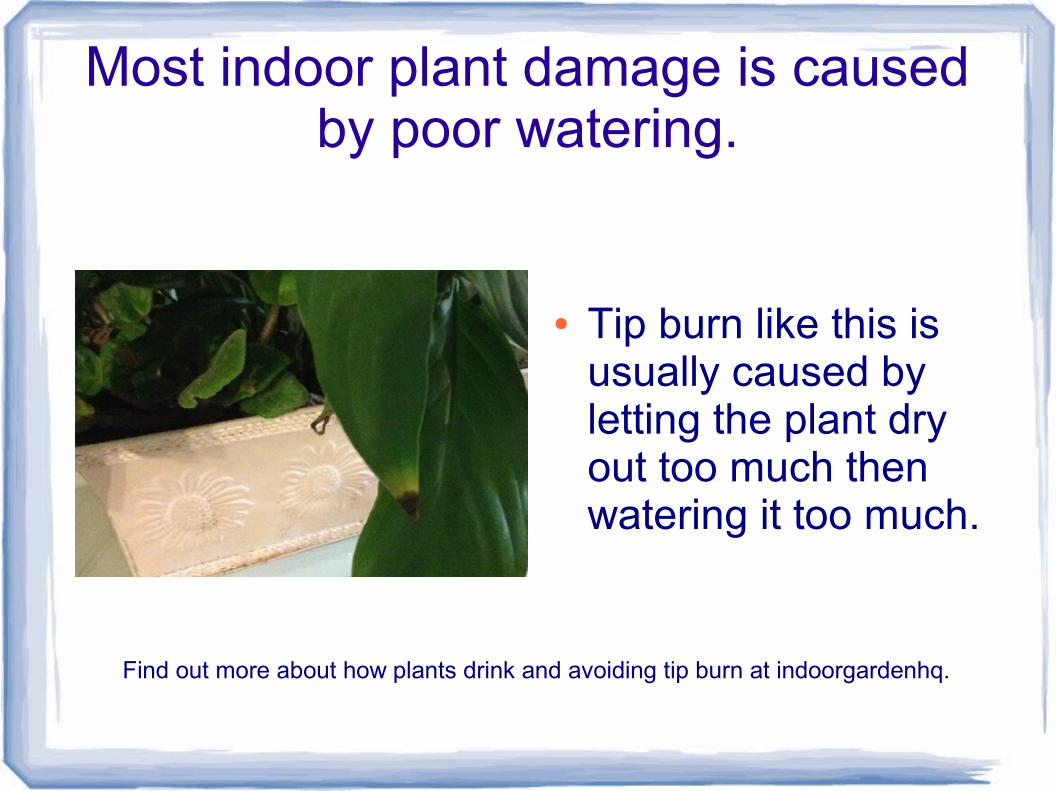
Most indoor plant damage is caused by poor watering.
● Tip burn like this is usually caused by letting the plant dry out too much then watering it too much.
Find out more about how plants drink and avoiding tip burn at indoorgardenhq.
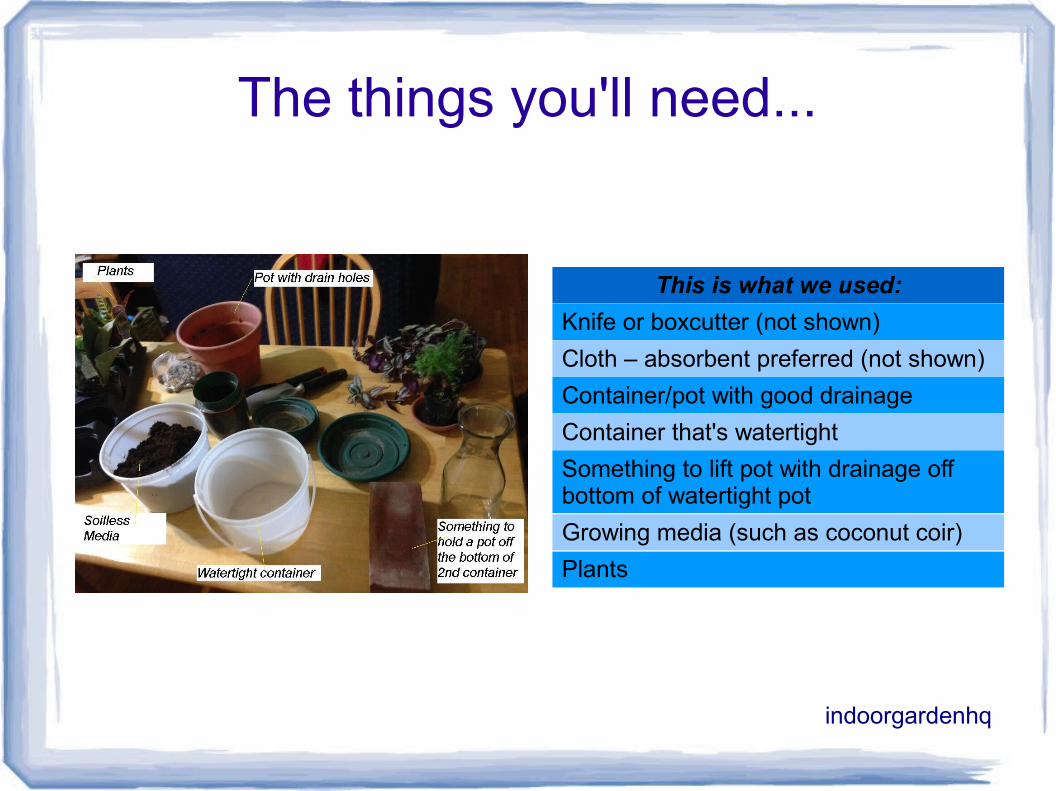
The things you'll need...
This is what we used:
Knife or boxcutter (not shown)
Cloth – absorbent preferred (not shown)
Container/pot with good drainage
Container that's watertight
Something to lift pot with drainage off bottom of watertight pot
Growing media (such as coconut coir)
Plants
indoorgardenhq
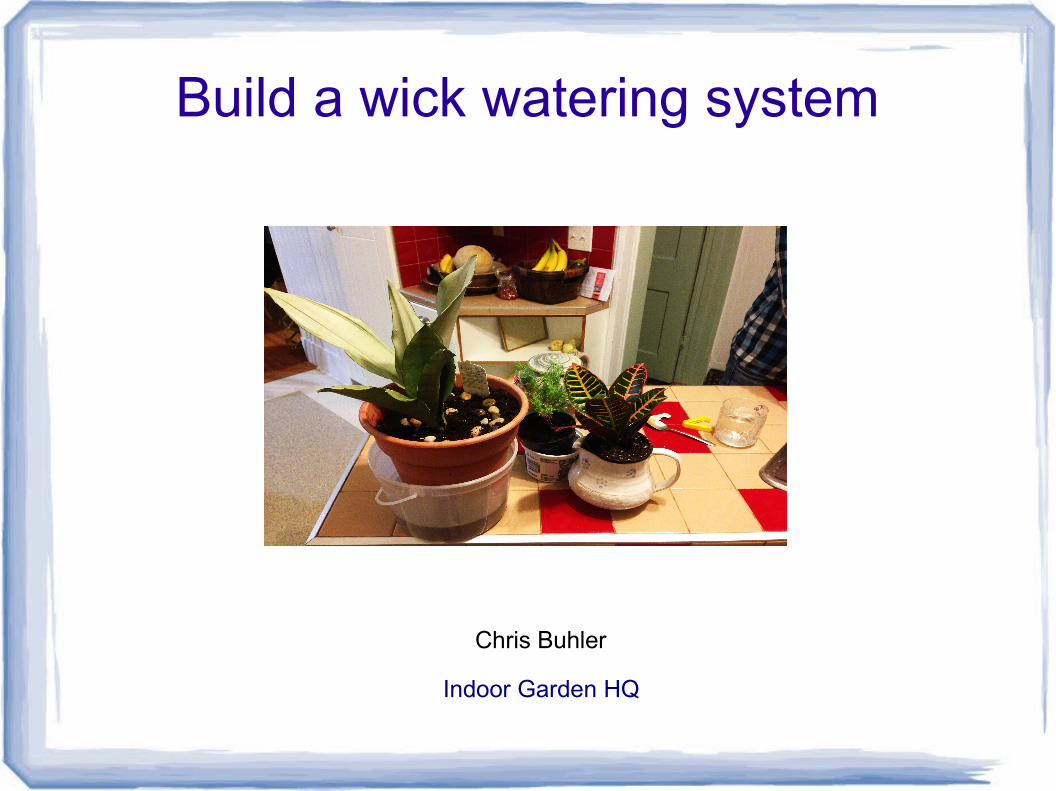
Be careful when you cut.
Don't cut toward yourself and take your time!
indoorgardenhq
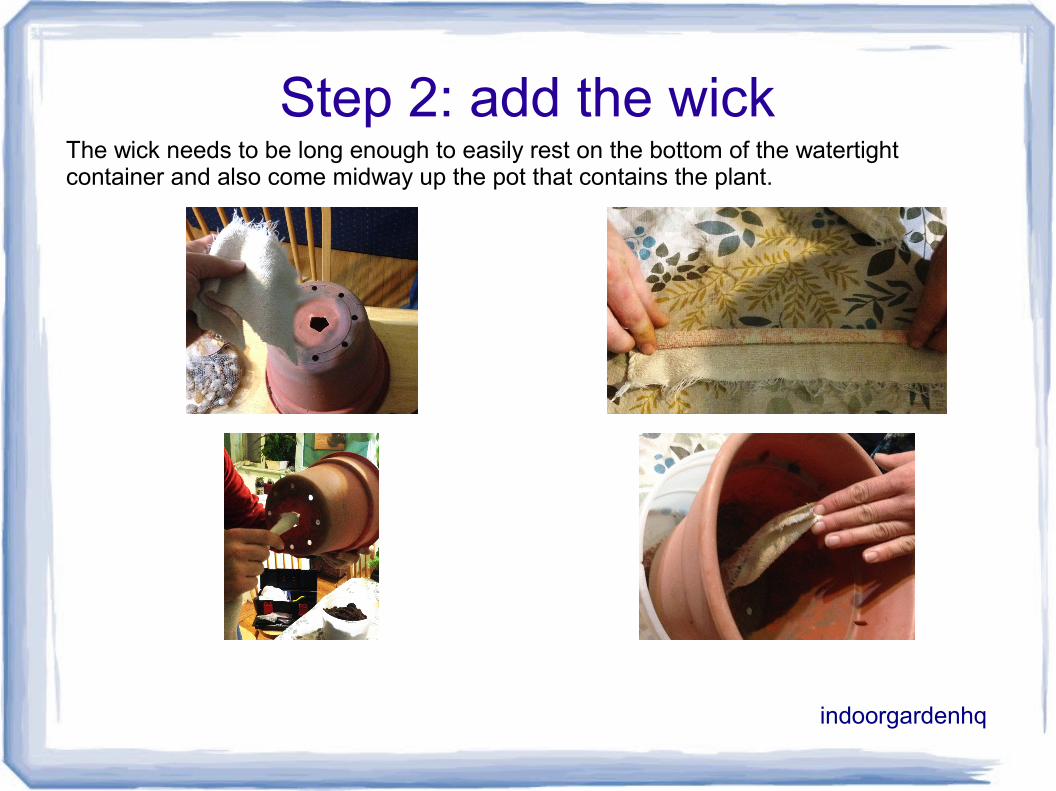
Step 2: add the wickThe wick needs to be long enough to easily rest on the bottom of the watertight container and also come midway up the pot that contains the plant.
indoorgardenhq
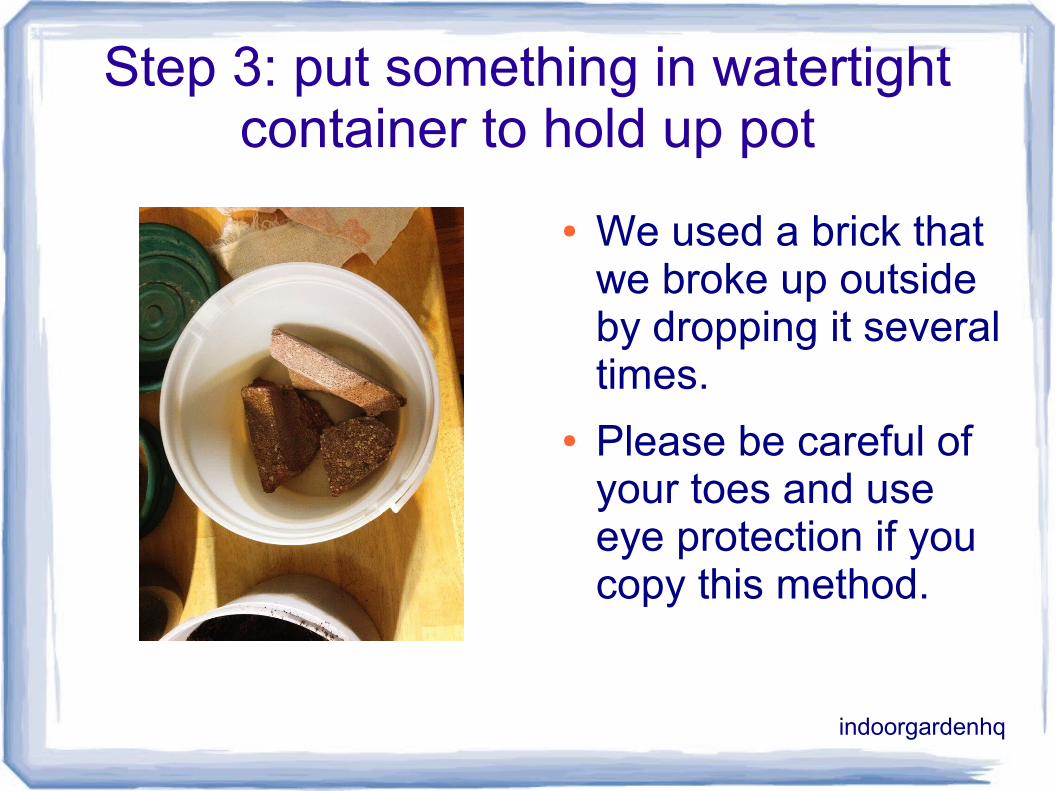
Step 3: put something in watertight container to hold up pot
● We used a brick that we broke up outside by dropping it several times.
● Please be careful of your toes and use eye protection if you copy this method.
indoorgardenhq
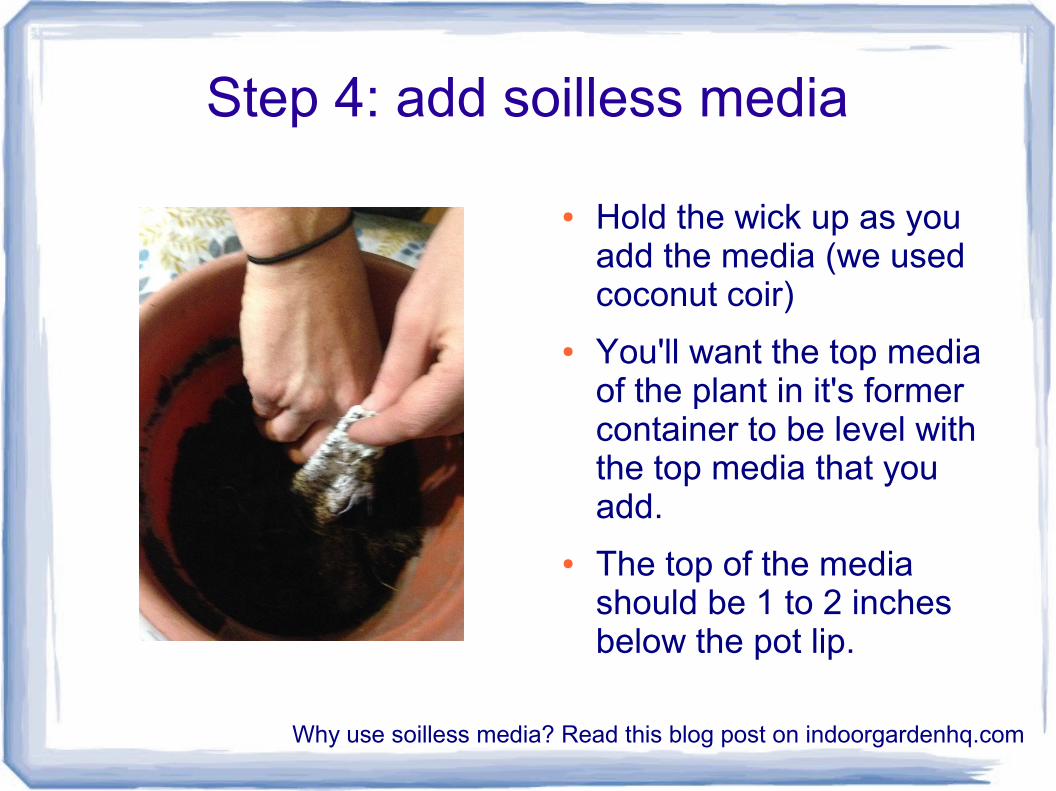
Step 4: add soilless media
● Hold the wick up as you add the media (we used coconut coir)
● You'll want the top media of the plant in it's former container to be level with the top media that you add.
● The top of the media should be 1 to 2 inches below the pot lip.
Why use soilless media? Read this blog post on indoorgardenhq.com
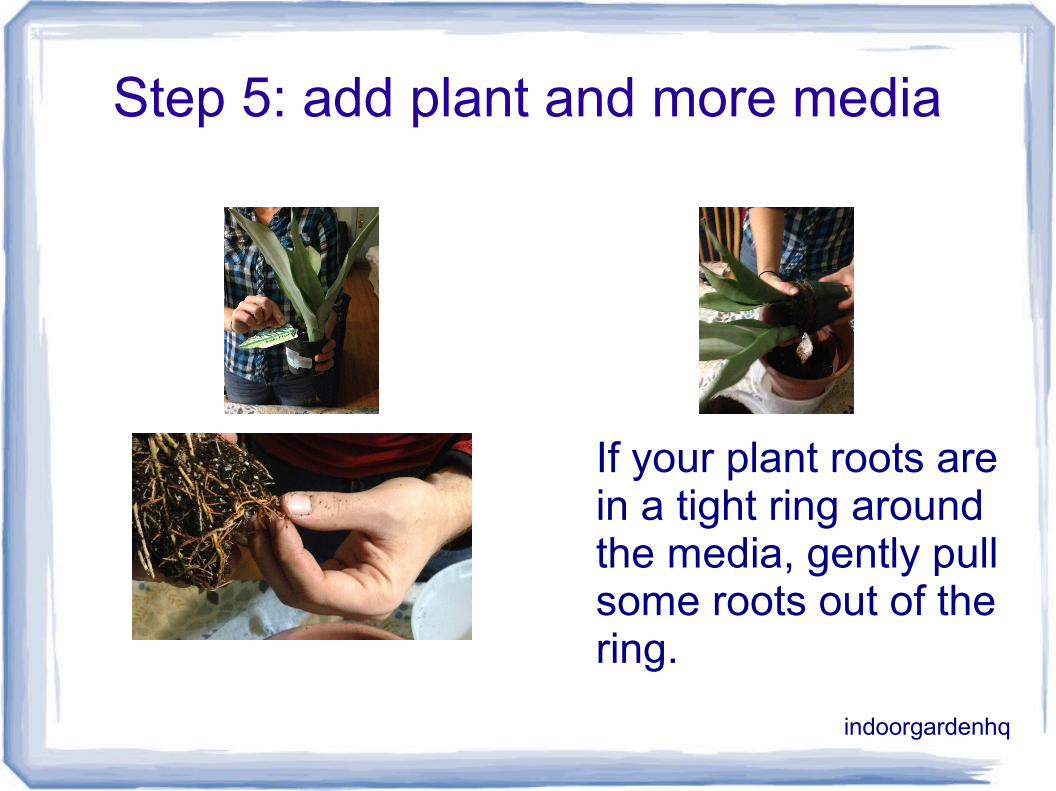
Step 5: add plant and more media
If your plant roots are in a tight ring around the media, gently pull some roots out of the ring.
indoorgardenhq

...the wick is best about halfway between the pot side and plant stem.
indoorgardenhq
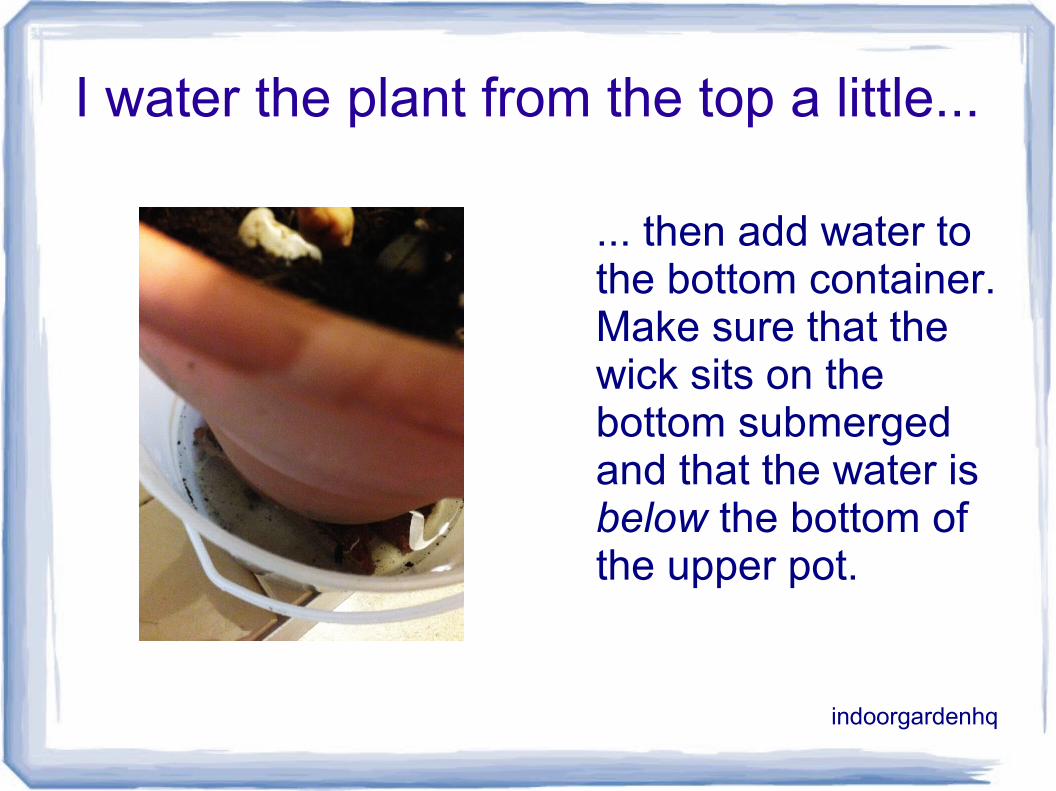
I water the plant from the top a little...
... then add water to the bottom container. Make sure that the wick sits on the bottom submerged and that the water is below the bottom of the upper pot.
indoorgardenhq

In the future you will need to:
● Water the plant by adding water into the watertight container rather than directly watering the plant's media. (The wick does that job).
●Make sure that the bottom container does not dry out.
●Make sure that the water level in the lower container never reaches the height of the upper container's bottom.
●Every 4 to 6 weeks water from the top to prevent salts from building up too much in the root zone media.
indoorgardenhq
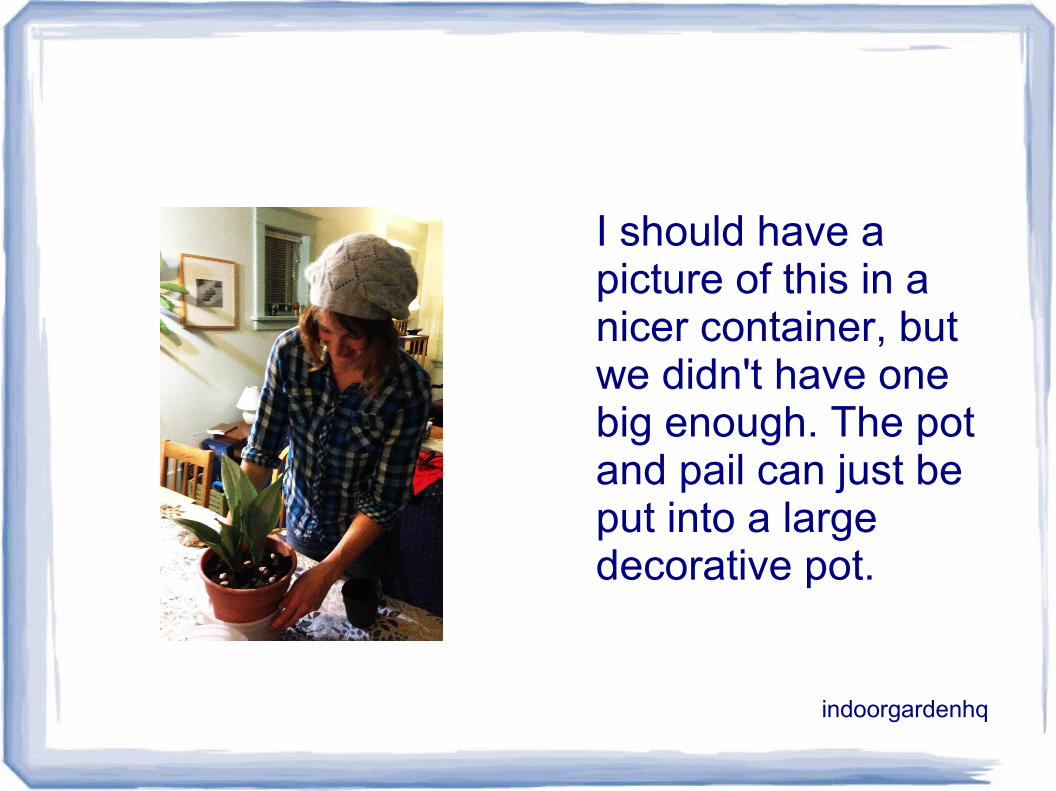
I should have a picture of this in a nicer container, but we didn't have one big enough. The pot and pail can just be put into a large decorative pot.
indoorgardenhq
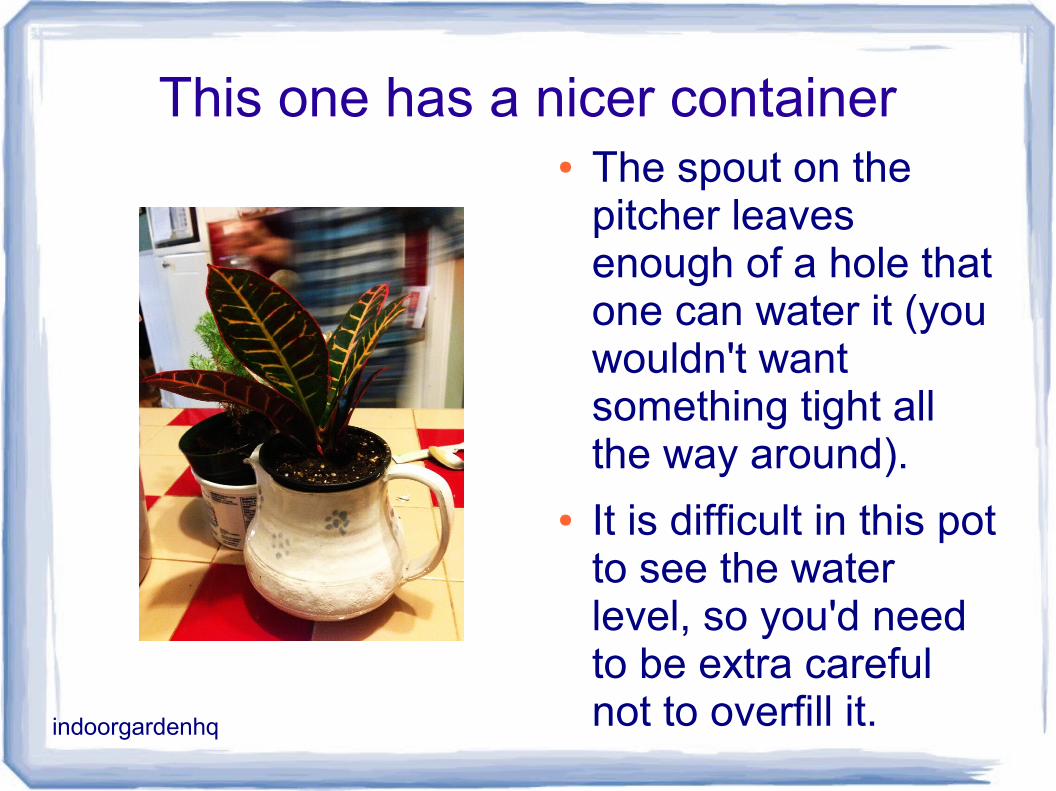
This one has a nicer container● The spout on the
pitcher leaves enough of a hole that one can water it (you wouldn't want something tight all the way around).
● It is difficult in this pot to see the water level, so you'd need to be extra careful not to overfill it.indoorgardenhq
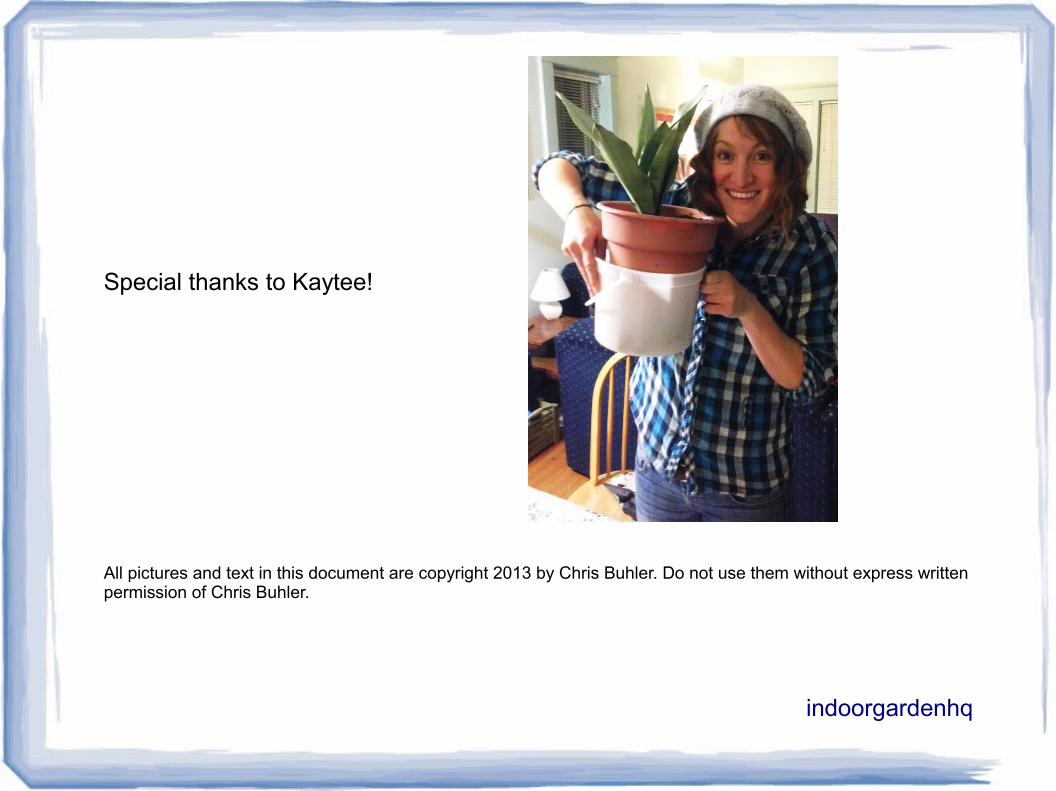
Special thanks to Kaytee!
All pictures and text in this document are copyright 2013 by Chris Buhler. Do not use them without express written permission of Chris Buhler.
indoorgardenhq